Who says that the stars cannot come down to earth? It's definitely possible with this adorable crochet star amigurumi pattern! Whether you want to craft a cute toy, a handy pin cushion, or a charming decorative piece, this delightful amigurumi pattern has got you covered. Get ready to bring a little twinkle of joy into your home or give a unique, starry gift to someone special. Let's get started and crochet our very own little star!
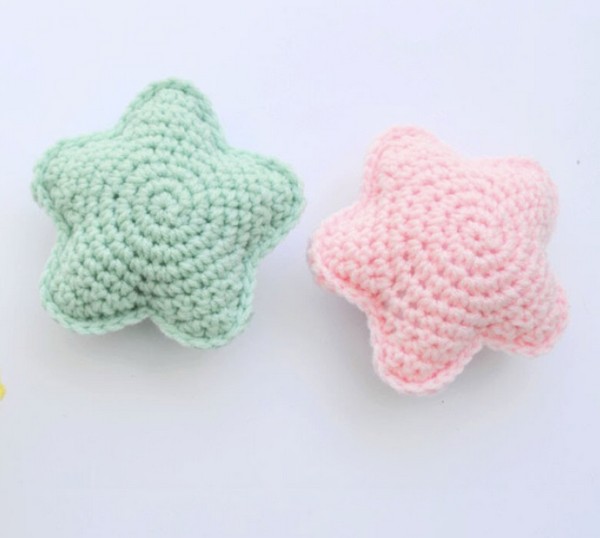
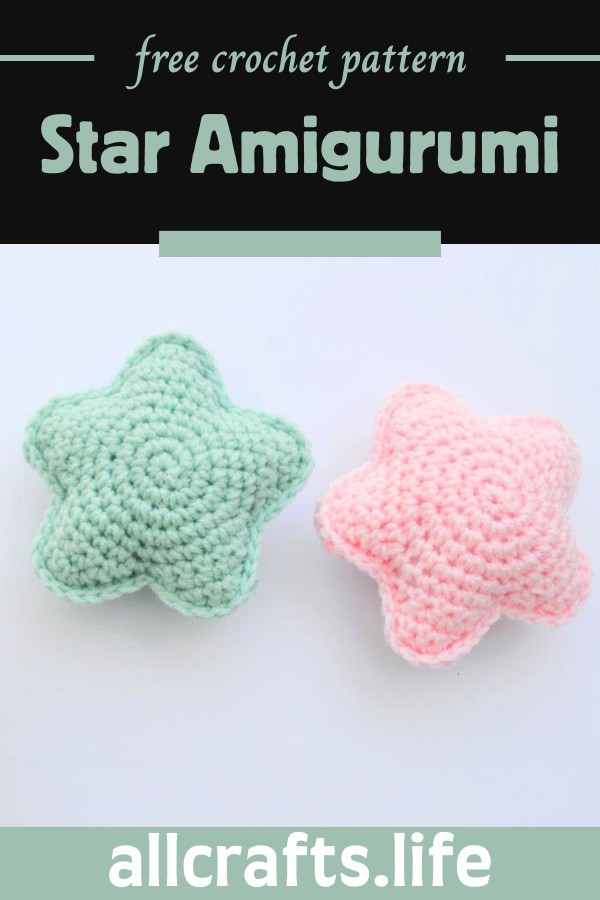
Delight in crafting your very own crochet star amigurumi with this easy-to-follow tutorial. Ideal for all skill levels, the crochet ornament pattern explains how to create a charming star that can double as a pincushion or a cute decoration. Using simple crochet techniques and everyday materials like worsted weight yarn and a 5.0 mm crochet hook, you'll learn to transform yarn into a colourful, 3D star. Perfect for adding a handmade touch to your space or gifting to someone special, this pattern makes crocheting straightforward and enjoyable.
Crochet Easy Star Amigurumi Pattern
Materials
- Worsted-weight acrylic yarn
- Crochet hook size 5.0mm
- Stuffing
- Yarn needle
- Stitch marker (a bobby pin can be used)
- Scissors
Step by step Pattern
Starting with a Magic Circle:
- Create a slip knot and chain 2.
- Make 6 single crochet stitches into the first chain.
- Pull the tail tight to close up the hole (This does not count as a stitch).
- Place your stitch marker to mark the end of the round.
Round 2:
- Work 2 single crochet stitches in each stitch around (12 single crochet stitches total).
Round 3:
- Follow this pattern around: 2 single crochet in the first stitch, 1 single crochet in the next (18 single crochet stitches total).
Round 4:
- Follow this pattern around: 2 single crochet in the first stitch, 1 single crochet in the next two stitches (24 single crochet stitches total).
Round 5:
- Follow this pattern around: 2 single crochet in the first stitch, 1 single crochet in the next three stitches (30 single crochet stitches total).
Working in Rows for the Points of the Star (Rows 6-10):
- Single crochet in the next 6 stitches.
- Chain 1 and turn, skip the first stitch, then single crochet in the next 5 stitches.
- Chain 1 and turn, skip the first stitch, then single crochet in the next 4 stitches.
- Chain 1 and turn, skip the first stitch, then single crochet in the next 3 stitches.
- Chain 1 and turn, skip the first stitch, then single crochet in the next 2 stitches.
Side of the Star Point:
- Single crochet down the side until you reach the initial circle part. It takes about 5 single crochet stitches to go down.
Repeat for all 5 Points of the Star:
- Repeat Rows 6-10 for each point of the star to have 5 points in total.
Finishing the First Star:
- After completing the first star, cut a short tail and fasten off.
For the Second Star:
- Repeat the entire pattern one more time to create a second star but do not cut off the tail when you finish.
Joining the Two Stars:
- Put the back sides of both stars facing each other, with the right sides facing outward.
- Begin joining the two stars by single crocheting around through both layers.
- When you get to the last point, start stuffing your star before you finish crocheting it up completely.
- Continue adding stuffing as you complete your single crochet border around the last bit of the star.
Closing:
- After completely joining the stars and filling with stuffing, finish off with a slip stitch.
- Cut off a long tail and weave in the end.
Your star is now complete, displaying neatly joined stars with a stuffed, plush appearance ready for whatever use you desire, be it as a toy, a pin cushion, or a decorative piece.



Leave a Reply