The Crochet Stitch Sampler Pouf Free Pattern offers a creative way to practice different stitches while making a cozy, functional footrest. This easy pattern is perfect for anyone looking to enhance skills and add a homemade touch to home furnishings, ending up with a unique and comfy pouf.
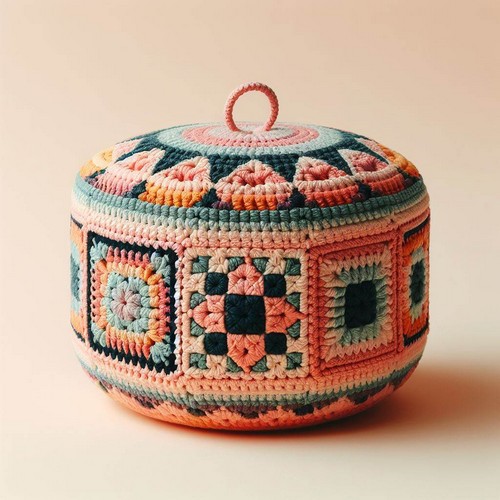
Crochet Stitch Sampler Pouf Pattern
The Crochet Stitch Sampler Pouf Pattern offers a twist on traditional home decor. This pattern results in a unique, textured pouf showcasing various crochet stitches, making it not only a functional seating solution but also a piece of art. Crafted from robust and soft yarn, it promises comfort and durability. Simple instructions make this useful crochet pattern manageable for intermediate crocheters. The finished product adds a conversational and practical piece to your living space.
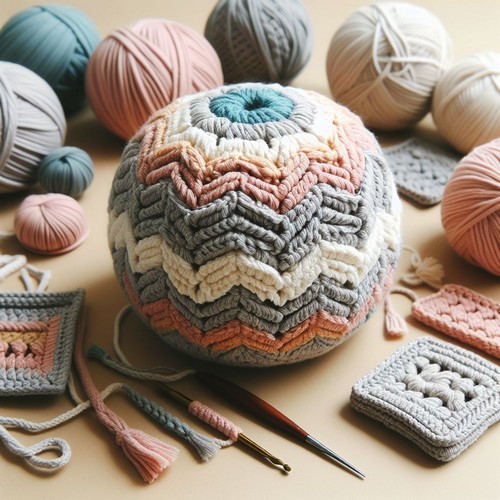
Making Your Crochet Stitch Sampler Pouf
Materials:
- Worsted weight yarn in various colors (around 1000 yards in total)
- Crochet hook size H-8 (5 mm) or size appropriate for your yarn weight
- Tapestry needle
- Scissors
- Polyester stuffing (about 8-10 pounds)
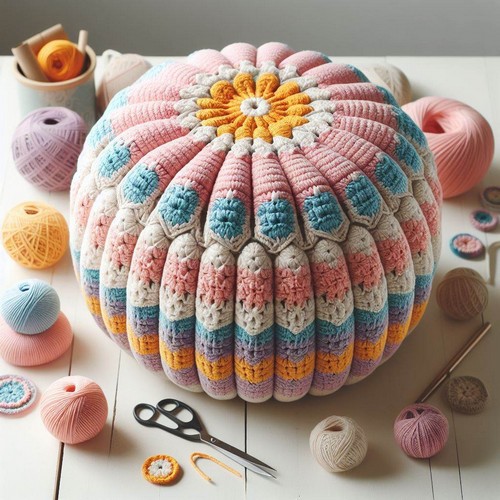
Step by step Pattern
1. Gauge swatch (optional):
Make a small swatch using each color of yarn and your chosen hook size to ensure you like the fabric drape and tension. Adjust the hook size if needed.
2. Motif squares:
Each square will be worked separately and then joined together at the end. There are several ways to approach this, you can choose one or mix and match:
Option A: Follow a specific motif pattern: Find a free online pattern for a motif square that you like, such as granny squares, ripple stitches, or sunburst squares. Make sure the finished size is consistent across all squares (around 12-15 inches).
Option B: Create your own design: Experiment with different stitch combinations and colors to create your own unique squares. Aim for a similar size as in option A.
3. Make squares:
Make enough squares to cover the desired size of your pouf. A good starting point is 20-25 squares, but you can adjust this based on your preference.
4. Joining the squares:
There are two main methods for joining the squares:
Method A: Sewing: Lay the squares flat in the desired layout and sew them together using a tapestry needle and yarn. Use a mattress stitch or whip stitch for a neat and invisible join.
Method B: Crocheting: Join the squares together as you crochet the final round around the entire pouf. This method creates a more seamless look but requires more crocheting. You can find tutorials for crocheted joins online.
5. Bottom round:
Once all squares are joined, crochet a round around the entire perimeter of the pouf, incorporating any increases or decreases needed to shape the bottom. You can use single crochet stitches, double crochet stitches, or a different stitch of your choice.
6. Stuffing:
Stuff the pouf firmly with polyester stuffing, making sure to distribute the stuffing evenly.
7. Top round:
Close the top opening of the pouf by crocheting a round around the perimeter, similar to the bottom round. You can decrease stitches as needed to create a defined top edge.
8. Finishing touches:
Weave in any loose ends and add any embellishments you like, such as tassels, pom-poms, or buttons.
Tips:
- Use a variety of stitch patterns and colors to create a visually interesting pouf.
- Pay attention to tension when crocheting to ensure even squares and a neat overall look.
- Stuff the pouf firmly to maintain its shape.
- You can adjust the size of the pouf by using more or fewer squares and adjusting the joining method accordingly.




Leave a Reply