
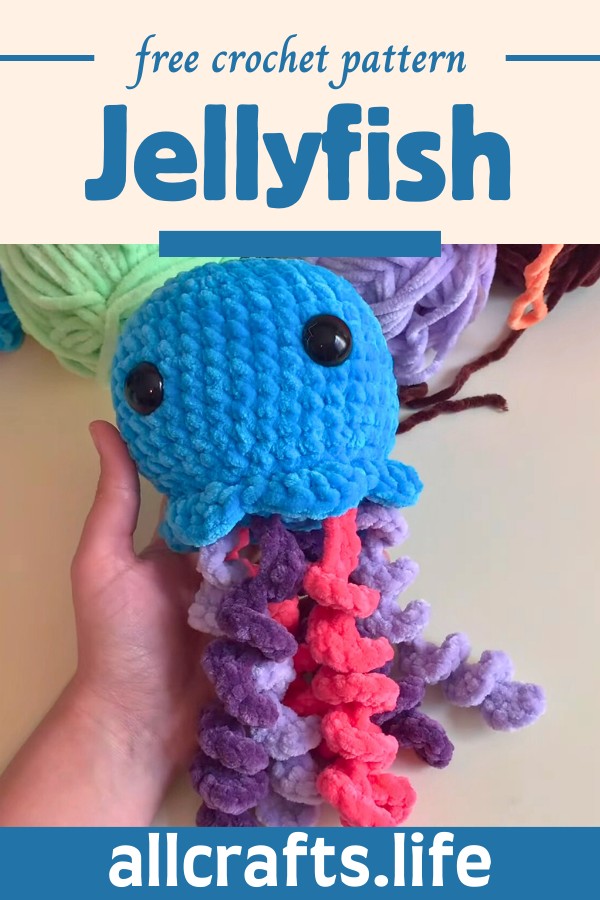
Does your child love the wonders of the ocean? If so, what better gift than a charming, handmade amigurumi jellyfish? With this easy-to-follow Crochet No-Sew Jellyfish Pattern, you can create a delightful and colourful sea creature that's sure to spark joy. This cuddly toy project is perfect for both beginners and seasoned crocheters and makes for a special handmade gift that your little marine enthusiast will cherish. Let's get into crocheting and bring this adorable jellyfish to life!
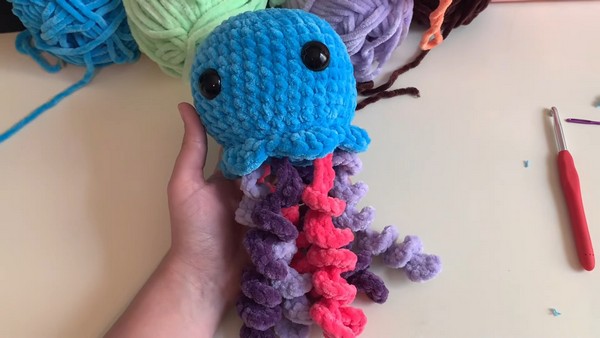
This crochet pattern brings to life adorable jellyfish with vibrant colours and playful tentacles, making it a heartwarming project for beginners. This pattern guides you through each step, ensuring you can easily create these cute sea creatures without the need for advanced skills. With chunky yarn and a sprinkle of creativity, you'll craft a charming jellyfish, complete with a squishy body and curly tentacles. This crochet amigurumi pattern is perfect for adding a splash of color and joy to any room.
Making Your Crochet Jellyfish
Materials Needed
- Chunky yarn (specifically used: Parfait Chunky)
- 6 mm crochet hook
- Scissors
- Yarn needle
- Safety eyes (20mm recommended, though smaller sizes can be used)
- Fiberfill for stuffing
Step by step Pattern
Tentacles (Make 6)
- Start with a slip knot on your hook.
- Chain 25.
- In the 2nd chain from the hook, make two single crochet stitches.
- In the next chain, place three single crochet stitches.
- Repeat the pattern of 2 single crochets in one chain and 3 single crochets in the next chain along the entire chain. Your tentacle will start to curl.
- Chain one, then cut the yarn, leaving a tail for attaching to the body.
For the body, we begin with a magic ring.
Body
- Magic Ring: Wrap yarn around fingers to create a ring, pull yarn through to start.
- Round 1: Work 6 single crochet into the magic ring.
- Round 2: Increase in every stitch around (12 stitches).
- Round 3: One single crochet, then increase, repeat around (18 stitches). Use a bobby pin or stitch marker to mark the start of rounds.
- Round 4: Two single crochets, then increase, repeat around (24 stitches).
- Round 5: Three single crochets, then increase, repeat around (30 stitches).
- Round 6: Four single crochets, then increase, repeat around (36 stitches).
- Rounds 7-14: One single crochet in each stitch around (36 stitches, make 8 rounds of this).
- Round 15: Four single crochets, then invisible decrease, repeat around.
- Round 16: Three single crochets, then invisible decrease, repeat around.
- Shell Stitch Fins: Single crochet into the front loop only, then create shell stitches by doing 5 double crochets in the front loop only of selected stitches around.
- Close the round with a slip stitch, chain 1, and then single crochet into the back loops only, around the previous round.
Closing the Body
- Place safety eyes between rounds 10 and 11, about five to six stitches apart. Secure them.
- Two single crochets, then invisible decrease, repeat around, then begin to stuff the jellyfish lightly.
- Attach the tentacles evenly around one edge of the body, securing each with knots.
- Continue to Single crochet, then decrease, around to start closing up the body.
- Stuff the jellyfish to desired firmness.
- Final Closure: Decrease in every stitch around, using front loop only for a neater finish.
- Cut the yarn, leaving a long tail, thread through the remaining stitches, pull tight to close, and secure the end.
Finishing Touches
- Add more fiberfill if needed before fully closing.
- Weave in the end through the body to hide it.


Leave a Reply