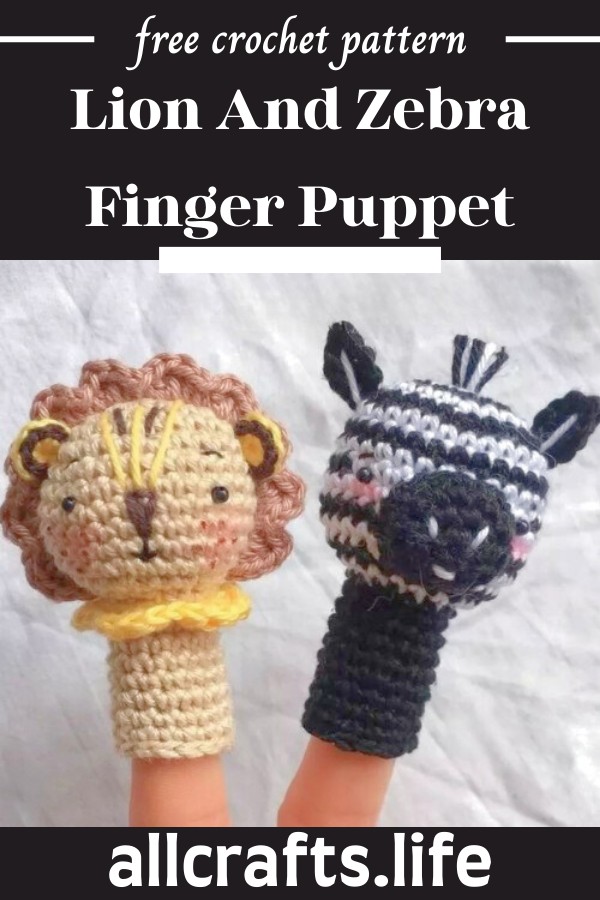
Learn how to crochet little, blushy and adorable lion and Zebra puppet finger puppets following this pattern. By crocheting two of the most beloved animals, this pattern brings dual fun that kids will unlikely resist. Gift it as a pair or one to each animal lover. Keep reading this article, as the results bring smiles to our bundles of joy.
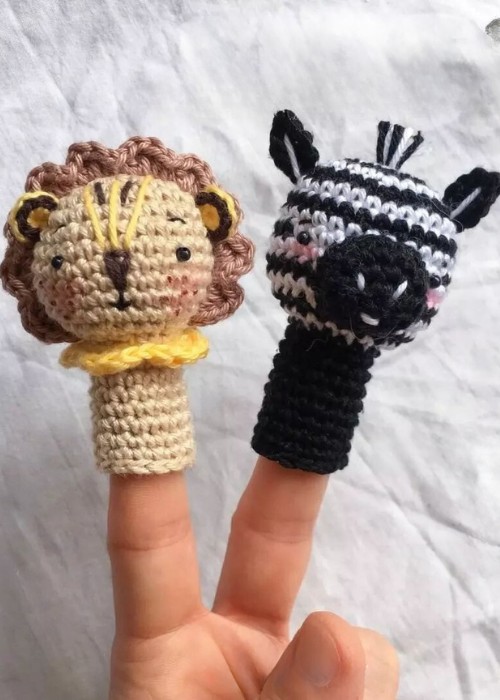
Designer: @amigurumi_amo On Instagram
Each puppet features merely the face of a lion or a zebra, the stuffed top part. The bottom part features holes for the finger. Adjust them according to the needs of the babies and adults. Overall, this project is quick whether you are a beginner or an expert, but it needs more care and small details while working.
Abbreviations
The instructions in this pattern have been shortened using the official crochet abbreviations. Below, I have mentioned the meaning or full form for each:
Note: You will only find the US abbreviations and instructions. For UK ones, compare them with the abbreviation converting chart:
- ch= chain
- st= stitch
- sl st= slip stitch
- SC= single crochet
- hdc-half double crochet
- inc - increase
- dec - decrease
- FLO - front loop only
- BLO - Back loop only
Supplies Needed
To get similar results as the designer got in these crochet lion and zebra finger puppets, gather these specific crochet supplies:
- Crochet Hook 2.5/3 mm
- Cotton Yarn in DK weight
- Yarn Needle
- Stuffing
- Black Beads

Crochet Lion and Zebra Finger Puppets Pattern
Are you ready to learn how to crochet lion and zebra finger puppet? Check out the easy-to-follow pattern:
Head
- Rnd 1: sc6 in the magic loop [6]
- Rnd 2: inc x6 [12]
- Rnd 3: (sc, inc) x6 [18]
- Rnd 4: (sc2, inc) x6 [24]
- Rnd 5: (sc3, inc) x6 [30]
- Rnd 6-12: [30]
- Rnd 13: (sc3, dec) x6 [24]
- Rnd 14: (sc2, dec) x6 [18]
- Rnd 15: (sc, dec) x6 [12] WORK BLO
Fill the stuffing inside.
- Rnd 16: dec x6 [6], Cut off and secure.
Finger Part
- Rnd 1: Work Flo Of Round 15: (Sc4, Dec) X
Mane
Insert a piece of cotton yarn from one side of the head to the other and work on the thread as follows:
- sc, hdc, dc, dc, hdc, sc *
- Repeat from *to* 9 times (in total 10). Secure with some hidden stitches.
EARS x2
- Yellow 1: sc6 in the magic loop [6] does not work in rounds, ch1, turn
- brown 2: sl st6
- Cut off and leave a long tail to sew on the head
Neck
- ch17
- 3 [15]
- 2-9: [15]
- 10: [15 sl st]
- Work: sl st in the 2nd ch, * sc, hdc inc, sc, sl st *. Repeat from * to * 3 times more (4 times in total)
- Sew at the base of the head.
- Sew the black beads and embroider the lines on the head, the eyebrows, the nose and the mouth. Color the cheeks.

Head (B=black, W=white)
- B 1: sc6 in magic loop [6] W 2: inc x6 [12]
- B 3: (sc, inc) x6 [18]
- W 4: (sc2, inc) x6 [24]
- B 5: (sc3, inc) x6 [30]
- W 6: [30]
- B 7: [30]
- W 8: [30]
- 9: BLACK sc10, WHITE sc10, BLACK sc10
[30] - W 10: [30]
- B 11: [30]
- W 12: [30]
- B 13: (sc3, dec) x6 [24]
- W 14: (sc2, dec) x6 [18] STUFF
- B 15: WORK BLO (sc, dec) x6 [12]
- B 16: dec x6 [6]
- Cut off and secure
Finger Part(Black)
- 1: WORK FLO OF ROUND
- 15: (sc4, dec) x
- 3 [15]
- 2-9: [15]
- 10: [15 sl st]
Muzzle (Black)
- 1: sc6 in magic loop [6]
- 2: sc inc, hdc inc, sc inc, sc inc, hdc inc, sc inc [12]
- 3: (sc3, inc) x3 [15]
- 4: [15]
- Cut off, stuff gently and put in the center of the head using some pins, sew the muzzle.
EARS x2
ch4, sl st in the 2nd ch from the hook, sc in the next, in the last ch work sc, sc, hdc, SC, SC, work on the other side sc, sl. Cut off and leave a long tail to sew on the head. Use white thread to embroider a line in the center of each ear.
Sew the black beads and color the cheeks. Sew some white and black threads on the top of the head


Leave a Reply