
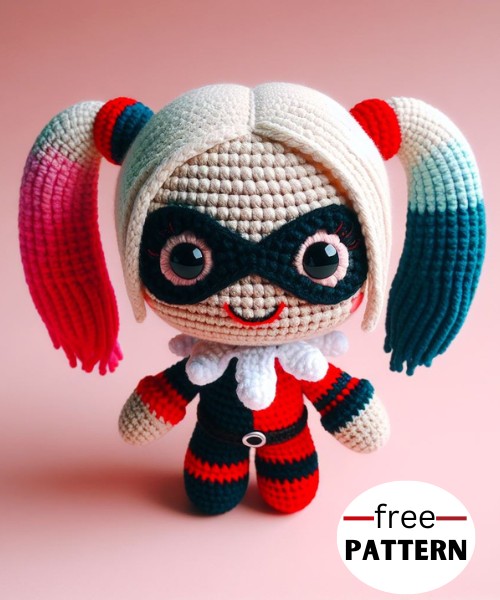
Create your own Crochet Harley Quinn Amigurumi doll with this step-by-step pattern. Perfect for comic fans, it's easy to follow for both beginners and experienced crocheters.
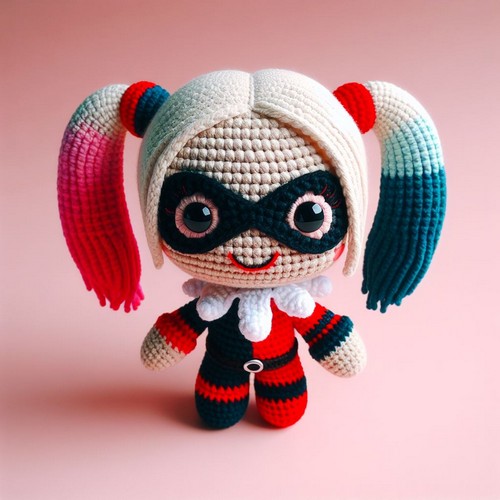
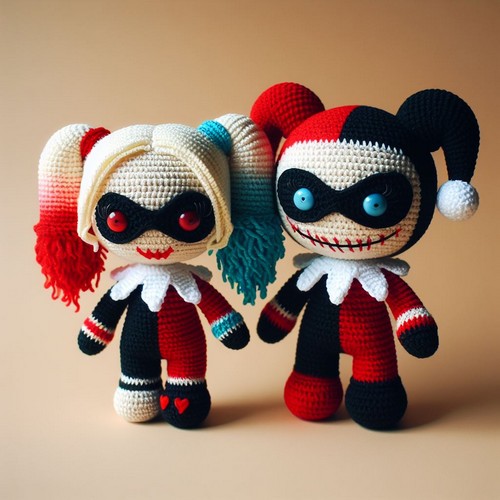
Create a spunky, fan-favorite character with the Crochet Harley Quinn Amigurumi pattern! The skillfully designed pattern guides you through creating a detailed, three-dimensional figurine, complete with Harley's trademark pigtail hairstyle. The doll's vibrant red and black color palette and her devious yet adorable smirk reflect her classic comic persona. Enjoy enhancing your crochet skillset while creating this naughty little sidekick.
Step By Step Guide
Materials:
- Red yarn
- Black yarn
- White yarn
- Blue yarn
- Yellow yarn
- Skin-colored yarn
- Pink yarn
- 8mm safety eyes
- Black embroidery thread
- Tapestry needle
- Toy stuffing
- 3mm crochet hook
Head:
- Skin tone: Make a magic ring with skin-colored yarn and work 6 sc into the ring.
- Increase to 12 sc by working 2 sc in each sc.
- Continue increasing until you have 30 sc.
- Change to white yarn and work 4 rows of sc.
- Hair: Change to black yarn. Make a chain of 8 stitches, turn, and work back down the chain. Repeat to make several more chains of the same length. These will be Harley’s pigtails.
- Sew the hair pieces to the top of the head, securing them in place.
- Eyes: Sew on the safety eyes, positioning them slightly above the midline of the head.
- Mouth: Embroider a small red smile under the eyes using red embroidery thread.
- Stuff the head firmly.
- Decrease by working 2 sc together at the end of each round until you have 12 sc.
- Cut the yarn, leaving a long tail for sewing up.
- Sew up the bottom of the head and set aside.
Body:
- Red: Make a magic ring with red yarn and work 6 sc into the ring.
- Increase to 12 sc by working 2 sc in each sc.
- Continue increasing until you have 36 sc.
- Black: Change to black yarn and work 3 rows of sc.
- Red: Change back to red yarn and work 5 rows of sc.
- White: Change to white yarn and work 1 row of sc.
- Diamonds: Using black yarn, embroider small diamond shapes on the red sections of the body.
- Stuff the body firmly.
- Decrease by working 2 sc together at the end of each round until you have 12 sc.
- Cut the yarn, leaving a long tail for sewing up.
- Sew up the bottom of the body.
Arms and legs:
- Skin tone: Make a magic ring with skin-colored yarn and work 6 sc into the ring.
- Increase to 12 sc by working 2 sc in each sc.
- Work 4 rows of sc.
- Black: Change to black yarn and work 1 row of sc.
- Stuff the arm/leg lightly.
- Decrease by working 2 sc together at the end of each round until you have 6 sc.
- Cut the yarn, leaving a long tail for sewing.
- Sew up the bottom of the arm/leg.
- Repeat steps 1-8 to make the other arm and leg.
- Sew the arms and legs to the body.
Details:
- Collar: Make a chain of 20 stitches with red yarn, turn, and work sc back down the chain. Sew the ends together to form a small collar.
- Bells: Make two small yellow balls for the bells on the collar and sew them on.
- Hair ties: Make two small red bows and tie them around the base of the pigtails.
- Makeup: Using black embroidery thread, embroider two small red circles on the cheeks for Harley’s signature blush.
Congratulations! Your Harley Quinn amigurumi is now complete! You can customize her with different colored hair, clothes, or accessories if you like.


Leave a Reply