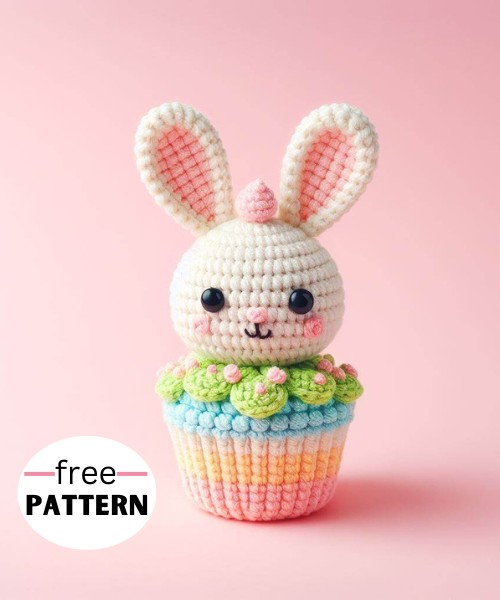
This Crochet Bunny Cupcake Amigurumi Pattern is a beginner-friendly guide to making an adorable, plush bunny-shaped cupcake. Perfect as a unique handmade gift or cute décor.
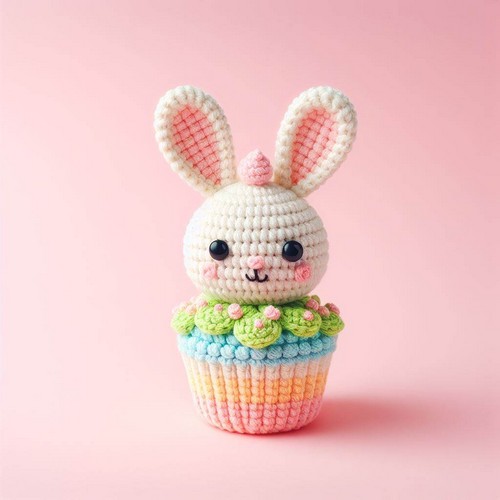
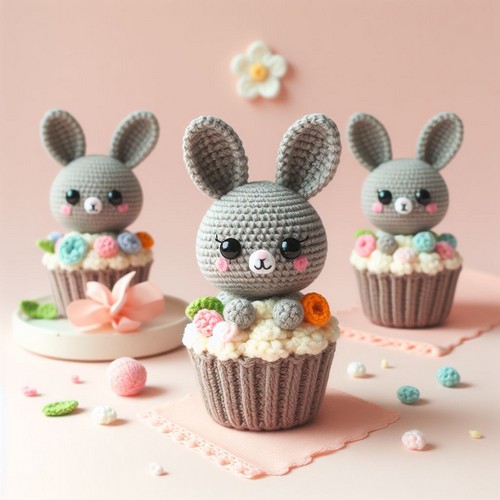
The Crochet Bunny Cupcake Amigurumi pattern is a charming blend of creativity and craftsmanship. It resembles a cupcake with a cute bunny popping out from the top. The crochet pattern uses basic stitches and shapes to form a perfectly round cupcake base, followed by a small, adorable bunny. The bunny's body is stitched into the cupcake, creating an interactive design. This amigurumi piece is compact, cuddly, and perfect for gifting.
Step-by-step Guide
Materials:
- Sport weight yarn in brown, pink, white, and black
- Crochet hook size D (3.25mm)
- Polyester fiberfill
- Tapestry needle
- Black safety eyes
- Scissors
Gauge:
18 stitches and 24 rows per 4 inches in single crochet
Instructions:
Cupcake bottom:
- With brown yarn, make a magic ring and crochet 6 sc into the ring. Do not join.
- Work 2 sc in each sc around. Join with a slip stitch to the first sc to form a round. (12 sc)
- Sc in each sc around. Join with a slip stitch to the first sc. Repeat rounds 2 and 3 until the piece measures approximately 1.5 inches in diameter.
- Sc in the back loop of each sc around. Join with a slip stitch to the first sc. Repeat round 4 for 2 rounds.
- Fasten off and leave a long tail for sewing.
Cupcake top:
- With pink yarn, make a magic ring and crochet 6 sc into the ring. Do not join.
- Work 2 sc in each sc around. Join with a slip stitch to the first sc to form a round. (12 sc)
- Sc in each sc around. Join with a slip stitch to the first sc. Repeat round 3 for 3 rounds.
- Sc in the back loop of each sc around. Join with a slip stitch to the first sc. Repeat round 4 for 2 rounds.
- 2 sc in each sc around. Join with a slip stitch to the first sc. Repeat round 5 for 2 rounds.
- Sc in each sc around. Join with a slip stitch to the first sc. Repeat round 6 until the piece measures approximately 2 inches in diameter.
- Sc in the front loop of each sc around. Join with a slip stitch to the first sc. Repeat round 7 for 1 round.
- Fasten off and leave a long tail for sewing.
Bunny head:
- With white yarn, make a magic ring and crochet 6 sc into the ring. Do not join.
- Work 2 sc in each sc around. Join with a slip stitch to the first sc to form a round. (12 sc)
- Sc in each sc around. Join with a slip stitch to the first sc. Repeat round 3 for 4 rounds.
- 2 sc in each sc around. Join with a slip stitch to the first sc. Repeat round 4 for 2 rounds.
- Sc in each sc around. Join with a slip stitch to the first sc. Repeat round 5 for 3 rounds.
- Sc in the front loop of each sc around. Join with a slip stitch to the first sc. Repeat round 6 for 1 round.
- Stuff the head firmly with fiberfill.
- Dec in each sc around. Join with a slip stitch to the first sc. Repeat round 8 until there are 6 stitches remaining.
- Fasten off and weave in the end.
Bunny ears:
- With white yarn, chain 8.
- Sc in the second chain from the hook and in each chain to the end. Chain 2 and turn. (7 sc)
- Sc in each sc across. Chain 2 and turn.
- Dec in each sc across. Chain 2 and turn.
- Dec in each sc across. Fasten off and weave in the end.
- Repeat steps 1-5 to make the second ear.
arms:
- With white yarn, chain 6.
- Sc in the second chain from the hook and in each chain to the end. Chain 2 and turn. (5 sc)
- Sc in each sc across. Chain 2 and turn.
- Dec in each sc across. Fasten off and weave in the end.
- Repeat steps 1-4 to make the second arm.
Assembly:
- Sew the ears onto the top of the bunny head.
- Sew the safety eyes onto the bunny face.
- Embroider a nose and mouth on the bunny face.
- Sew the head onto the cupcake top.
- Sew the arms onto the sides of the cupcake bottom.
- Sew the cupcake top and bottom together.
The bunny cupcake is complete!


Leave a Reply