
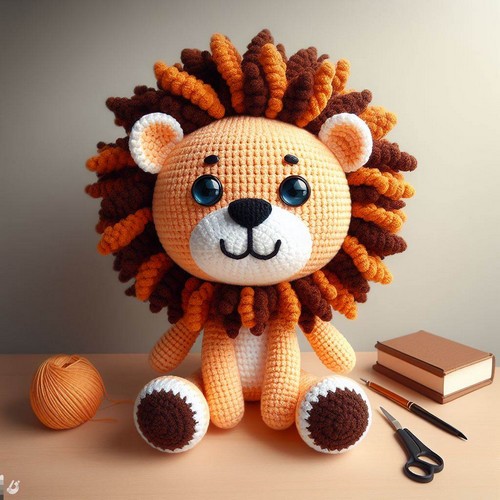
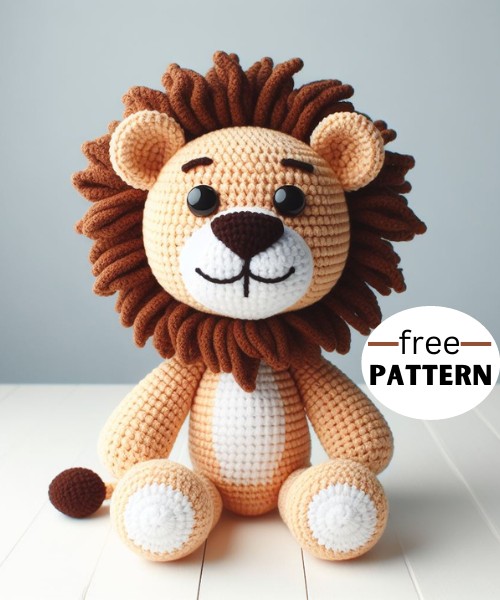
Get ready to create a cuddly companion with the Crochet Amigurumi Ryan The Lion Pattern. This step-by-step guide will help you make a friendly, adorable lion toy.
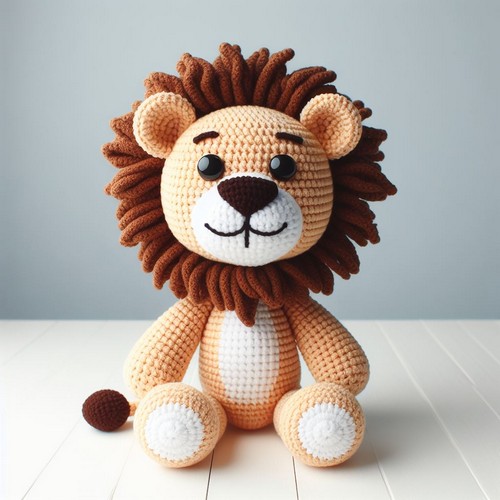
The Crochet Amigurumi Ryan, The Lion Pattern, is a lovely creation ideal for hobbyists with intermediate crochet skills. This pattern instructs you to make a playful lion, Ryan, featuring a structured body, expressive facial features, and a voluminous mane. This detailed guide ensures a charming 3D figure radiating warmth and friendliness.
Step-by-step Guide
Materials:
- Fingering weight yarn in orange, brown, white, black, and cream
- 2.5 mm crochet hook
- 9 mm safety eyes
- Tapestry needle
- Stitch marker (optional)
- Embroidery floss (optional)
Pattern:
Body:
- Using orange yarn, make a magic ring.
- Crochet 6 single crochets (sc) into the ring.
- Increase by crocheting two sc in each stitch around. You should now have 12 sc.
- Continue crocheting in rounds of sc, increasing six sc evenly spaced each round until you have 36 sc.
- Stuff the body firmly with fiberfill as you crochet.
- Continue crocheting in rounds of SC without increasing until the body is the desired length.
- Place a stitch marker at the end of the round to mark the belly.
- Crochet two rounds of SC without increasing.
- Decrease by crocheting two sc together in each stitch around.
- Continue decreasing in this way until there are only a few stitches left.
- Pull the remaining yarn tight and tie it off. Weave in the ends.
Head:
- With orange yarn, make a magic ring.
- Crochet 6 sc into the ring.
- Increase by crocheting two sc in each stitch around. You should now have 12 sc.
- Continue crocheting in rounds of sc, increasing 6 sc evenly spaced each round until you have 30 sc.
- Stuff the head firmly with fiberfill as you crochet.
- Continue crocheting in rounds of SC without increasing until the head is the desired size.
- Place a stitch marker at the end of the round to mark the bottom of the head.
- Crochet two rounds of SC without increasing.
- Decrease by crocheting two sc together in each stitch around.
- Continue decreasing in this way until there are only a few stitches left.
- Pull the remaining yarn tight and tie it off. Weave in the ends.
Legs:
- Make four legs the same way as the body, but use brown yarn and start with eight sc in the magic ring instead of 6 sc.
Ears:
- Make two ears by cropping a chain of 8 sc, then turning and cropping back down the chain, making a sc in each stitch.
- Decrease by crocheting two sc together in each stitch around.
- Repeat step 2 until there are only two stitches left.
- Pull the remaining yarn tight and tie it off. Weave in the ends.
Tail:
- Make a chain of 10 sc.
- Turn and crochet down the chain, making a sc in each stitch.
- Repeat step 2 until the tail is the desired length.
- Stuff the tail lightly with fiberfill.
- Pull the remaining yarn tight and tie it off. Weave in the ends.
Assembly:
- Sew the legs to the body, placing them evenly around the bottom.
- Sew the ears to the top of the head, on either side of the crown.
- Sew the tail to the back of the body, at the base of the spine.
- Glue on the safety eyes, placing them on the face between the stitch markers you placed earlier.
- Embroider a nose and mouth with black embroidery floss.
Mane:
- Crochet a chain of the desired length using eyelash yarn in the desired color for the mane.
- Cut the yarn, leaving a long tail.
- Insert the hook under a strand of yarn on the body of the lion, near the neck.
- Pull the long tail of the eyelash yarn through the loop on your hook.
- Repeat steps 3 and 4, crocheting the eyelash yarn strands all the way around the neck of the lion to create the mane.
- Tie off the yarn and weave in the ends.
Tips:
- You can customize your lion by using different yarn colors for the mane and tail.
- If you are uncomfortable embroidering a nose and mouth, use safety eyes instead.


Leave a Reply