If you love sushi or know someone who can't get enough of it, then the Crochet Small Sushi Pattern is just for you! This crochet amigurumi pattern lets you turn your passion for sushi into adorable little crocheted pieces that are sure to bring a smile to anyone's face.
They're perfect for jazzing up your kitchen, giving as a thoughtful gift to a sushi-loving friend, or just for having a good time while crocheting. The pattern is easy to follow and fun to make, so you can create your little sushi treats in no time. Whether for decoration or as playful toys, these crocheted sushi pieces will be a hit with anyone who enjoys this tasty food.
Uses of Crochet Sushi
- Home Decor: Add a unique and playful touch to kitchen shelves, countertops, or dining areas.
- Gifts: Perfect as personalized gifts for sushi lovers or for those who appreciate handmade crafts.
- Educational Toys: Use them as fun, soft toys for children to learn about different foods and cultures.
- Party Favors: Great for themed parties or cultural celebrations, serving as memorable party favors for guests.
- Photography Props" Ideal for food bloggers or anyone needing cute and quirky props for photos.
- Holiday Ornaments: Convert them into festive decorations for holiday trees or table settings, especially for food-themed celebrations.
- Market Stalls: They can be an attractive product for craft markets or local business fairs, appealing to a diverse audience.
Making The Crochet Small Sushi
Materials:
- White Velvet Yarn
- Black Velvet Yarn
- Coral Velvet Yarn
- Green Velvet Yarn
- Yellow Velvet Yarn
- Polyfil stuffing
- Scissors
- Yarn needle
- 4.5mm crochet hook
Abbreviations:
- Mc-magic circle
- Sc-single crochet Inc-increase
- Dec-decrease
- Ss-slip stitch BLO-black loop only
Pattern Notes
- This pattern is written in continuous rounds. Do not join rounds unless specifically stated
- I know the instructions for the rows with the increases and decreases look unorganized-that on purpose! When you stagger the increases and decreases you don't get a line or bend where we are adding or taking away stitches, making it smoother overall.
- If you want to make it in a different yarn type, just follow the pattern regularly but with the correct hook size for the yarn in question (3.5mm for medium worsted yarn, 6.5mm for blanket yarn, etc)
- This pattern is done using colour changes in the crochet itself. If you are confused by how to do clean and crisp colour changes, I recommend looking up some YouTube tutorials on it-it makes such a big difference to how the product turns out!
- When a colour change is introduced, the pattern will simply state the colour before those stitches. Continue using the colour stated until another colour is written.
- After sewing each, tie off and weave in the ends.
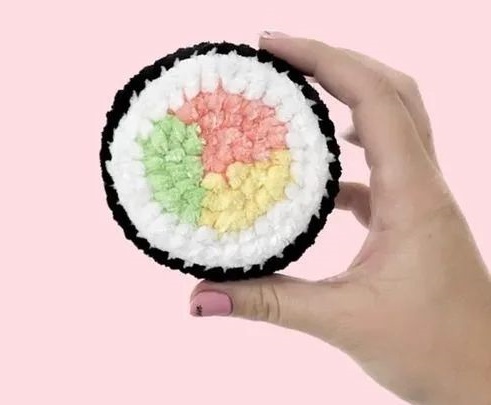
Step by step Pattern
Sushi Ends (make 2)
- Row 1: coral MC 6sc (6)
- Row 2: Coral inc, inc, yellow inc, inc, green inc, inc (12) Row 3: Coral inc, sc, inc, sc, yellow inc, sc, inc, sc,
- green inc, sc, inc, sc (18)
- Row 4: coral sc, inc, 2sc, inc, sc, yellow sc, inc, 2sc, inc, sc, green sc, inc, 2sc, inc, sc (24)
- Row 5: white (3sc, inc)x6 (30)
- Row 6: (sc, inc, 3sc)x6 (36)
- Finish off the first sushi end, and start working on the rest of the pattern from the second sushi end
- Row 7: black BLO sc around (36)
- Row 8-11: sc around (36)
- Join and finish off, leaving a long tail for sewing
Assembly:
This pattern is super easy to assemble! Simply line up the sushi end with the open black end and sew them together using the yarn tail! Before you're fully sewn, stuff lightly (to avoid bulge) then finish off! If your sushi is still bulging slightly that's okay! Simply take some of the white yarn and run a few stitches from one end to the other around the entire circle, this should solve the problem
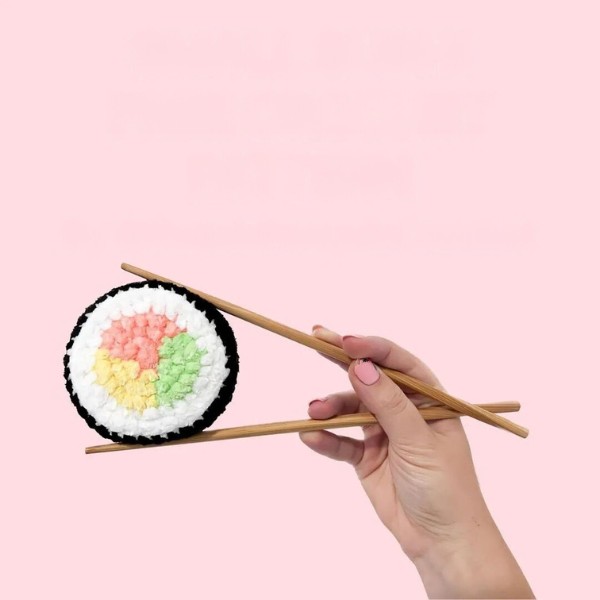
Free crochet pattern by @peachpenguincrochet


Leave a Reply