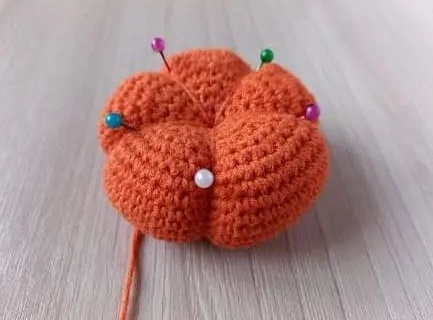
Learn how to crochet a mini pumpkin in this post to decorate for the fall or Thanksgiving. It can also be an excellent keychain or bag charm. The scale of this project offers an accessible challenge for beginners while also providing a quick and satisfying task for more experienced crocheters. Crochet as many, some for you and some for home decorations.
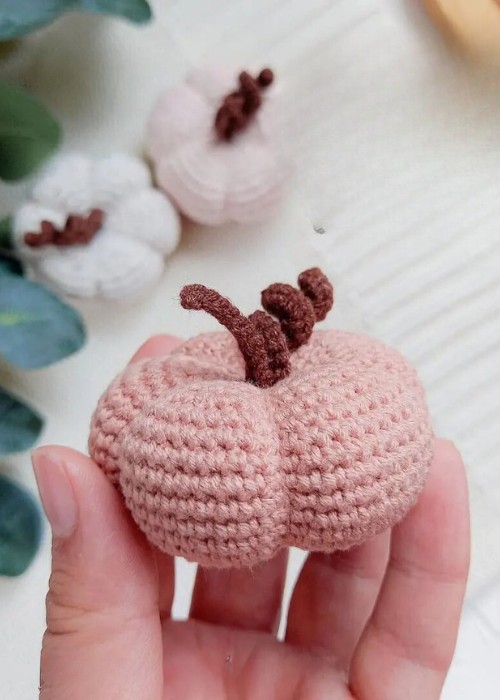
Supplies Needed
Gather the crochet supplies used by the designer of this pattern:
- Following yarns (you can also use those you prefer):
- YarnArt Jeans: 85, (160m/50g) - orange
- Gazzal Baby cotton: 3449, (165m/50g) - green
- Crochet hook 2-2.5 mm
- Yarn needle
- Scissors
- Stitch marker
- Fiberfill
Crochet Mini Pumpkin Pattern
Are you ready to learn how to crochet pumpkin in mini size? Check out the easy-to-follow pattern:
Abbreviations
- mr - magic ring ch-chain stitch
- sc - single crochet
- inc - increase
- dec - decrease
- (...) x n repeat the section in brackets n times
- The number in brackets at the end of each round shows the total number of stitches.
Body
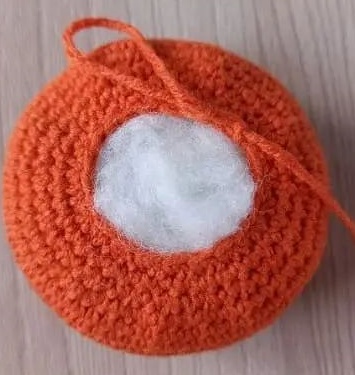
- Use orange yarn.
- Rnd 1: 10 sc in a mr (10)
- Rnd 2: 10 inc (20)
- Rnd 3: 20 sc (20)
- Rnd 4: 20 inc (40)
- Rnd 5-6: 40 sc (40) - 2 rounds
- Rnd 7: (1 sc, inc) x 20 (60)
- Rnd 8-16: 60 sc (60) - 9 rounds
- Rnd 17: (1 sc, dec) x 20 (40)
- Rnd 18: 40 sc (40)
- Rnd 19: 20 Dec (20)
- Rnd 20: 20 sc (20)
- Stuff the pumpkin not too tight.
- Rnd 21: 10 Dec (10)
- Rnd 22: 5 Dec (5)
- Fasten off, leaving a long tail.
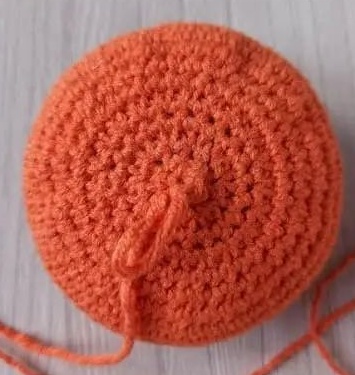
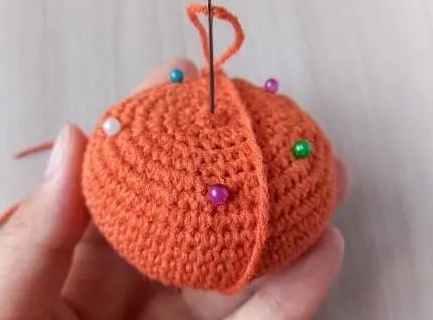
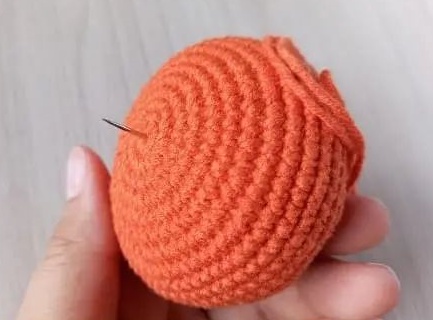
- Divide the pumpkin into 5-6 parts. Next, insert a long needle into the middle of the last round and take it out of the opposite side right out of the magic ring.
- Then, insert the needle in the same direction and tighten the thread strongly but carefully so as not to break it.
- Draw the needle through the middle of the pumpkin several times to form sections.
Use green color.
Stem
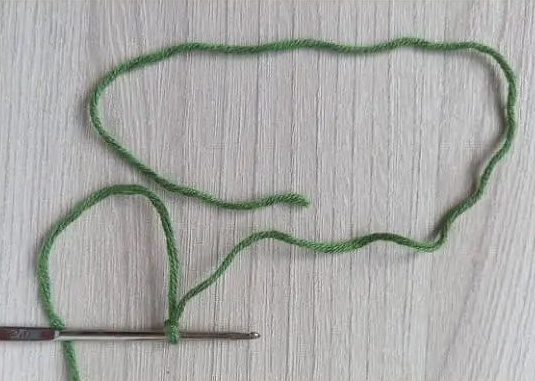
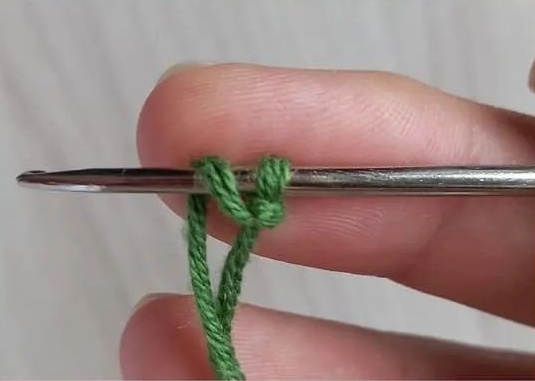
Leave a long tail and make the first chain stitch.
Throw a free tail on the hook, as shown in the picture below.
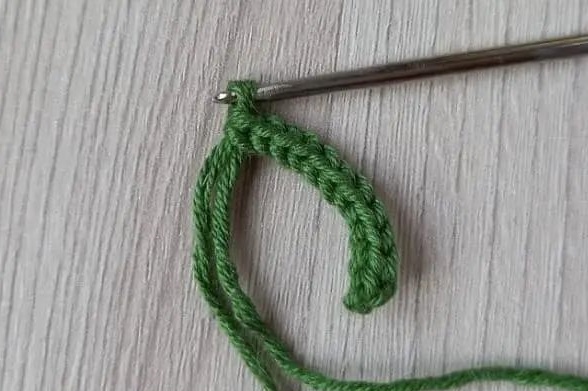
Use green color. Ch 17
Tendril
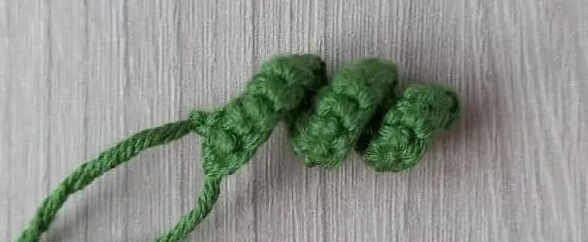
Row 1: start from the 2nd ch from the hook - 2 sc in each stitch
Sew the stem and tendril to the pumpkin. The pumpkin is ready!
Designer: Amiany.design On Instagram


Leave a Reply