
Explore the craft of crocheting with this attractive Macaw Parrot Amigurumi Pattern. Perfect for all skill levels, it allows you to create a vibrant, handmade decoration.
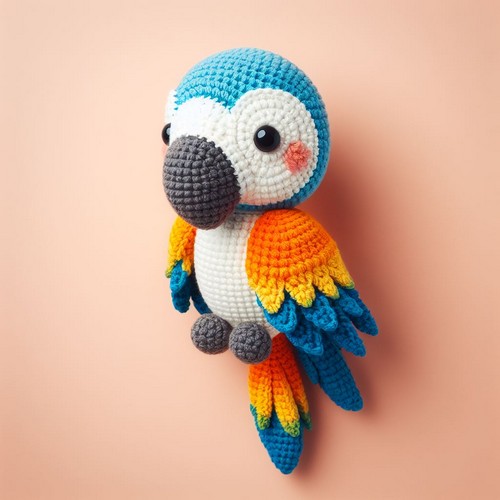
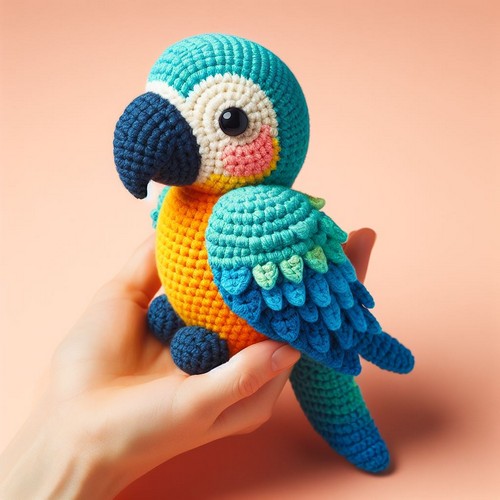
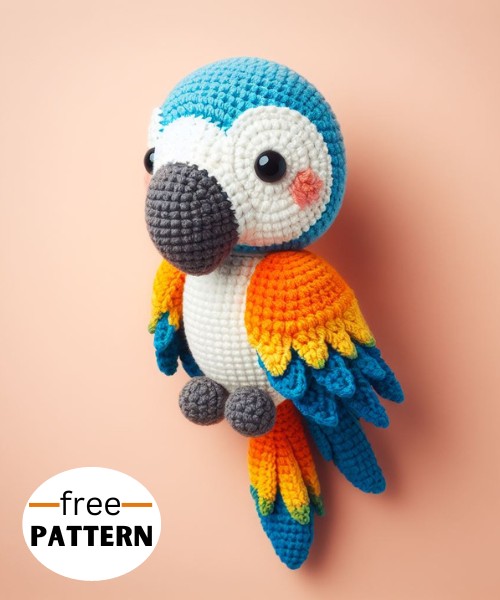
The Crochet Macaw Parrot Amigurumi is a remarkable piece of handcraft. This amigurumi, skillfully created through crochet techniques, boasts vibrant colors true to a macaw. The result is a lifelike, three-dimensional bird With detailed feathers, beak, and eyes. Its striking beauty and intricate details capture the spirit of the macaw, making it a lovely addition to any crochet collection or a thoughtful gift.
Step-by-step Guide
Materials:
- Crochet hook in size 3.5 mm
- Worsted weight yarn in red, yellow, blue, green, black, and white
- Polyfill stuffing
- Safety eyes
- Yarn needle
Instructions:
Body:
- Start with the body in red yarn. Make a magic ring and crochet 6 crochets (sc) into the ring. Tighten the ring and continue crocheting in a spiral, increasing 6 sc each round until you have 36 sc.
- Crochet 12 rounds without increasing.
- Change to yellow yarn and crochet 4 rounds without increasing.
- Stuff the body firmly with polyfill.
- Change back to red yarn and crochet 4 rounds without increasing.
- Decrease 6 sc in each round until you have 6 sc remaining.
- Cut the yarn and leave a long tail for sewing.
Head:
- Start with the head in blue yarn. Make a magic ring and crochet 6 sc into the ring. Tighten the ring and continue crocheting in a spiral, increasing 6 sc each round until you have 36 sc.
- Crochet 10 rounds without increasing.
- Stuff the head firmly with polyfill.
- Change to green yarn and crochet 4 rounds without increasing.
- Decrease 6 sc in each round until you have 6 sc remaining.
- Cut the yarn and leave a long tail for sewing.
Beak:
- Start with the beak in black yarn. Make a chain of 5 sc.
- Crochet 3 sc in the second chain from the hook, then turn your work.
- Crochet 2 sc in each stitch across the row.
- Turn your work and crochet 3 sc in each stitch across the row.
- Continue crocheting this way, increasing 1 sc in each row until you have a triangle with 9 sc at the base.
- Stuff the beak lightly with polyfill.
- Fold the beak in half and sew the sides together.
Wings:
- Start with the wings in red and yellow yarn. Make a chain of 12 sc.
- Crochet 1 SC in each stitch across the chain.
- Turn your work and crochet 2 sc in each stitch across the row.
- Continue crocheting this way, increasing 1 sc at the beginning of each row until you have a triangle with 15 sc at the base.
- Change to yellow yarn and crochet 2 rounds without increasing.
- Decrease 1 sc at the beginning of each row until you have 3 sc remaining.
- Cut the yarn and leave a long tail for sewing.
- Repeat steps 1-7 to make the other wing.
Tail:
- Start with the tail in red and blue yarn. Make a chain of 10 sc.
- Crochet 1 SC in each stitch across the chain.
- Turn your work and crochet 2 sc in each stitch across the row.
- Continue crocheting this way, increasing 1 sc at the beginning of each row until you have a triangle with 13 sc at the base.
- Change to blue yarn and crochet 2 rounds without increasing.
- Decrease 1 sc at the beginning of each row until you have 3 sc remaining.
- Cut the yarn and leave a long tail for sewing.
Assembly:
- Sew the head to the body.
- Sew the beak to the head.
- Sew the wings to the body.
- Sew the tail to the body.
- Sew on the safety eyes.
That's it! Your macaw parrot amigurumi is complete!


Leave a Reply