
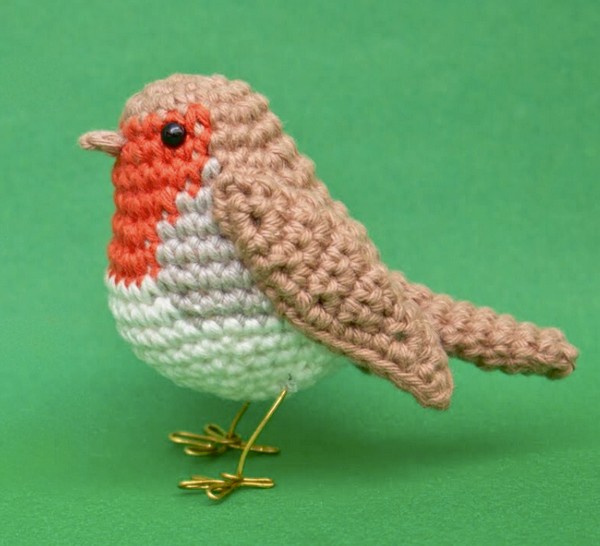
This Crochet Robin Amigurumi tutorial is a beautifully presented guide that adeptly breaks down the crochet process into manageable steps, making it accessible to crafters of all skill levels. The attention to detail is remarkable, ensuring that the finished robin boasts a lifelike charm that is both captivating and delightful.
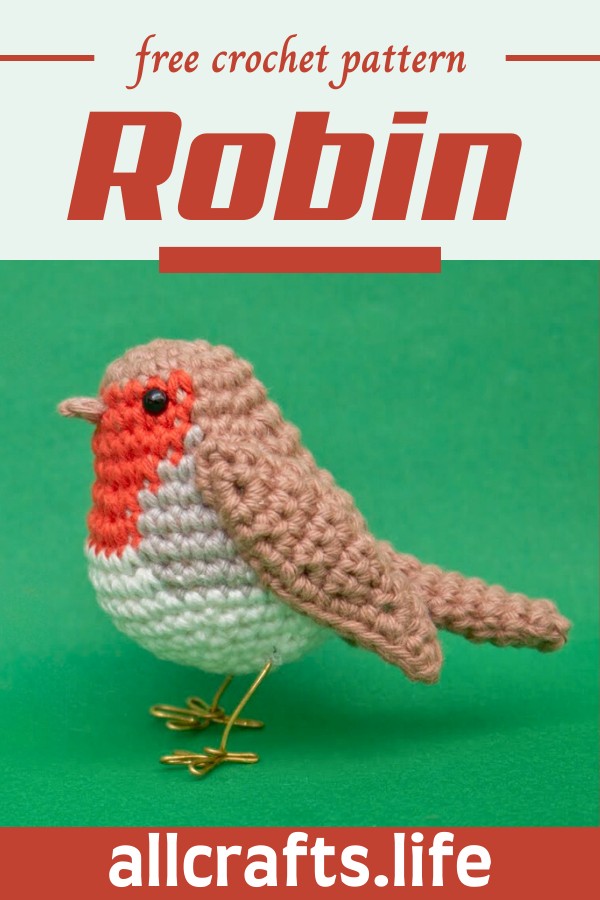
Crochet Robin Amigurumi
This tutorial not only demonstrates the meticulous art of amigurumi but also ignites a spark of creativity, encouraging crocheters to customize their birds. Whether you're a seasoned crochet enthusiast or a beginner, this project promises a fulfilling and enjoyable crafting experience.
Materials:
- DK or light worsted grade yarn in shades of light brown, red (fox), light gray (pearl gray), and cream (natural white).
- 2.5 mm crochet hook (between B1 and C2).
- Fiber fill for stuffing.
- Yarn needle.
- Stitch marker.
- Safety eyes (4mm) or black thread for embroidered eyes.
- Wire for feet (optional, 1mm thick).
- Pliers and cutting tools for wire (optional).
Body:
Start with magic ring:
- Round 1: 6 sc in magic ring.
- Round 2: Increase in each sc around (12 sc).
- Round 3: Sc in next st, increase in next st, repeat ** around (18 sc).
- Round 4: Incorporate red yarn for color changes. Sc and manage both yarns for proper color shifting, finishing with 21 sc.
- Round 5-12: Continue increasing while managing color changes between brown, red, and gray as described in the video to mimic the Robin's color pattern.
- Decrease Rounds: Start decreasing while managing color changes and filling with fiber fill.
Tail:
- Attach yarn at the body’s back with a base chain, maintaining color coordination (brown for top, white for underside), and decrease to shape the tail.
Wings (make 2):
- Base: Chain 2, sc in second chain from hook.
- Row 1: Increase in each st across.
- Row 2-7: Continue with sc across for each row, increasing at rows' ends for shaping.
- Edge with sc all around the wing.
- Sew to body.
Feet (optional):
- Cut wire to desired length and shape into bird feet. Use pliers to bend and secure. Attach securely to the body using the suitable stitch location.
Assembly:
- Attach all parts securely.
- Sew on or embed safety eyes.
- Using leftover yarn, embroider or attach additional details such as a beak and feathers if using yarn colors different from the body.
- Finish by weaving in all loose ends and adding any additional stuffing as needed.
Notes:
- Customize colors to create different bird species or personal preferences.
- Adjust hook size according to yarn and personal crochet tension.
This pattern requires careful attention to color changes and shaping, especially around the head and tail, to achieve a realistic European Robin look. Enjoy crafting your amigurumi bird!

Leave a Reply