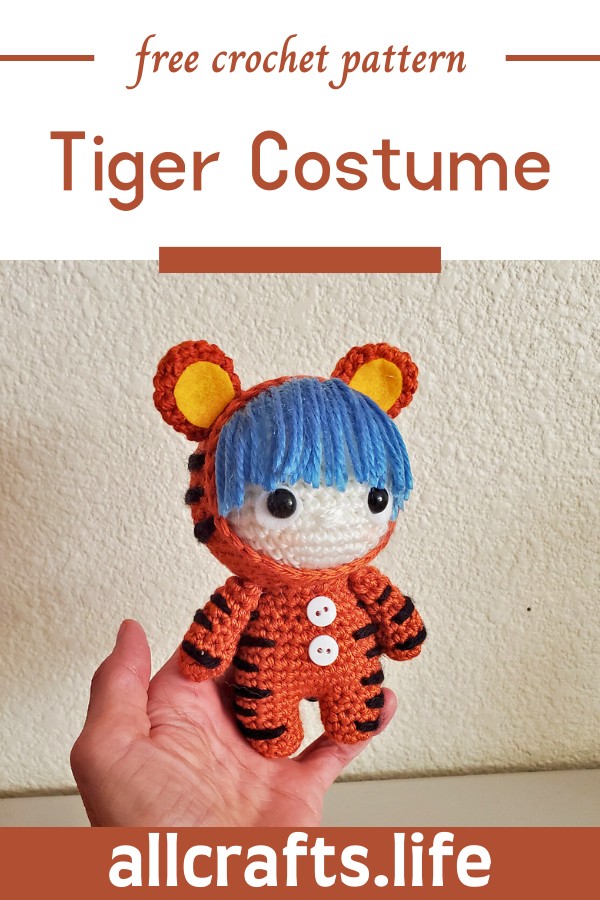
Take a deep dive into the beautiful crochet world with this Amigurumi Doll in Tiger Outfit Pattern. Perfect for beginners and intermediate skill levels, create an adorable plush toy that can bring joy to both kids and adults!
The Crochet Amigurumi Doll in Tiger Outfit Pattern is an intricate yet fun crochet design. You'll make a cute, palm-sized doll with a playful tiger outfit. The pattern mainly involves embroidery, crocheting in rounds, and stitches like a single, slip, and half double crochet. It's a rounded doll with a chubby body, paws, a tiger-striped jumpsuit, and a round head with whimsical facial features. It stands out as the perfect handmade gift or table decor.
Step By Step Guide
Materials:
- Yarn in orange, white, black, pink, and yellow
- Crochet hook size 2.5mm
- Fiberfill for stuffing
- Sewing needle and thread
- Safety eyes
- Black embroidery floss
Instructions:
1. Make the head:
- Start by crocheting a magic ring in orange yarn.
- Crochet 6 single crochets into the ring. Tighten the ring to close.
- Crochet 2 single crochets in each stitch around, increasing to 12 stitches.
- Continue crocheting rounds of single crochets, increasing 6 stitches evenly around each round. Crochet 4 rounds like this.
- Crochet 4 rounds without increasing.
- Crochet 2 rounds, decreasing 6 stitches evenly around each round.
- Crochet 2 rounds, decreasing 3 stitches evenly around each round.
- Stuff the head firmly with fiberfill.
- Crochet 1 round, decreasing 6 stitches evenly around.
- Fasten off and weave in the ends.
2. Make the ears:
- Crochet 6 chain stitches in orange yarn.
- Slip stitch into the second chain from the hook to form a ring.
- Crochet 8 single crochets into the ring.
- Fasten off and weave in the ends.
- Make another ear the same way.
3. Make the nose:
- Crochet 6 chain stitches in pink yarn.
- Slip stitch into the second chain from the hook to form a ring.
- Crochet 6 single crochets into the ring.
- Fasten off and weave in the ends.
4. Make the mouth:
- Embroider a small smile onto the face of the doll using black embroidery floss.
5. Make the eyes:
- Sew the safety eyes onto the face of the doll.
6. Make the body:
- Crochet a magic ring in orange yarn.
- Crochet 6 single crochets into the ring. Tighten the ring to close.
- Crochet 2 single crochets in each stitch around, increasing to 12 stitches.
- Continue crocheting rounds of single crochets, increasing 6 stitches evenly around each round until the body is as long as you want it to be.
- Stuff the body firmly with fiberfill.
- Crochet 1 round, decreasing 6 stitches evenly around.
- Fasten off and weave in the ends.
7. Make the arms:
- Crochet 6 chain stitches in orange yarn.
- Slip stitch into the second chain from the hook to form a ring.
- Crochet 8 single crochets into the ring.
- Crochet 4 rounds of single crochets.
- Fasten off and weave in the ends.
- Make another arm the same way.
8. Make the legs:
- Crochet 6 chain stitches in orange yarn.
- Slip stitch into the second chain from the hook to form a ring.
- Crochet 8 single crochets into the ring.
- Crochet 6 rounds of single crochets.
- Fasten off and weave in the ends.
- Make another leg the same way.
9. Sew the head, ears, nose, arms, and legs onto the body.
10. Make the tiger stripes:
- Use black yarn to embroider stripes onto the head, body, and arms of the doll.
11. Make the tiger outfit:
- The tiger outfit in the picture is a little more complicated and requires following a separate pattern. Many free patterns are available online for crocheting tiger outfits for amigurumi dolls.
Tips:
- When changing colors, be sure to weave in the ends of the yarn to prevent them from coming undone.
- Stuff the doll firmly so that it keeps its shape.
- You can use different yarn colors to create your unique tiger doll.
Leave a Reply