
Decorate for the spring by crocheting this standing plush flower amigurumi that doubles as a key hanger. You can also hang it on the walls or gift it to your dear one. The designer of this idea has provided a step-by-step pattern that describes how to crochet each part like petals, center and stems while assembling them. So, follow through with this guide for bringing spring charm to your home and on tables.
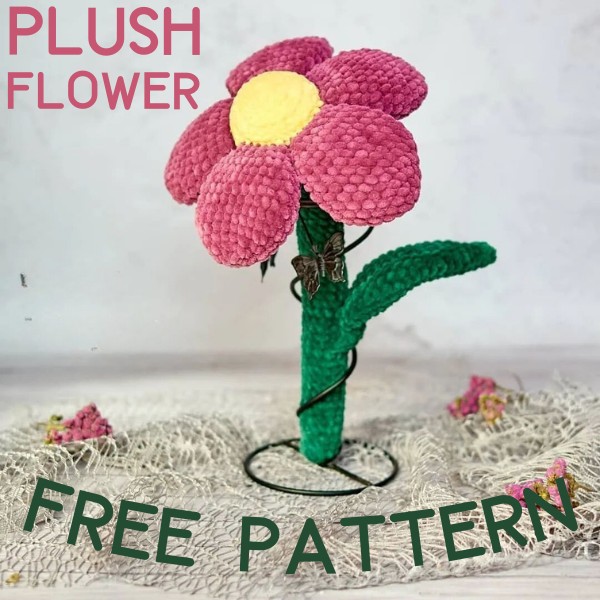
Free crochet pattern by @natascha.zayceva
Supplies Needed
The pattern has a comprehensive explanation of how to crochet this plush flower amigurumi. But unless you don't choose these materials and tools, it is impossible to get the similar results that you can see in the pictures:
- Super bulky or Super chunky velvet yarn. The designer used 100g/120m Himalaya Dolphin Baby which is 100% Micro polyester.
Here is the list of colors used, their amounts, and their purpose:
- Green (stem, leaf - ½ of a skein);
- Yellow (the middle of the flower - a little);
- Any color (petals - ⅓ of a skein).
- 3 mm crochet hook.
- Toy stuffing (any polyester filling).
- Wire with a diameter of 3 mm - ca. 40 cm long.
- Scissors, needle, stitch marker
Sizes of Individual Pieces
- Flower length - 31 cm (about 12.2')
- Flower diameter - 21 cm (about 8.3')
Crochet Plush Flower Amigurumi
Abbreviations
- MR - magic ring
- sl st - slip stitch
- Sc single crochet
- inc - increase (2 sc in one stitch) dec - decrease (2 sc together)
- * - repeat** e.g.:
1) inc*3 - make 3 increases consistently;
2) dec*6 - make 6 decreases consistently;
3) (Dec, sc)*6 - make decrease, crochet 1sc and repeat these instructions in brackets 6 times.
NOTE
The petals, middle part, and stem are crocheted together. Only a leaf is sewn on. Flower on a wire frame.
Step-by-Step Instructions
Petals
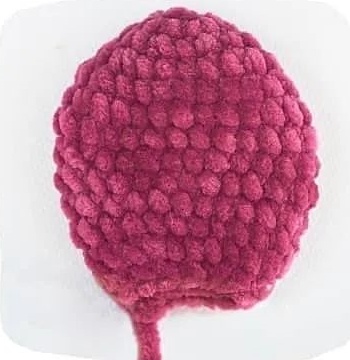 Make 5 pieces. Use any yarn color, you can make multicolor petals.
- 1r: 6 sc in MR (6)
- 2r: inc*6 (12)
- 3r: (sc, inc*3, 2 sc)*2 (18)
- 4r: (3 sc, inc*2, 4 sc)*2 (22)
- 5r: (4 sc, inc*2, 5 sc)*2 (26)
- 6-7r: 2 rounds of 26 sc (26)
- 8r: (6 sc, dec, 5 sc)*2 (24)
- 9r: 24 sc (24)
- 10r: (6 sc, dec, 4 sc)*2 (22)
- 11r: 22 sc (22)
- 12r: 5 sc, dec, 9 sc, dec, 2 sc, dec (19)
- 13r: (dec, 2 sc)*2, dec*2, 2 sc, dec, 3 sc (14), crochet 4 extra sc to the edge
I didn't stuff the petals. Fold the petal in half and crochet through back loops 7 sl st through both sides. Cut the yarn and hide it. We will connect the petals to the middle part and the stem through front loops only. 7 loops on each side.
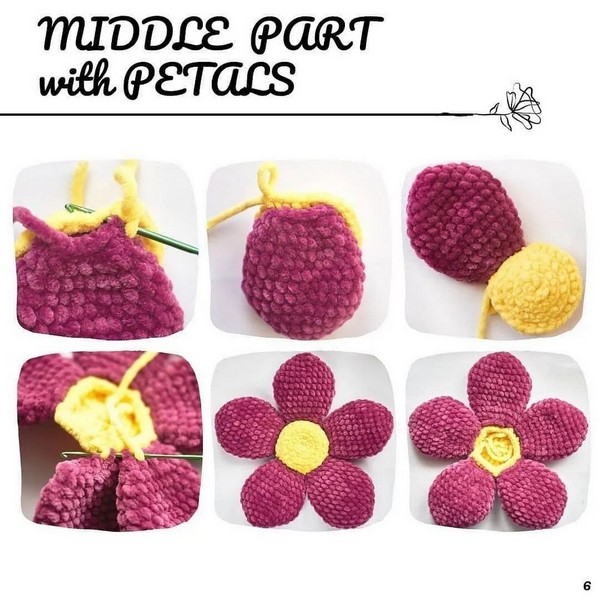
Middle Part
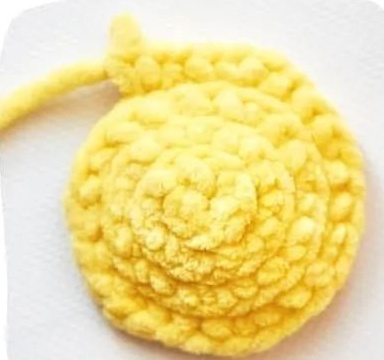
Work in yellow color. Crochet all rounds into back loops only.
- 1r: 9 sc in MR (9)
- 2r: inc*9 (18)
- 3r: (2 sc, inc)*6 (24)
- 4r: (3 sc, inc)*6 (30) - photo 1
- 5r: in this round, we will crochet the petals into front loops of the last round (use 7 loops on one side).
- The petal must be placed above the middle part and work into the loops that are farther from you. Draw a hook through the loop of the petal, after that into the back loops of the middle part (photo 1 on the next page) crochet 6 sc (photo 2), and crochet the 7th stitch together with the 1st stitch of the next petal and the next stitch of the middle part (photo 4).
- Connect all the petals the same way. Crochet the last stitch of the petal into the 1st stitch of this round (30). Change the yarn to a green color.
Stem
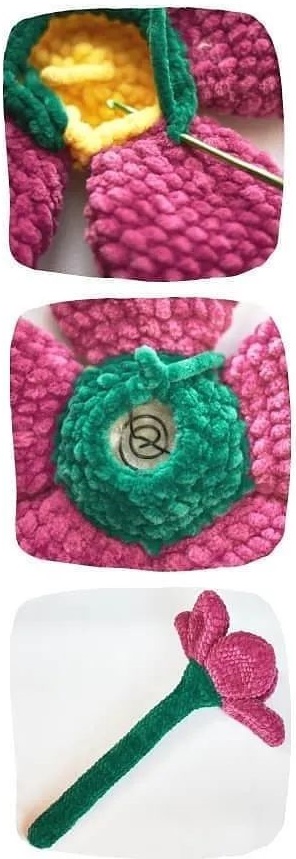
Stuff in the process.
- 1r: work the same way as you connected the petals - crochet sc through the loops of the petal and loops of the 5th round of the middle part (30)
- 2r: (3 sc, dec)*6 (24)
- 3r: (6 sc, dec)*3 (21)
- 4r: (sc, dec)*7 (14)
- Add some stuffing and place the wire inside the work, but at first twist the wire in a spiral.
- 5-44r: 40 rounds of 14 sc (14)
- Twist the second tip of the wire the same way so that the wire does not crawl out.
- 45r: dec*7 (7)
Cut the yarn, tighten the yarn, and weave in the yarn ends.
Leaf
 Work in green color.
- 1r: 6 sc in MR (6)
- 2r: 6 sc (6)
- 3r: (sc, inc)*3 (9)
- 4r: (2 sc, inc)*3 (12) 5r: (sc, inc)*6 (18)
- 6-7r: 2 rounds of18 sc (18) 8r: (2 sc, inc)*6 (24)
- 9-10r: 2 rounds of 24 sc (24)
- 11r: (3 sc, inc)*6 (30)
- 12-16r: 5 rounds of 30 sc (30)
- 17r: (3 sc, dec)*6 (24) 18r: 24 sc (24)
- 19r: (2 sc, dec)*6 (18)
- 20r: (sc, dec)*6 (12)
- 21-22r: 2 rounds of 12 sc (12)
- Do not stuff. Fold the detail in half and crochet 6 sc through both sides. Leave a long yarn tail to sew. I sew between the 25th and the 31st rounds.
READY
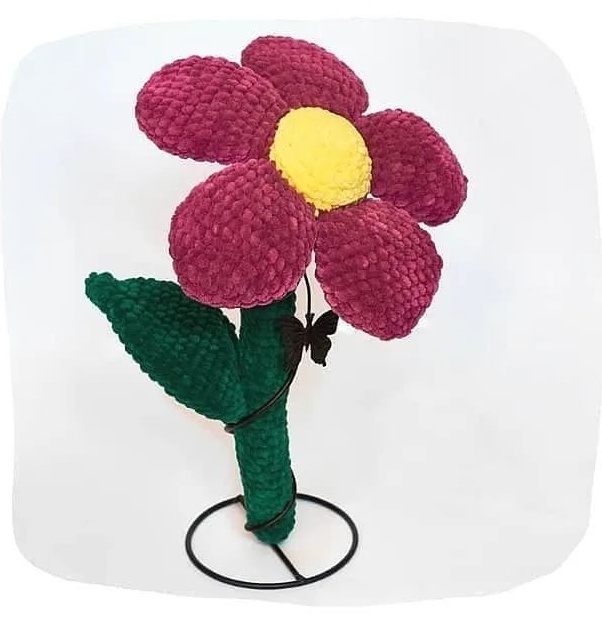
Congratulations!
Your plush flower is ready)
I hope you enjoyed my description and your new flower)


Leave a Reply