
This collection offers an amazing list of Crochet Thor Amigurumi Patterns perfect for those looking to add a unique piece to their collection or seeking a special handmade gift for Marvel enthusiasts. Ideal for crocheters with an interest in crafting pop culture characters, these patterns will allow you to create your own Thor amigurumi, complete with his iconic hammer and cape. Whether for display, gifting, or as a cherished keepsake, these patterns provide a fantastic way to combine your crochet skills with your love for superhero themes.
Crochet Thor Amigurumi Patterns

These Thor Amigurumi patterns not only enhances your ability to work on detailed projects but also enriches your collection with a character known for his strength and valor. By following these patterns, you’ll be able to refine techniques such as color changing, shaping, and creating distinctive features that bring Thor to life.
These creations are perfect for personal collections, as thoughtful gifts for Marvel fans, or even as unique items for craft fairs. Embrace the challenge and the joy of crafting a superhero, and let your crochet hook bring the legendary Asgardian prince into the realm of handmade treasures.
How To Crochet Amigurumi Thor
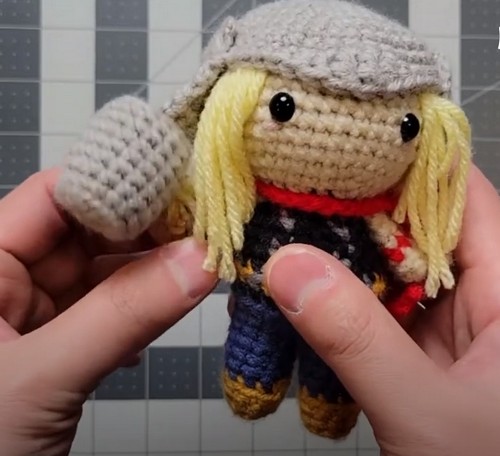
Uses: The How to Crochet Amigurumi Thor lets you bring the iconic Marvel character into your living room. Be it for children who wish to have Thor by their side in their pretend battles or adult fans who appreciate the Avengers' of Thunder.
Materials:
- Yarn in various colors
- 4mm crochet hook
Making:
Start by crocheting two separate legs in the gold and blue. After completing, join the two legs together and continue crocheting. Continue crocheting upwards, changing color to create Thor's attire and head. The color sequence goes from blue to gray, black, and skin tone for the head.
The helmet is another important component, created in three parts - The top part and two sides, each created individually and then sewn together to form the complete piece. Once done, the piece is attached to the top part of the head, leaving room for the hair. Finally, a red cape is crocheted separately and attached around Thor's neck.
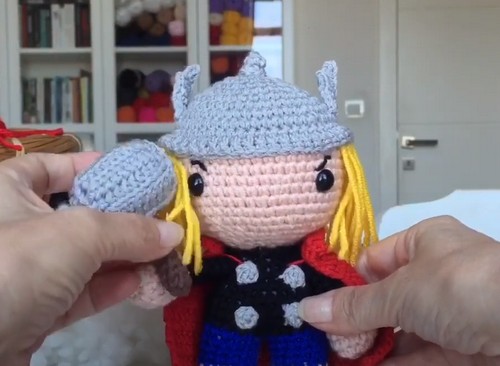
Thor Amigurumi
Uses: With its intricate design and striking resemblance to the iconic superhero, Thor Amigurumi serves as a fantastic display piece. Show off your crochet skills to friends and family as this intricately hand-crocheted item becomes a conversation starter in your home.
Materials:
- Yarn in various colors
- A crochet hook
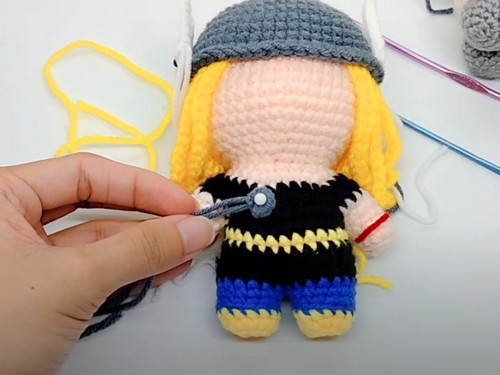
Amigurumi Marvel Thor
Uses: Following the detailed instructions in the video, you can create a fantastic Amigurumi Thor that any fan would be proud to display or gift to their loved ones.
Materials:
- Yarn in various colors
- A crochet hook
Making:
Begin by crocheting two legs, each consisting of 4 rows of light yellow and 4 rows of blue yarn. Each leg starts with 6 single crochets (sc) into a magic ring and increases to 12 sc in the next rows. Connect the two legs using a slip stitch and a single crochet in the middle of the chain.
Continue with the body in black yarn, making sc all around and incorporating decreases. Where needed to create Thor's armor-clad body. Switch to skin-colored yarn and crochet the head. Some rows will have a consistent number of single crochets, and others will require increases or decreases for the accurate shape. Assemble all parts together, ensuring each piece is securely attached and well-positioned.
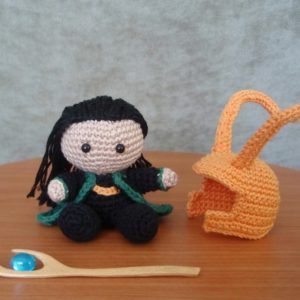
Yoyo Thor Amigurumi
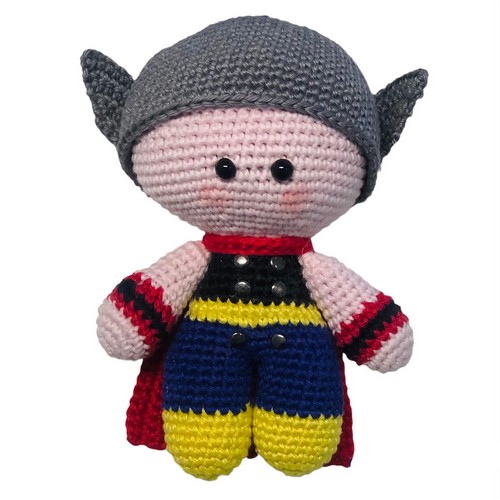
Uses: Let your children's imagination soar as they include Yoyo Thor in their fantasy battles, promoting creative play.
Materials:
- Yarn in various colors
- 2mm crochet hook
Making:
Start with yellow yarn and crochet in a spiral to create the legs. Once that's done, change the color to dark blue to provide differentiation between the boots and the suit. Join the legs together by stitching a point from each leg. Continue crocheting in a spiral in dark blue.
Make sure you transfer to yellow and black yarn as you move up the body to create the armor look of Thor. Seamlessly unite the head with the body using pink yarn. Increase and decrease your stitches strategically to get the correct head shape. The last piece – the cape – is to be done in red and added to the back of the figure.


Leave a Reply