
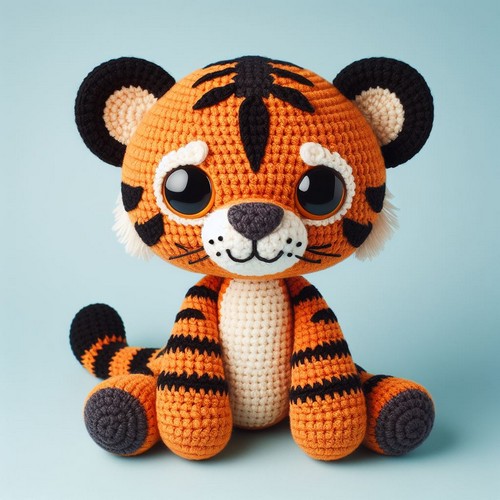
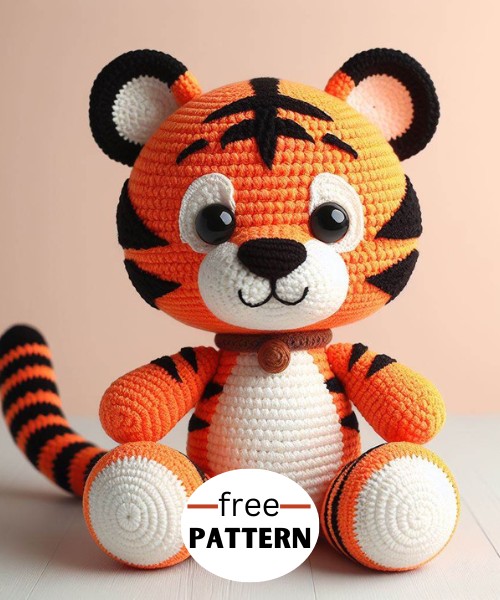
Introducing Crochet Romeo The Tiger Amigurumi Pattern, a charming and delightful project for craft lovers! Create your lovable tiger friend, perfect as a unique gift or cuddly companion.
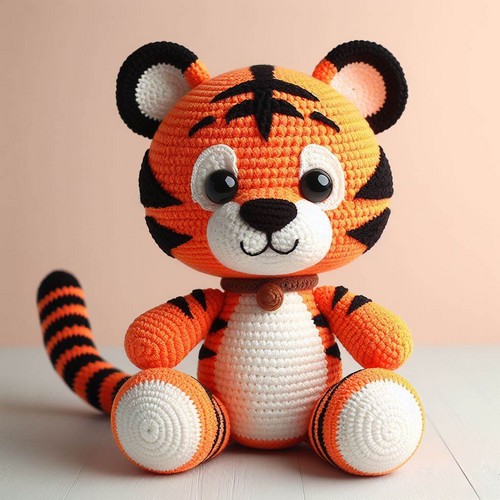
Experience crafting the fun and vibrant Crochet Romeo The Tiger Amigurumi. Lovingly hand-stitched, this tiger, with its distinctive stripes and bright colors, is truly a work of art. The pattern is intermediate-level, with instructions that are straightforward to follow. Perfect for a unique, handmade gift or as a charming addition to your home decor. Embodying the raw power and elegance of the majestic tiger, the completed piece is undeniably captivating.
Step-by-step Guide
Materials:
-
- 4 ply fine semi-cotton yarn in black, white, and orange colors.
- Some brown yarn for the nose.
- 2.0 mm crochet hook.
- Fiberfill.
- 10 mm safety eyes.
- Scissors and sewing needles.
Instructions:
-
Make the magic ring and start crocheting the body in orange.
- Crochet 6 single crochets (sc) in the magic ring, slip stitch (sl st) to join (6 sc).
- Increase 6 sc evenly around, sl st to join (12 sc).
- Increase 6 sc evenly around, sl st to join (18 sc).
- Crochet 12 rounds without increasing.
- Stuff the body firmly with fiberfill.
- Crochet 6 rounds without increasing, decreasing 1 sc evenly around the last round (36 sc).
-
Change to black yarn and crochet 6 rounds.
-
Change to white yarn and crochet 2 rounds.
-
Change back to black yarn and crochet 2 rounds.
-
Change to orange yarn and crochet 2 rounds.
Make the legs:
- Make 4 legs in orange yarn following these steps:
- Make a magic ring with orange yarn.
- Crochet 6 sc in the ring, sl st to join (6 sc).
- Increase 6 sc evenly around, sl st to join (12 sc).
- Crochet 8 rounds without increasing.
- Stuff the legs with fiberfill.
- Crochet 2 rounds without increasing, decreasing 1 sc evenly around the last round (12 sc).
- Cut the yarn, leaving a long tail for sewing.
- Sew the legs to the body.
Make the head:
- Make the head in orange yarn following these steps:
- Make a magic ring with orange yarn.
- Crochet 6 sc in the ring, sl st to join (6 sc).
- Increase 6 sc evenly around, sl st to join (12 sc).
- Increase 6 sc evenly around, sl st to join (18 sc).
- Crochet 8 rounds without increasing.
- Stuff the head firmly with fiberfill.
- Crochet 5 rounds without increasing, decreasing 1 sc evenly around each round (13 sc, 10 sc, 7 sc, 5 sc).
- Cut the yarn, leaving a long tail for sewing.
- Sew the head to the body.
Ears:
- Make 2 ears in orange yarn following these steps:
- Make a magic ring with orange yarn.
- Crochet 6 sc in the ring, sl st to join (6 sc).
- Increase 3 sc evenly around, sl st to join (9 sc).
- Crochet 3 rounds without increasing.
- Sew the ears to the head.
Make the face:
- Sew on the safety eyes.
- Embroider a nose and mouth with black yarn.
Tail:
- Make the tail in orange yarn following these steps:
- Chain 30 sc.
- Crochet 1 row of SC in each chain.
- Stuff the tail with fiberfill.
- Roll up the tail and sew the end closed.
- Sew the tail to the body.
Make the stripes:
- Sew black stripes onto the body, head, legs, and tail.
Your crocheted tiger is now complete!


Leave a Reply