
Making a cute little mushroom that looks like it came straight from the Super Mario games is really fun! With easy-to-follow steps and using basic materials like colorful yarn, a crochet hook, and some stuffing, anyone can create a charming mushroom friend.
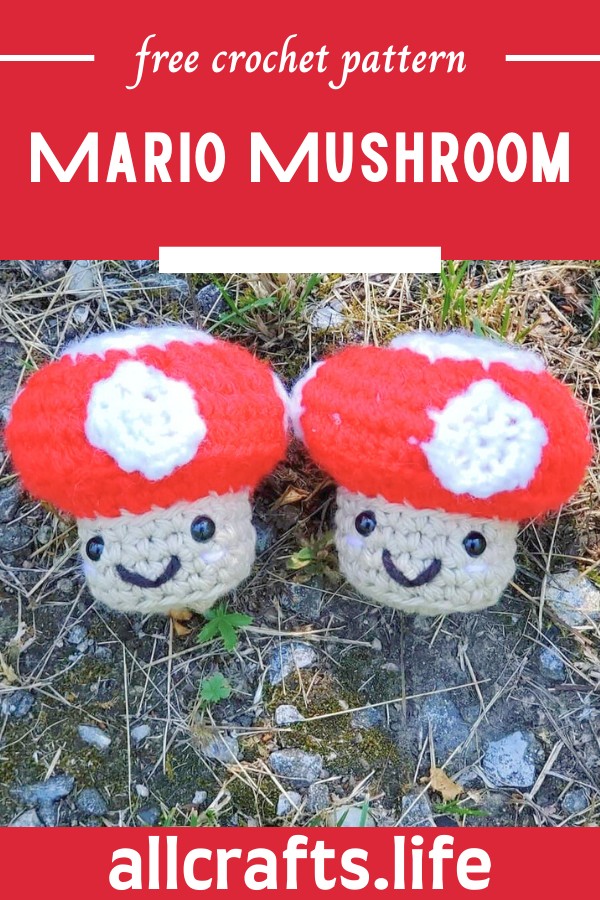
Crochet Super Mario Mushroom Pattern
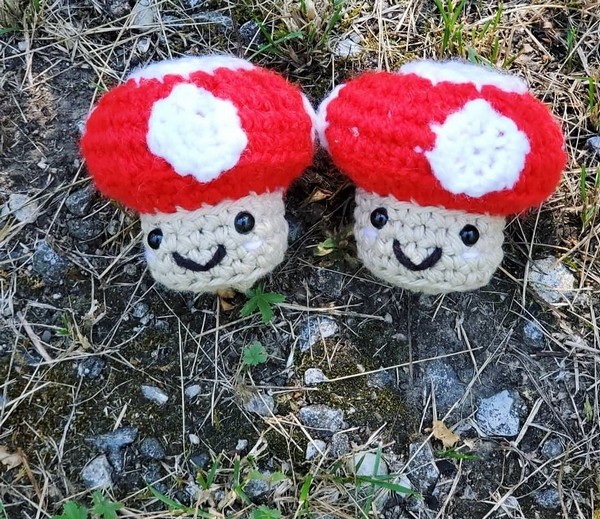
Not only is this pattern simple enough for beginners, but it also allows for creativity with colors and details. By adding little blush cheeks and cute eyes, your mushroom will really come to life. This project is perfect for both seasoned crocheters looking for a quick project or new crocheters wanting to practice their skills.
What You’ll Need:
- Yarn: 1 ball of Bernat Handicrafter Cotton in Jute, 1 ball of Bernat Premium yarn in Red, 1 ball of worsted-weight yarn in white, Scraps of pink and black yarn for the cheeks and mouth
- Hook: 3.75mm crochet hook
- Other Materials: Polyfil (stuffing), Stitch Marker, Safety eyes, Scissors, Sewing Pins, Darning Needle, Row counter
Abbreviations:
- ch: chain
- sc: single crochet
- ss: slip stitch
- st(s): stitch(es)
- F/O: fasten off
- inc: increase
- dec: decrease
- BLO: back loop only
Gauge:
16 stitches x 20 rows = 4” in single crochet
Mushroom Pattern:
Start with Jute:
- Ch 2. 6 sc in the first ch. Do not join.
- 2 sc in each st around.
- 1 sc, inc. Repeat from * around.
- In BLO, sc in each st around.
- – 7. Sc in each st around.
Switch to red. Attach safety eyes in round 6, 3 sts apart. Use scraps of pink and black yarn to make a mouth and blush for the cheek.
- In BLO, sc in each st around.
- 2 sc in each st around.
- 1 sc, inc. Repeat from * around.
- In BLO, sc in each st around.
- Sc in each st around.
- 1 sc, dec. Repeat from * around.
- Dec around. Stuff.
- Repeat 14.
Ss and F/O. Leave a tail to sew the hole in the top shut.
Big Spot: (Use white)
- Ch 2. 6 sc in the first ch. Do not join.
- 2 sc in each st around.
- 1 sc, inc. Repeat from * around.
Ss and F/O. Leave a long enough tail to attach a spot to the top of the mushroom.
Small Spots: (Use white/make 3)
- Ch 2. 6 sc in the first ch. Do not join.
- 2 sc in each st around.
Ss and F/O. Leave a long enough tail to attach spots to the side of the mushroom.
Weave in all of your ends, and that's it! You now have a cute crochet mushroom inspired by Super Mario. Enjoy your crafting!


Leave a Reply