
Meet the Crochet Little Leaf Dragon Amigurumi, a delightful and unique creation that is sure to capture your heart. With its enchanting design, this little dragon embodies the beauty of nature with a touch of whimsy. Its small size and leafy details make it a charming companion, perfect for both play and display. Whether you're a seasoned crochet enthusiast or a beginner looking to get into the world of amigurumi, this Little Leaf Dragon is a joy to create and even more delightful to have by your side.
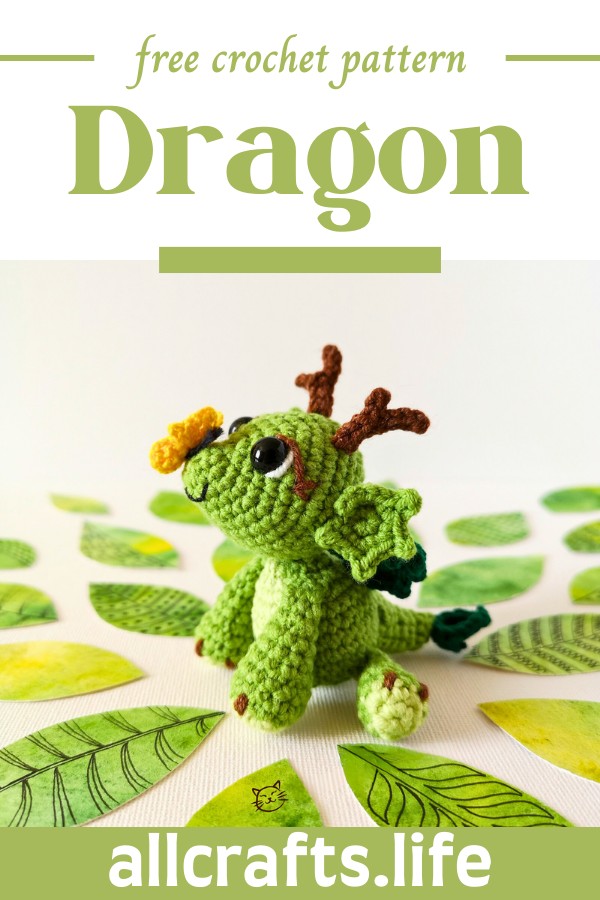
Crochet Little Leaf Dragon Amigurumi Pattern
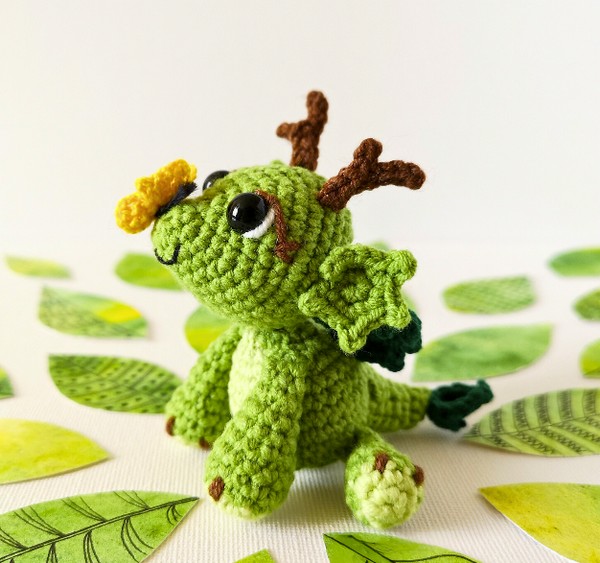
Crochet Little Leaf Dragon
Materials
- Sport weight yarn (for dragon):
- Dark green (color code 92)
- Green (color code 69)
- Light green (color code 11)
- Dark brown (color code 70)
- White (color code 01)
- Fingering weight yarn (for butterfly):
- Black
- Yellow
- Embroidery yarn:
- Black
- Crochet Hooks:
- 2 mm
- 1 mm
- Pair of Safety Eyes: 8 mm
- Stitch Markers
- Tapestry Needle
- Scissors
- Toy Stuffing
- Pins
Abbreviations and Crochet Terms
- R: Indicates the beginning of a row/round.
- MR: Magic ring, a technique to start crocheting in the round.
- ch: Chain stitch.
- st: Stitch.
- sl st: Slip stitch.
- SC: Single crochet.
- hdc: Half-double crochet.
- dc: Double crochet.
- tr: Treble crochet.
- dtr: Double treble crochet.
- PIC2: Picot stitch with chain 2.
- PIC3: Picot stitch with chain 3.
- inc: Increase, typically making two single crochet stitches in the same stitch for expanding the work.
- dec: Invisible single crochet decrease, used to reduce the number of stitches.
- (...) x ...: Repeat the instructions within the parentheses the specified number of times.
- [...]: Total number of stitches in the current round or row.
- turn: Turn the work at the end of the row to start a new one.
- FO: Fasten off, used to secure the end of the thread once the crocheting is complete.
Specific Crocheting Techniques
- Picot stitch:
- PIC2: Chain 2, then slip stitch into the second chain from the hook.
- PIC3: Chain 3, then slip stitch into the third chain from the hook.
The little amigurumi dragon crafted from this crochet pattern can have multiple uses, such as:
- Children's Toy: Soft and cuddly, making it a safe and cherished toy for a child.
- Decorative Piece: Adds a whimsical touch to room decor, especially for those who love fantasy themes.
- Gift: A thoughtful, handmade present for all ages, ideal for occasions like birthdays, and baby showers, or as a unique Christmas gift.
- Collectable: Can be part of a larger collection of handmade amigurumi creatures.
- Learning Tool: Utilized in storytelling or teaching children about mythology, encouraging imaginative play and learning.
- Stress Reliever: The texture and act of holding the amigurumi may provide comfort and help reduce stress.
- Photography Prop: Adds a touch of playfulness and creativity to photos, especially in themed shoots.
- Keychain or Bag Charm: Smaller versions can be adapted to hang on bags or keys.
- Desk Buddy: Keep by your workspace for the company and a bit of inspiration.
By choosing different colours or adding unique features, you can personalize the amigurumi dragon to suit various roles or preferences.

Leave a Reply