
With a twinkle in its eye and the softest touch, the Crochet Pixie Guinea Pig Pattern brings joy in creating a cuddly buddy. Born from a loving gesture for a daughter, this toy resembles the cherished pet Pixie in more than just looks it's designed for play and affection. Suiting both beginners and intermediate crocheters, the pattern lets you customize colours, ensuring each handcrafted piggy is truly unique. Not only does this make an adorable playmate, but it also serves as a heartfelt gift or charming decor. Enjoy crafting your very own snuggly guinea pig companion.
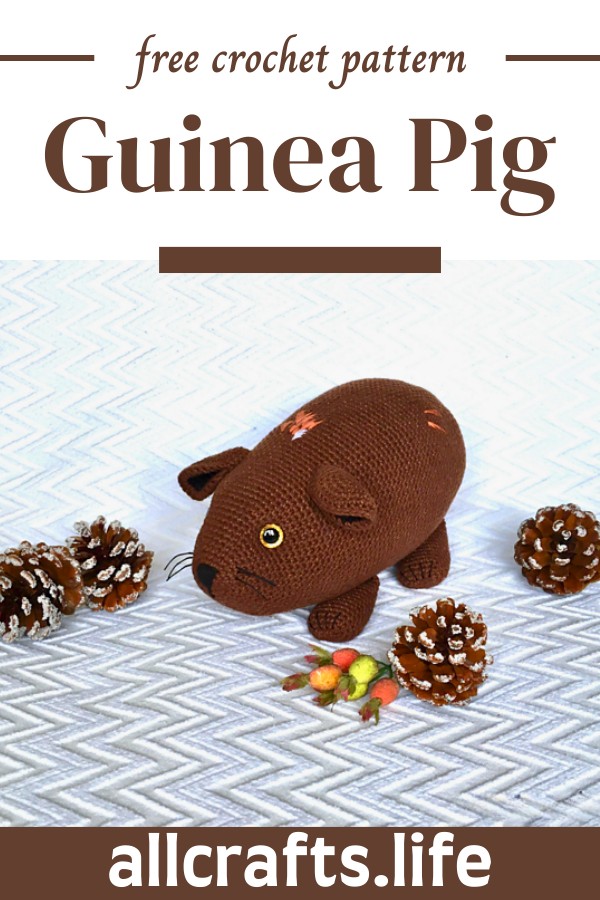
Crochet Pixie the Guinea Pig Pattern
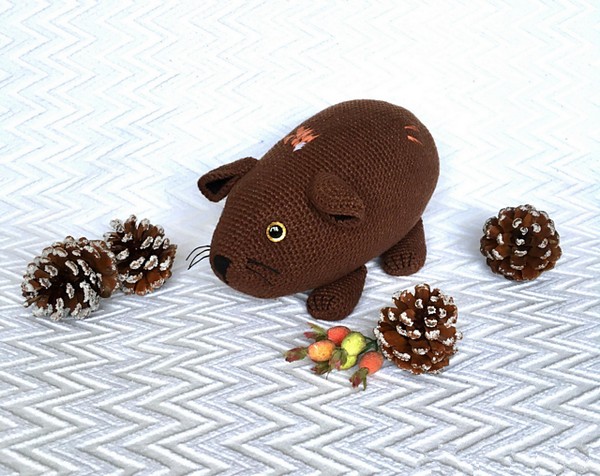
Crochet Pixie the Guinea Pig
Materials and Equipment
- Yarn I used:
- Fine Sport #2 = 4 ply
- 55% cotton and 45% acrylic
- 2x ball of brown yarn (50g/160m) – YarnArt Jeans – colour 70
- 1x ball of black yarn (50g/160m) – YarnArt Jeans – colour 53
- Other Materials Used:
- A long piece of thin black yarn for toe embroidery and whiskers
- Polyester fibre fill
- Crochet hook: 3mm = C/2 (use hook size smaller than recommended on yarn label for tighter stitches)
- Other Equipment:
- Scissors
- Yarn needle
- Pins with large heads
- Stitch marker or thin yarn
- 12mm safety eyes
Abbreviations Used
- MR: magic ring
- ST: stitch
- SC: single crochet stitch
- HDC: half double crochet stitch
- DC: double crochet stitch
- CH: chain stitch
- SL: slip stitch
- INC: increase (two single crochet stitches in the same stitch)
- L INC: large increase (three single crochet stitches in the same stitch)
- INV DEC: invisible decrease (insert the hook in the front loop only of the next two stitches and crochet them together)
- BLO: back loops only
- FO: fasten off
- (.....) x 6: repeat the pattern inside the brackets six times
- (.....) x 3: repeat the pattern inside the brackets three times
- {…}: number shown inside these brackets equals the total number of stitches at the end of each round
Uses Of Crochet Pixie The Guinea Pig
- Decorative Items: Amigurumi makes excellent decor for nurseries, workspaces, and living areas. Their cheerful and colourful nature can add a personal touch to any environment.
- Educational Tools: These crochet creations can be used as educational tools for children, helping them learn animal names, colours, and textures.
- Gifts: Personalized amigurumi dolls can serve as meaningful gifts for birthdays, anniversaries, and special occasions, showing thoughtfulness and effort.
- Emotional Support: For some people, these cuddly creatures can offer comfort and emotional support, serving as an object for affection and even stress relief.
- Marketing and Branding: Businesses have used custom amigurumi figures as unique promotional items or as part of their branding strategy.
- Collectables: Many individuals enjoy collecting amigurumi figures as a hobby, appreciating the craftsmanship and creativity that goes into each piece.
- Therapy and Rehabilitation: Crafting amigurumi can serve as a therapeutic activity for those dealing with anxiety, depression, or hand injuries, aiding in rehabilitation through fine motor skill exercises.

Leave a Reply