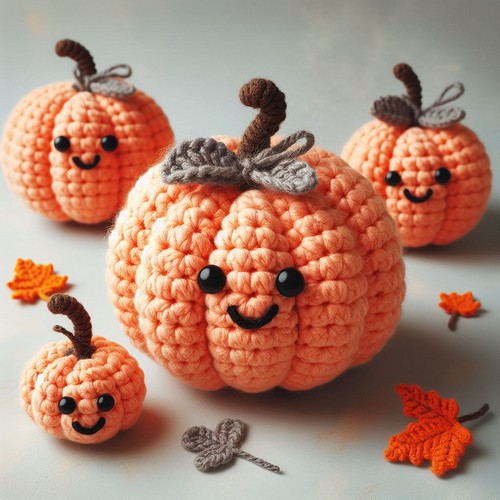
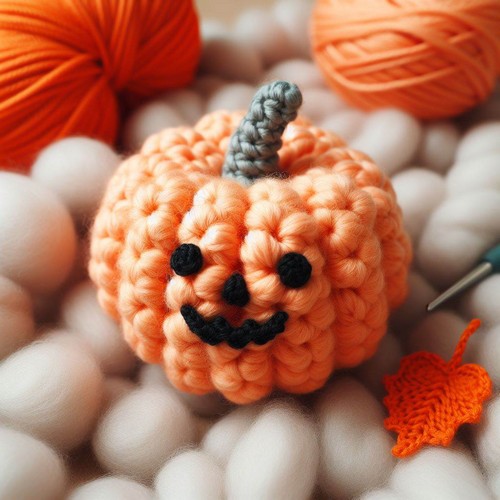
The Crochet Fuzzy Pumpkin Pattern is a fun, easy guide to making soft, fuzzy pumpkins. Perfect for fall decor or as cozy, festive touches around your home, this free pattern lets you create cute, plush pumpkins that bring a warm, autumnal vibe anywhere they’re placed.

Crochet Fuzzy Pumpkin Pattern
The Crochet Fuzzy Pumpkin Free Pattern offers a cozy and whimsical addition to the autumn decor. Made with plush, fuzzy yarn, it creates a soft and tactile pumpkin perfect for an Amigurumi Halloween Display. The pattern results in a charming pumpkin complete with a distinctive stem and rounded body, showcasing traditional fall colors. Its straightforward instructions make it accessible for crocheters of all levels, providing a satisfying project for decorating or gifting.

Making Your Crochet Fuzzy Pumpkin
Materials:
- Bulky weight yarn in orange (around 200 yards)
- Crochet hook size N-15 (10.00 mm)
- Tapestry needle
- Scissors
- Polyester stuffing

Step by step Pattern
Start with a magic ring:
- Make a magic ring with the orange yarn.
- Chain 2 (counts as the first double crochet).
- Work 10 double crochets into the magic ring. Join with a slip stitch to the top of the first double crochet. (10 stitches)
Increase rounds:
- Chain 2 (counts as the first double crochet).
- Increase one double crochet in each stitch around. Join with a slip stitch to the top of the first double crochet. (20 stitches)
- Repeat round 2, increasing one double crochet in each stitch around. (30 stitches)
- Repeat round 2, increasing one double crochet in each stitch around. (40 stitches)
- Repeat round 2, increasing one double crochet in each stitch around. (50 stitches)
Body rounds:
- Work 10 rounds of double crochet stitches without increasing. (50 stitches per round)
Stuffing and shaping:
- Stuff the pumpkin firmly with polyester stuffing.
- To create the pumpkin shape, begin decreasing stitches. Work two double crochets together in each stitch around. (25 stitches)
- Repeat round 12, decreasing two double crochets together in each stitch around. (13 stitches)
- Repeat round 12, decreasing two double crochets together in each stitch around. (7 stitches)
- Stuff the top of the pumpkin with more stuffing.
- Close the top by sewing the remaining stitches together with a tapestry needle and yarn.
Stem:
- With green yarn, chain 30 stitches.
- Slip stitch the ends together to form a loop.
- Fold the loop in half and sew the sides together to create a stem.
- Sew the stem to the top of the pumpkin.
Finishing touches:
- You can add a few more details to your pumpkin, such as leaves or vines made from green yarn.
- Weave in any loose ends.
Tips:
- You can adjust the size of the pumpkin by using a different size yarn and crochet hook, or by working more or fewer rounds.
- You can also experiment with different colors and textures of yarn to create your own unique pumpkin.
- If you are a beginner crocheter, you may want to start with a smaller pumpkin or use a smaller yarn weight.


Leave a Reply