
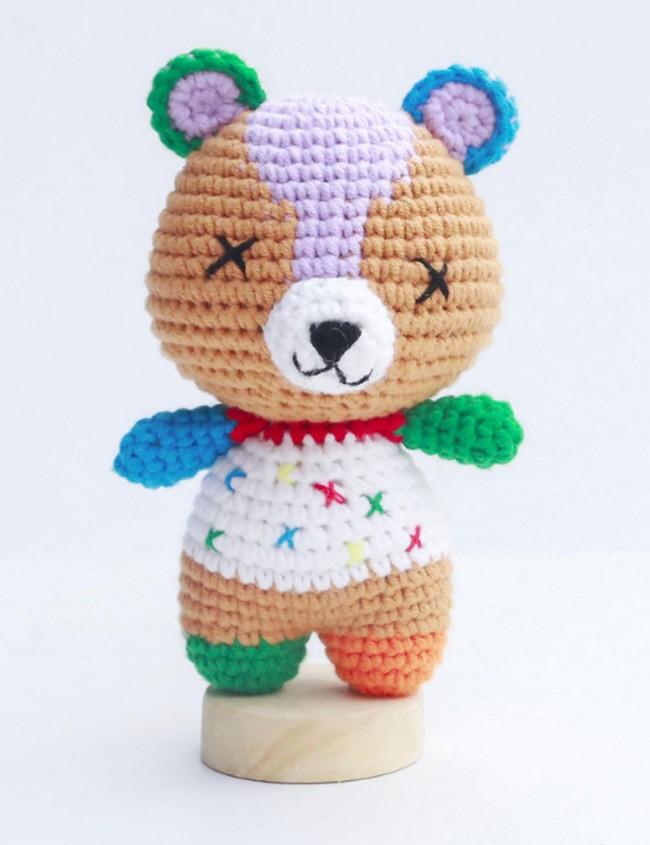
Crochet Eddy The Bear Pattern
Uses: Eddy the Bear is not just a toy; he's a companion for little ones and a charming decorative piece that adds a cozy vibe to any space. Parents and educators can utilize Eddy to teach children about bears and their habitats, encourage storytelling, or help with learning activities such as role-playing scenarios that nurture empathy and social skills.
Materials:
- Light Fingering Yarn
- 2.5mm crochet hook
Eddy begins to shape as you loop and hook from his cuddly body to his sweet little ears! The process is as rewarding as seeing Eddy's friendly face come to life.
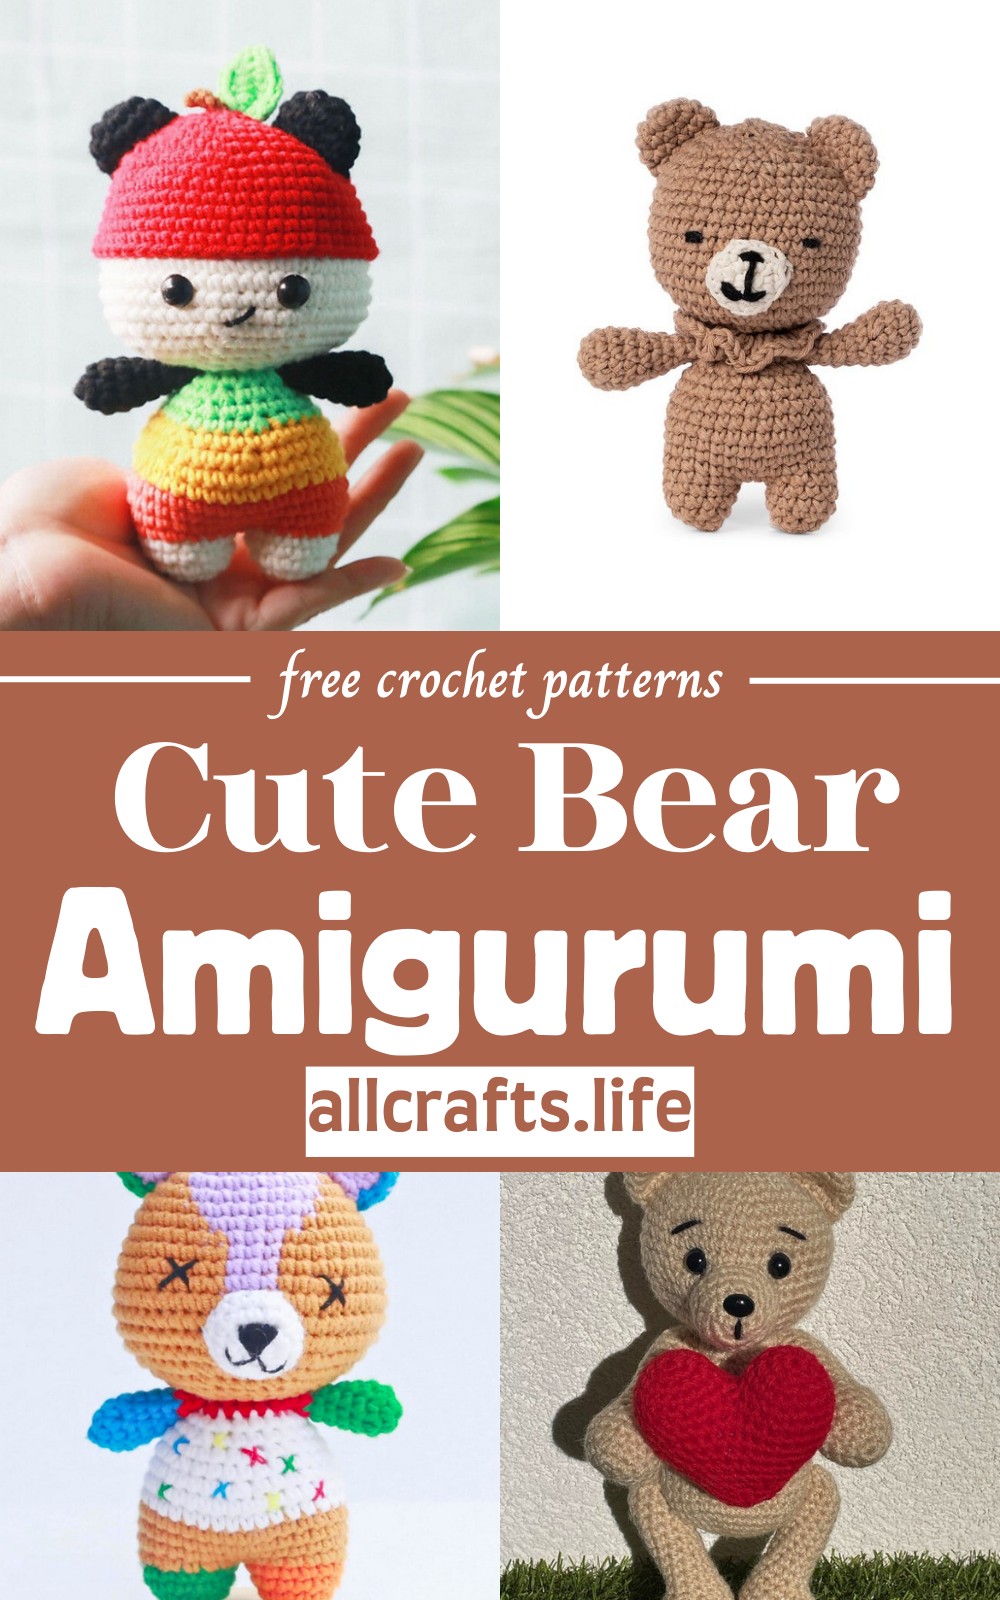
Crochet Pierre The Bear Pattern
Uses: Pierre The Bear shines as a gentle friend for little ones, offering comfort with every snuggle. With a just-right height, he sits perfectly on beds and shelves, inviting smiles in kids' rooms or any cozy corner. His hand-made nature means every Pierre is special, ready for big hugs and adventures.
Materials:
- DK Yarn
- 3.5mm crochet hook
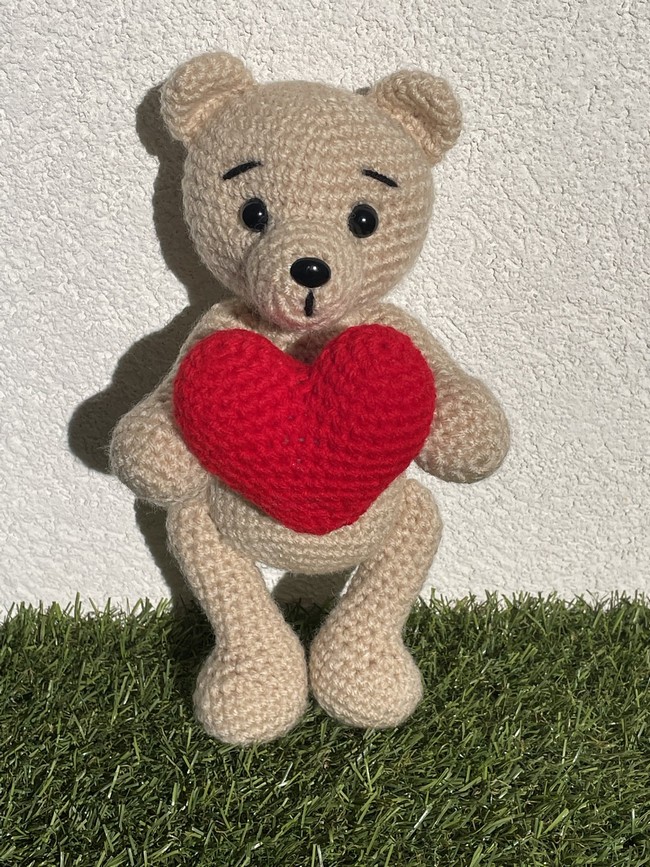
Crochet Amigurumi Stitches Bear Pattern
Uses: The completed bear brings a personal touch to nurseries, brightens up workspaces, and serves as a heartfelt present for loved ones. It's also a fun, festive project or a unique piece for a small collection.
Materials:
- DK Yarn
- 3mm crochet hook
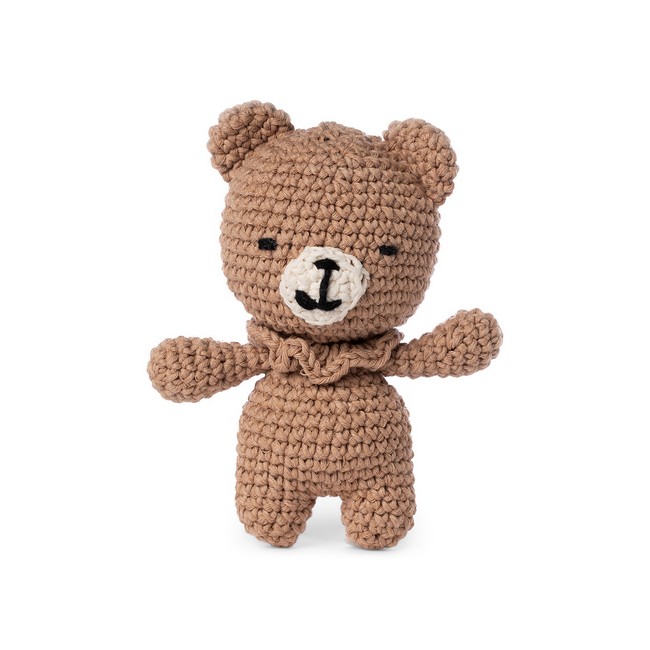
Crochet No-sew Bear Pattern
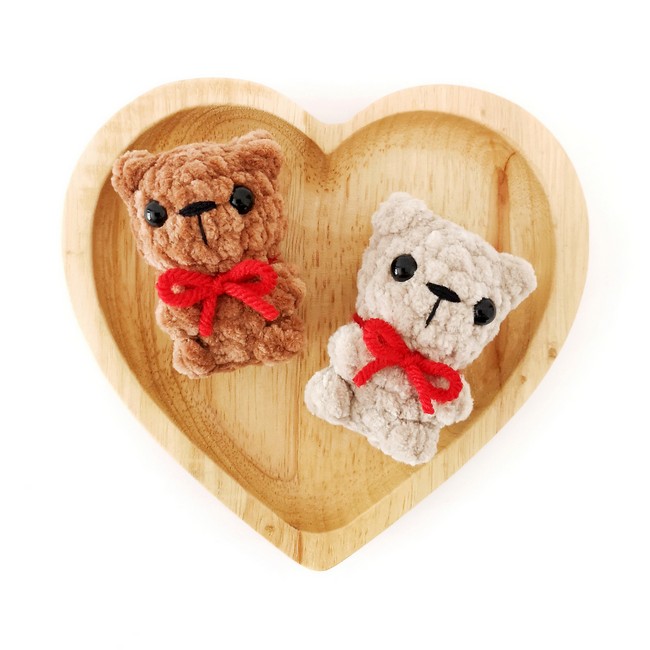
Uses: The Crochet No-sew Bear Pattern is an easy, fun project perfect for crochet lovers of all levels. It makes creating a cuddly bear simple, with no sewing required, just crochet hooks and yarn. This pattern is great for quick gifts or personal treasures, bringing smiles and warmth wherever it goes.
Materials:
- Super Bulky yarn
- 4.5mm crochet hook
Making: To create this adorable no-sew crochet bear, one works in a spiral pattern from the top down. The initial step involves creating a foundation chain of 2, then working 6 single crochets into the second chain from the hook. This pattern favors plush yarn as the starting material. As you progress, you'll execute a series of increase and decrease rounds to define the bear's shape. What makes this bear unique is the construction of its ears, arms, and legs, formed directly through bobble stitches worked only in the front loops, integrating these parts seamlessly into the body and eliminating the need for any sewing assembly. The pattern requires additional steps for adding facial features and concealing yarn ends, which are minimal compared to traditional methods.
Crochet Amigurumi Apple Bear Pattern
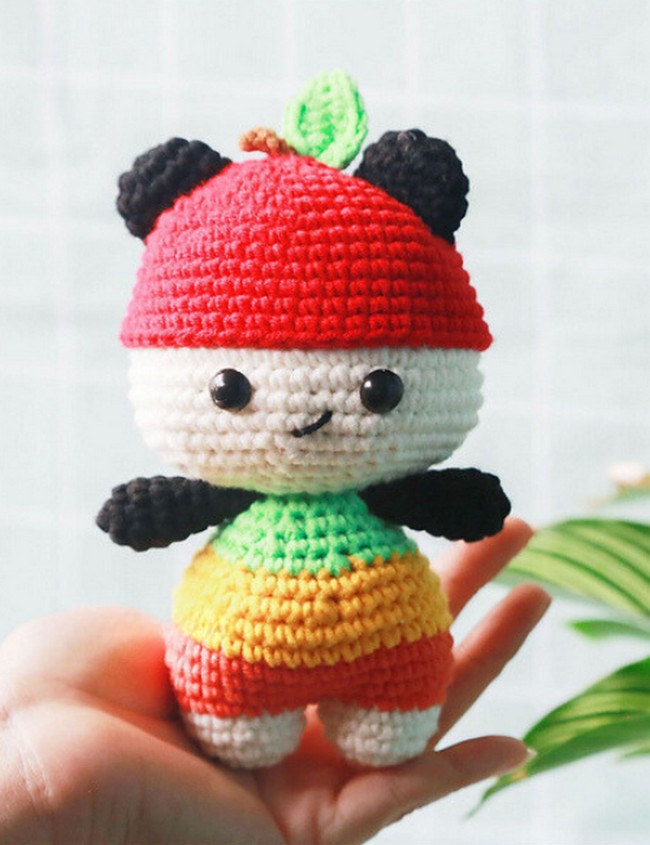
Uses: The Crochet Amigurumi Apple Bear Pattern is a cheerful way to create a mini, fruit-shaped teddy bear. Combining a classic teddy's charm with an apple's quirkiness, this pattern is easy for all, making it an enjoyable project, a unique gift, or an endearing decoration.
Materials:
- DK yarn
- 3mm crochet hook
As you follow the pattern, there are step-by-step pictures that complement the written instructions, making the process easier to visualize and execute. Moreover, the printable PDF is enriched with video tutorials to assist you when entangled in a complex stitch or an intricate part of the bear's construction.

Leave a Reply