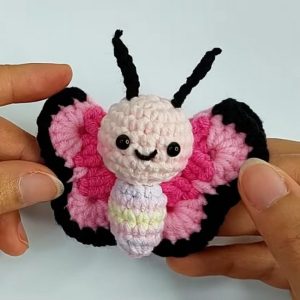
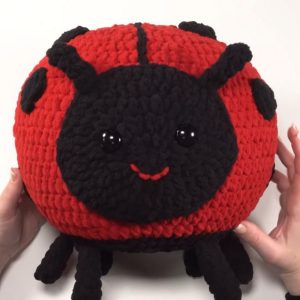
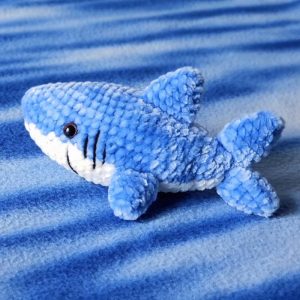
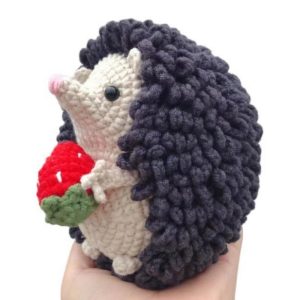
Let's make something fluffy for Easter using our latest crochet Crochet Bunny Pattern. Our very special guide helps you create a bunny with a soft, doll-like body, cute little arms, and adorable legs. It's not hard at all! Fluffy yarn will make your bunny so cuddly and quick to make. You can hug it, tell it stories, or even gift it to a friend. Your crochet huggable amigurumi can be with you for naptime or playtime. So, you don't want to make a warm, huggable bunny friend together; it’s easy and oodles of fun!

Making Your Crochet Bunny Pattern
Yarn:
- Baby dolphin yarn: This is likely the main yarn used for the bunny's body. You haven't specified the colour, but the name suggests a soft, plush yarn.
Hook:
- 4mm crochet hook: This corresponds to the weight of the baby dolphin yarn.
Eyes:
- 9mm black safety eyes: These are pre-made for amigurumi projects and safer for young children than embroidered eyes.
- Little white cotton thread for eyes: This is likely used to embroider the white part of the eyes if you don't use safety eyes.
Other:
- Little black cotton thread for eyes and eyebrows: Used for embroidering details like the eyes and eyebrows.
- Little pink thread for nose: Used to embroider the nose.
- Needle for sewing parts: Used to sew the different parts of the bunny together.
- Needle for embroidering details: Different needle than the sewing one, likely finer and sharper.
Additional notes:
- The list doesn't mention stuffing, so you'll need some fiberfill to stuff the bunny.
- You might also want stitch markers to keep track of your place in the pattern.
- Scissors will be needed to cut yarn and thread.
Step by step Pattern
Certainly! Here's the crochet pattern organized by the parts: Head, Body, Ears, Legs, Arms, and Tail, without omitting any step.
Head
- 6 in the magic ring
- 6inc (12)
- (1inc, 1sc)x6 (18)
- (1 inc, 2sc)x6 (24)
- (1inc, 3sc)x6 (30)
- 30sc
- (1 inc, 4sc)x4, 10sc (34)
8-10. 34sc for each row - 1dec, 6sc, 1 dec, 7sc, 1dec, 6sc, 1 dec, 7sc (30)
- Insert safety eyes between 5th and 6th row, 12mm, 11stitches in between
- (1dec, 3sc)x6 (24)
- Stuff the head to your preference, but not too firmly.
- (1 dec, 2sc)x6 (18)
- (2dec, 1sc)x6 (12)
- 6dec
- Finish and tie the end. Model the head by indenting eyes using cotton thread. Add eyebrows and details around eyes.
Body
- 6 in the magic ring
- 6inc (12)
- (1inc, 1sc)x6 (18)
- (1 inc, 2sc)x6 (24)
- (1 inc, 3sc)x6 (30)
6-8. 30sc for each row - (1 dec, 1sc)x6, 12sc (24)
- 24sc
- (1 dec, 2sc)x6 (18)
- 18sc
- (1 dec, 4sc)x3 (15)
- 15sc
- Stuff the body and connect with the head, paying attention to the front side of the body (belly).
Ears (Make 2)
- 6 in the magic ring
- (1 inc, 1sc)x3 (9)
- (1inc, 2sc)x3 (12)
- (1 inc, 3sc)x3 (15)
5-9. 15sc for each row- Close sides with one row of sc. Connect with the head on the top or on the side, adjusting rows as needed.
Legs (Make 2)
- 6 in the magic ring
- 6inc (12)
- (1inc, 1sc)x6 (18)
4-5. 18sc for each row - 4dec, 10sc (14)
- 2dec, 10sc (12)
8-10. 12sc for each row- Stuff lightly. Close sides with one row of sc. Connect with the body between the 5th and 6th row.
Arms (Make 2)
- 6 in the magic ring
- 6inc (12)
3-4. 12sc for each row - (1 dc, 2sc)x3 (9)
6-9. 9sc for each row- Stuff lightly. Close sides with one row of sc. Connect with the body right under the head.
Tail
- 6 in the magic ring
- 6inc (12)
- (1inc, 1sc)x6 (18)
4-5. 18sc for each row - (1 dec, 1sc)x6 (12)
- Stuff and connect on the back of the body.
This structured format should make each part of the project clear and easy to follow. Happy crocheting!
Designer: Natkascraftycorner On Instagram


Leave a Reply