
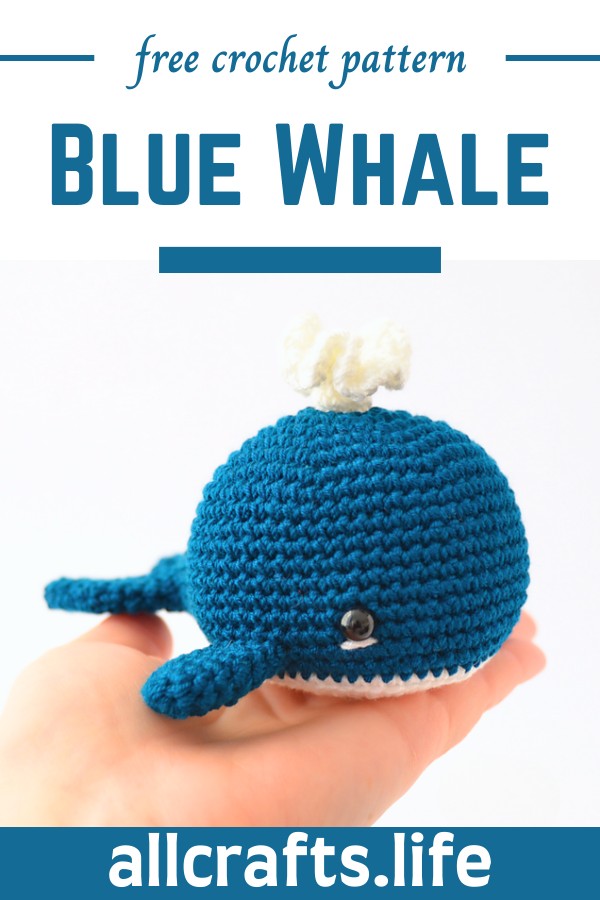
Whales, with their majestic presence and playful nature, inspire wonder in all who encounter them. Imagine bringing a piece of that magic into your home with a crochet blue whale amigurumi pattern. Simple, cute, and perfect for beginners, this crochet amigurumi toy pattern transforms yarn into a delightful whale toy, complete with a charming spout of water. It's a piece of the nautical world, soft and cuddly, for you to hold. Whether it's for a child, a whale enthusiast, or as a cheerful addition to your decor, this handcrafted whale brings a smile and a splash of joy. Craft your own gentle giant of the sea and let its playful spirit brighten your day.
Crochet Blue Whale Amigurumi
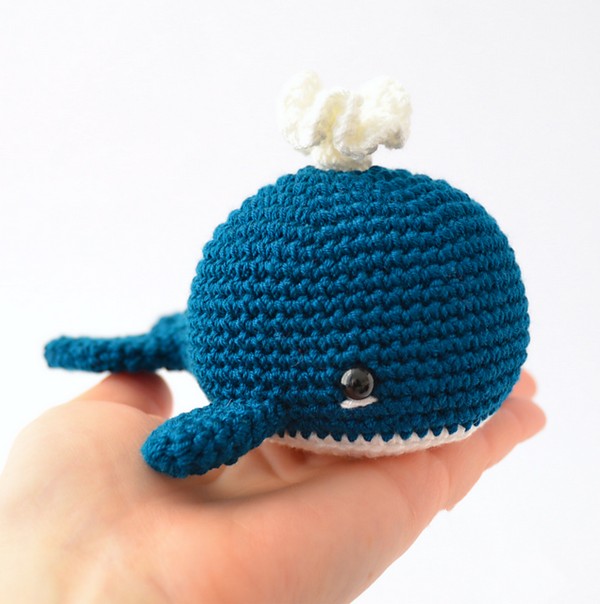
Blue Whale Amigurumi Pattern
Uses:
The crochet blue whale amigurumi has multiple charming uses that make it not just a crafting project but a cherished creation. Here are some of the uses, explained in detail:
- Nursery Decor: The gentle blue and calming appearance make this whale a perfect addition to a baby's nursery. Its soft texture and friendly face can complement an ocean-themed room, adding a touch of whimsy and warmth.
- Educational Toy: For young children, this crochet whale can serve as an educational toy. It offers a tangible way to learn about marine life, especially the majestic whales, fostering early environmental awareness and a love for animals.
- Stress Relief: For adults, the act of crocheting itself is therapeutic, helping to relieve stress through repetitive and rhythmic movements. Once completed, the soft and squeezable form of the whale can also serve as a stress-relieving object to hold and squish.
- Gift Option: Whether it’s for a baby shower, a child's birthday, or even an adult who has a fondness for whales or handcrafted items, this crochet blue whale makes a unique and personal gift. It’s something made by hand, filled with care and warmth, making it far more special than a store-bought item.
- Collectable Item: For those who enjoy collecting amigurumi or crochet items, this blue whale adds a special touch to any collection. Its charming design and the satisfaction of creating it yourself make it a worthy addition.
- Photo Prop: In photography, especially in capturing moments with babies or for thematic photo shoots, this crochet whale can serve as an adorable prop. Its size and color can complement various themes, adding a playful element to photos.
This pattern is versatile, allowing crafters to make something that is not only cute but multifunctional. Whether it's sitting on a shelf, being cuddled by a child, or used in photos, the crochet blue whale amigurumi is sure to bring joy and serve various roles well beyond its initial crafting purpose.
Materials Needed:
- Yarn: Medium Weight Yarn (Lace 4) in Turquoise and White
- Polyester Fiber Filling
- Two 9mm Black Safety Eyes
Hook Size:
- 3.5 mm
Stitches Used and Abbreviations:
- magic ring (mr)
- chain (ch)
- slip stitch (sl st)
- single crochet (sc)
- decrease (dec)
- increase (inc)
- back loop only (BLO)
- fasten off (F/O)
Pattern Overview:
- The pattern provides detailed steps for creating the body, fins, tail, and water spray of the whale. It includes instructions on when to insert the safety eyes, how to switch yarn colours, and recommendations for stuffing the toy to achieve the best shape.
- The whale's body transitions from turquoise to white yarn, symbolizing the underbelly of a real whale.
- Detailed steps are given for crocheting fins and tail, indicating increases and decreases to shape the pieces accurately.
- An additional "water spray" element created with white yarn adds a playful detail to the amigurumi, depicting the whale spouting water.
This crochet project is marked as suitable for beginners, making it an excellent choice for those new to amigurumi or looking for a quick, satisfying project. With the given abbreviations and detailed construction instructions, crocheters can create a charming nautical-themed amigurumi.

Leave a Reply