
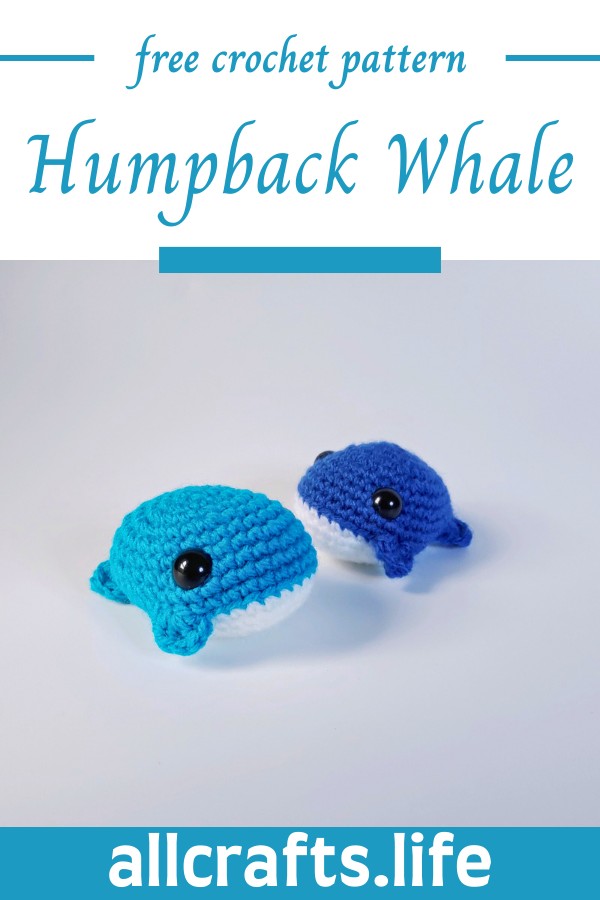
Crafting magic comes to life with the Crochet No Sew Humpuck Whale pattern, a charming project that doesn't require a needle to join the pieces. This adorable miniature whale is perfect for creating endearing plush toys with a three-dimensional form that feels alive in your hands. Ideal for both beginners and veteran crocheters, this whale brings a splash of oceanic whimsy to any room. With safety eyes that sparkle and a plush body, it's a cuddly companion that doubles as a delightful gift or a treasured keepsake. Easy and fun, this pattern ensures a whale of a time for all crafters.
Crochet No Sew Humpback Whale
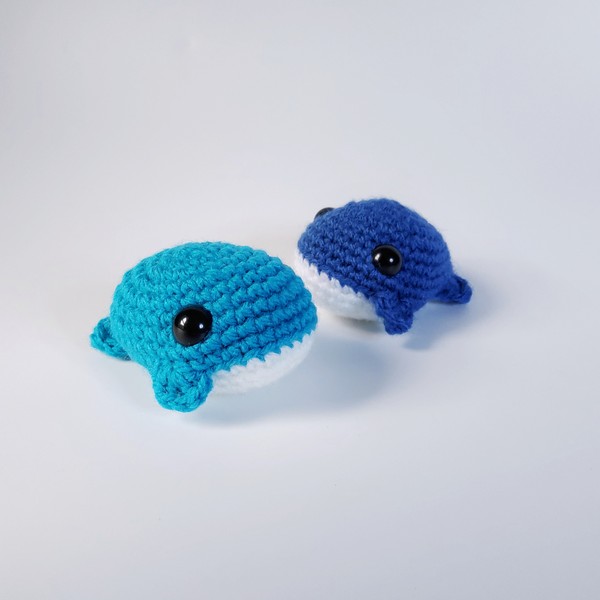
Crochet No Sew Humpback Whale
Materials Needed:
- 3 mm crochet hook
- Scissors
- Stitch markers
- Needle
- Stuffing
- Pair of 12 mm safety eyes
- Yarn in colors of your choice
Step by step Pattern
Round 1:
- 6 single crochet in a magic circle
Round 2:
- 6 increases (2 single crochet in each stitch) [12 stitches]
Round 3:
- 3 single crochet, then 3 increases
- Repeat the pattern once more [18 stitches]
Round 4:
- 1 single crochet, increase in the next stitch
- Repeat (2 single crochet, increase) 5 times
- Finish with 1 single crochet [24 stitches]
Round 5:
- 3 single crochet, then an increase
- Repeat this for the entire round [30 stitches]
Round 6:
- 30 single crochet [30 stitches]
Round 7:
- 2 single crochet, then an increase
- Repeat (4 single crochet, increase) 5 times
- Finish the round with 2 single crochet [36 stitches]
Round 8-9:
- 36 single crochet each round [36 stitches]
Round 10:
(Creating fins and tail flukes)
Part A:
- 2 single crochet
Part B (First Fin):
- Crochet into the front loop only
- 2 double crochet, 1 triple crochet, 2 double crochet all in the same front loop
Part C:
- 15 single crochet in both loops
(Repeat second fin like Part B)
Part E:
- 8 single crochet in both loops
Part F:
- Work into the front loop only: 1 half double crochet, 1 double crochet, 1 triple crochet, 1 double crochet, 1 half double crochet all in the same stitch
- Slip stitch in the next stitch
- Repeat the tail pattern in the next front loop only
Part I:
- 6 single crochet in both loops
(You should still have 36 stitches at the end of Round 10, including the back loops from the fins and flukes)
Round 11 (Color Change Optional):
- 36 single crochet into back loops only [36 stitches]
(Make sure to incorporate the back loops left from the previous round)
Insert Safety Eyes between Rounds 7 and 8.
Round 12:
(Broken up into parts A, B, and C for clarity)
Part A:
- 24 single crochet
Part B:
- Skip 9 stitches, mark the 10th stitch with a stitch marker
Part C:
- Starting on the 10th stitch, do 3 single crochet
Round 13:
(Continue working in the belly space)
- 7 single crochet, then an invisible decrease
- Repeat this pattern twice more [24 stitches total for belly]
Round 14:
- 1 single crochet, decrease
- Repeat (2 single crochet, decrease) 5 times
- Finish with 1 single crochet [18 stitches total for belly]
Round 15:
- 1 single crochet, decrease repeated 6 times [12 stitches total for belly]
Round 16 (Final Round for Belly):
- 6 decreases [6 stitches total for belly]
- Cut a short tail for finishing
- Close hole and add stuffing
Round 17 (Closing the Tail Hole):
- Insert hook into one of the remaining stitches and join yarn with a slip stitch.
- 1 single crochet decrease repeated three times [6 stitches total for tail]
Finishing:
- Cut a long tail and use it to sew any gaps shut. Weave in ends.
And there you have it, the full detailed pattern for your No-Sew Humpback Whale crochet project!

Leave a Reply