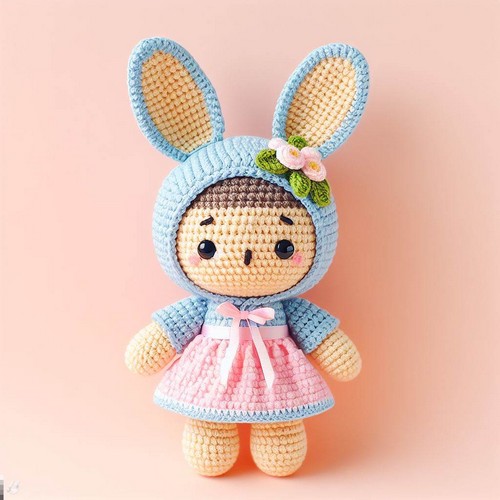
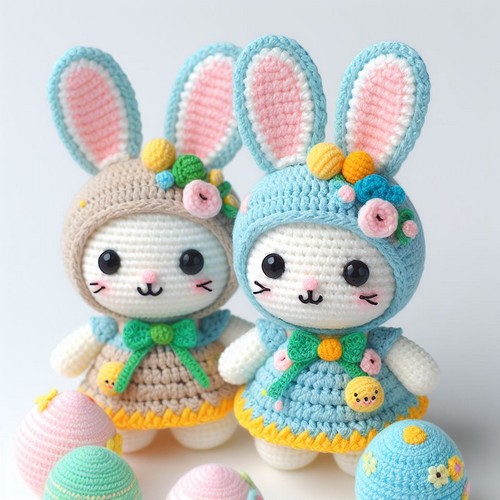
Delight in crocheting this Crochet Amigurumi Doll dressed in an Easter Bunny Costume. This pattern guides you through creating an adorable plush companion perfect for Easter festivities or all-year comfort.

This fun pattern creates a beautiful Crochet Amigurumi Doll in an Easter Bunny Costume. This intricate piece brings together classic crochet techniques & patterns to shape a tiny doll dressed in the cutest bunny suit. With elongated ears, carrot-shaped ties, and a spring-inspired costume, your creation will certainly spread the Easter spirit.
Step-by-step Guide
Materials:
- Yarn in light pink, white, black, and light brown
- 2.75 mm crochet hook
- 9 mm safety eyes
- Fiberfill stuffing
- Tapestry needle
- Stitch marker (optional)

Pattern:
Body:
- Start with the light pink yarn and make a magic ring.
- Crochet 6 single crochets (sc) into the ring.
- Increase by crocheting two sc in each stitch around. You should now have 12 sc.
- Continue crocheting in rounds of sc, increasing six sc evenly spaced in each round.
- When you have 30 sc, stop increasing and continue crocheting in rounds of sc until the body is the desired length.
- Stuff the body firmly with fiberfill as you crochet.
- When the body is the desired length, crochet two rounds of sc without increasing.
- Decrease by crocheting two sc together in each stitch around.
- Continue decreasing in this way until there are only a few stitches left.
- Pull the remaining yarn tight and tie it off. Weave in the ends.
Head:
- With the light pink yarn, make a magic ring.
- Crochet 6 sc into the ring.
- Increase by crocheting two sc in each stitch around. You should now have 12 sc.
- Continue crocheting in rounds of sc, increasing six sc evenly spaced each round until you have 36 sc.
- Stuff the head firmly with fiberfill as you crochet.
- Continue crocheting in rounds of SC without increasing until the head is the desired size.
- Decrease by crocheting two sc together in each stitch around.
- Continue decreasing in this way until there are only a few stitches left.
- Pull the remaining yarn tight and tie it off. Weave in the ends.
Arms and legs:
- Make two arms and two legs the same way as the head, but use light brown yarn and start with four sc in the magic ring instead of 6 sc.
Ears:
- Make two ears by cropping a chain of 8 sc, then turning and cropping back down the chain, making a sc in each stitch.
- Decrease by crocheting two sc together in each stitch around.
- Repeat step 2 until there are only two stitches left.
- Pull the remaining yarn tight and tie it off. Weave in the ends.
Tail:
- Make a chain of 10 sc.
- Turn and crochet down the chain, making a sc in each stitch.
- Repeat step 2 until the tail is the desired length.
- Stuff the tail lightly with fiberfill.
- Pull the remaining yarn tight and tie it off. Weave in the ends.
Assembly:
- Sew the arms and legs to the body.
- Sew the ears to the top of the head.
- Sew the tail to the back of the body.
- Glue on the safety eyes.
- Embroider a nose and mouth with black embroidery floss.
Optional:
- You can also crochet a hat and scarf for the doll.
- You can use different colors of yarn to make the doll look different.


Leave a Reply