
For your child's upcoming birthday, gift them this adorable Crochet Tiger Amigurumi. It's more than just a toy; it's a handmade symbol of your love and creativity. Creating something special with your own hands adds an irreplaceable sentimental value to the gift. This tiger amigurumi, with its bright colours and soft texture, is sure to become your child's cherished companion. Not only will it bring a big smile to their face, but it will also spark their imagination, accompanying them on countless adventures.
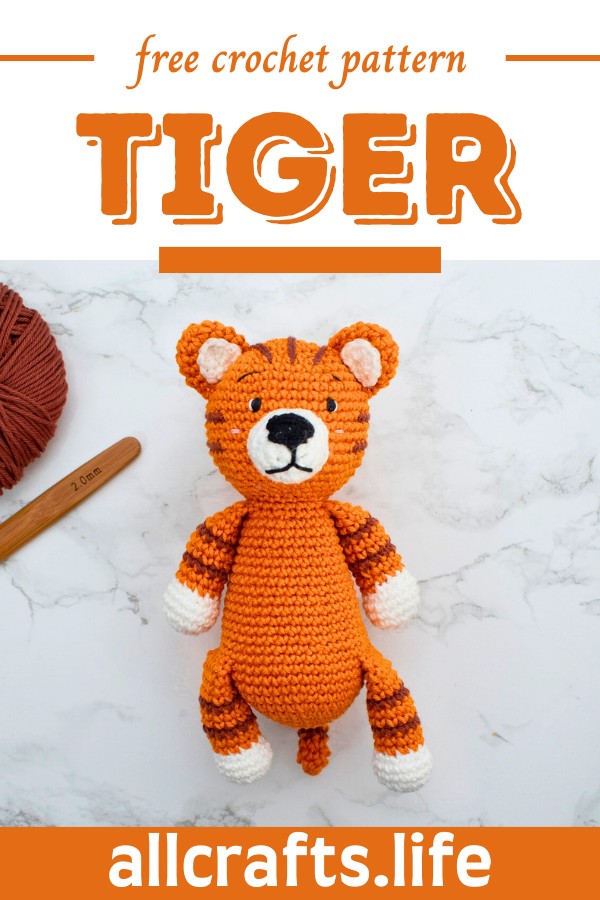
Crochet Tiger Amigurumi

Nestled amid skeins of vibrant yarn, a delightful tiger comes to life stitch by stitch through the art of crochet amigurumi. This charming pattern offers a whimsical take on the fierce feline, inviting crafters to transform cosy threads into a stripey companion. With a twinkle in its embroidered eyes and a tail that's just begging for a playful wag, this miniature tiger brings a touch of the jungle to the palm of your hand. Perfect for both seasoned stitchers and those new to the needle, following this pattern is like unfolding a story where every loop creates character and every colour breathes life.
Crochet Tiger Amigurumi Pattern
Materials:
- Crochet Hook: 2mm crochet hook
- Yarn: Schachenmayr Catania Sports Yarn weight or any sport weight yarn in colors: black, white, orange, and brown
- Thread: A black thread for embroidering the eyes
- Stuffing Material: To fill the amigurumi
- Scissors
- Sewing Needle
Alternatively, you can use safety eyes. The position for the eyes is mentioned at the end of the provided pattern instructions.
Finished Size:
- Approximately 18 cm or 7 inches
Abbreviations:
The pattern does not explicitly list abbreviations, but common ones used in crochet amigurumi patterns and likely in this pattern include:
- sc: single crochet
- inc: increase (two sc in the same stitch)
- dec or inv dec: decrease or invisible decrease (combining two stitches into one)
- rnd: round
- sts: stitches
- BLO: back loop only
- FLO: front loop only
- ch: chain
These are standard crochet terms used in amigurumi patterns. However, for detailed step-by-step instructions on specific stitches and techniques, the pattern suggests visiting tutorial links provided within the content.
Other Details:
- The pattern instructs to start the head and body with a magic ring and provides step-by-step instructions for rounds, including colour changes, adding stuffing, and completing the shape.
- The paws, ears, and tail all start with a magic ring and include colour changes as well.
- Finishing involves sewing the pieces together and adding embroidered details for the face.

Leave a Reply