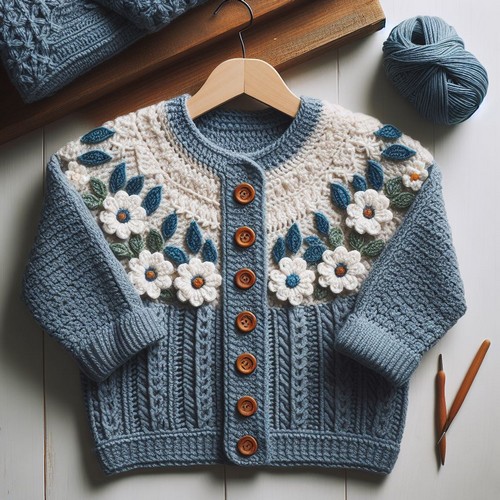
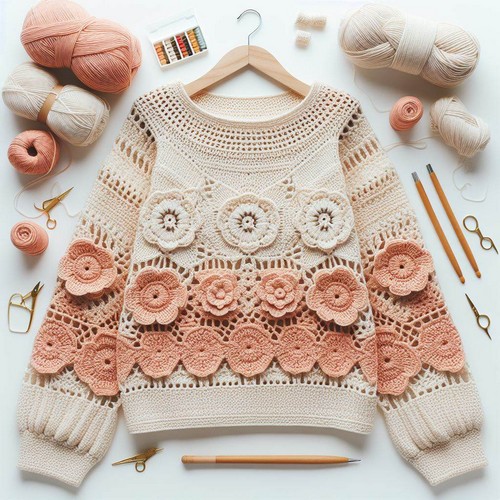
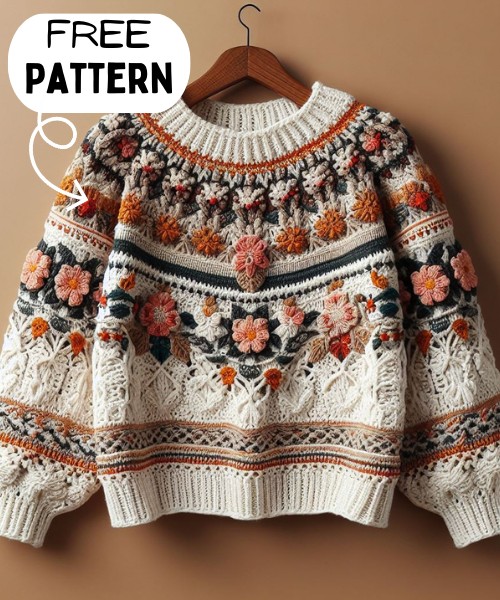
The Crochet Sweater Free Pattern is a step-by-step guide to making a warm, stylish sweater. It's simple enough for beginners and lets you craft a cozy, personalized garment for chilly days. This pattern turns yarn into a comfy sweater you can be proud to wear or give.

Crochet Sweater Free Pattern
The Crochet Sweater Free Pattern provides a stylish and cozy crochet addition to any wardrobe. This pattern creates a sweater with a comfortable fit and a classic design, featuring ribbed cuffs and a relaxed silhouette. Made using soft yarn, it ensures warmth and comfort, making it perfect for cooler weather. The instructions are clear and straightforward, making this project accessible for crocheters at a beginner to intermediate level. It's an excellent choice for crafting a handmade, personalized garment.

Making Your Crochet Sweater
Materials:
- Worsted weight yarn in your desired color(s) (around 1000 yards depending on size and desired length)
- Crochet hook size H-8 (5 mm) or size appropriate for your yarn weight
- Tapestry needle
- Scissors
- Stitch markers (optional)
Gauge:
- Make a gauge swatch to ensure your stitches are the size you desire and adjust the hook size if needed. Aim for 4 x 4 inches to equal 16 stitches and 16 rows in double crochet stitch.
Instructions:
1. Back panel:
- Chain a number of stitches corresponding to the desired width of the back panel (e.g., for a medium size, chain 100 stitches).
- Work in rows using double crochet stitches (dc) until you reach the desired length for the back panel (e.g., for a medium size, around 16 inches). You can try on the panel as you go to ensure it fits your torso comfortably.
2. Armholes:
- To create the armholes, skip a specified number of stitches (e.g., for a medium size, skip 20 stitches) on both sides at the designated height (e.g., for a medium size, after 8 inches from the bottom).
- Continue crocheting dc stitches across the remaining stitches, turning at the end of each row and working around the armhole openings.
- Gradually decrease stitches at the beginning and end of each row around the armhole openings until you have the desired size (e.g., decrease 1 stitch each side every other row until there are 12 stitches remaining on each side).
3. Shoulders:
- Once you have finished shaping the armholes, continue crocheting dc stitches across the back panel and up the sides until you reach the desired height for the shoulders (e.g., for a medium size, around 2 inches).
- Shape the neckline by decreasing stitches across the center stitches (e.g., decrease 2 stitches together in the center every other row until you have about 30 stitches remaining).
4. Front panel:
- The front panel can be made similarly to the back panel, but you will need to create a deeper neckline.
- Start by chaining the same number of stitches as the back panel and work in dc rows until you reach the desired height for the armholes.
- Create the armholes the same way as for the back panel.
- To shape the neckline, start decreasing stitches on the right side of the panel at a designated height (e.g., for a medium size, after 4 inches from the armhole). You can decrease at a slant by skipping one stitch at the beginning of the row and crocheting two stitches together over the next two stitches. Continue decreasing in this way until you have a desired neckline depth (e.g., for a medium size, decrease for about 6 rows).
- Work across the remaining stitches and continue crocheting dc rows up the left side of the panel, shaping the shoulder the same way as the back panel.
5. Sleeves:
- Chain a number of stitches corresponding to the desired width of the sleeve (e.g., for a medium size, chain 40 stitches).
- Work in dc rows in a round until you reach the desired length for the sleeve (e.g., for a medium size, around 18 inches).
- You can decrease stitches at the end of each round to shape the sleeve slightly if desired.
6. Finishing:
- Sew the shoulder seams together, matching up the stitches carefully.
- Sew the side seams of the body and sleeves, leaving openings for the underarms.
- Sew the sleeves onto the armholes, matching up the stitches carefully.
- Sew up the underarm openings.
- Weave in any loose ends.
Tips:
- You can customize this pattern by using different stitch patterns, changing the colors, or adding embellishments.
- If you are a beginner crocheter, you may want to start with a simpler pattern or make a smaller size.
- Be sure to measure yourself carefully and adjust the pattern as needed to get a good fit.
- There are many online resources available with tutorials and variations for crochet sweaters. Don't hesitate to look for inspiration and adapt the pattern to your preferences!


Leave a Reply