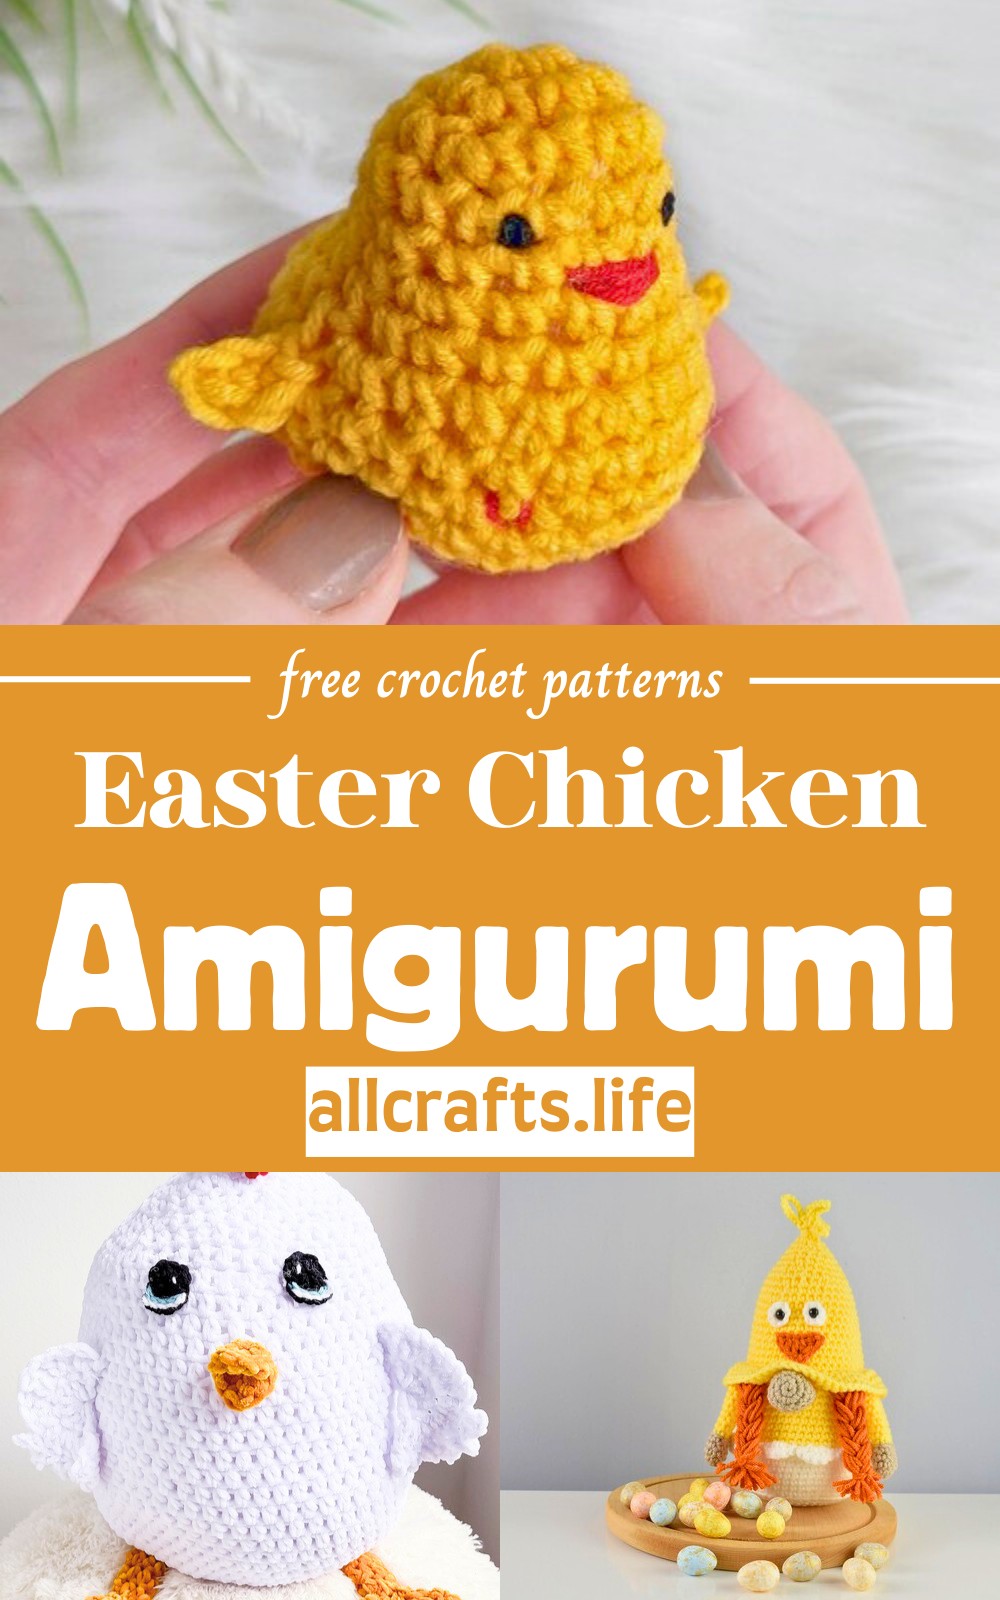
 This Easter, let's hatch some fun with quirky Easter Chicken Amigurumi Patterns! Move over bunnies, because these adorable handcrafted chickens are ready to rule the roost. Perfect for adding a dash of charm to your holiday decor, these little cluckers come in all shapes and sizes, ready to be the new stars of your Easter basket. Whether you're a crochet wizard or just picking up the hook, these patterns are your ticket to creating the cutest, cuddliest flock in town. Get ready to spread some joy and maybe a few giggles with these feathery friends!
Baby Chicken
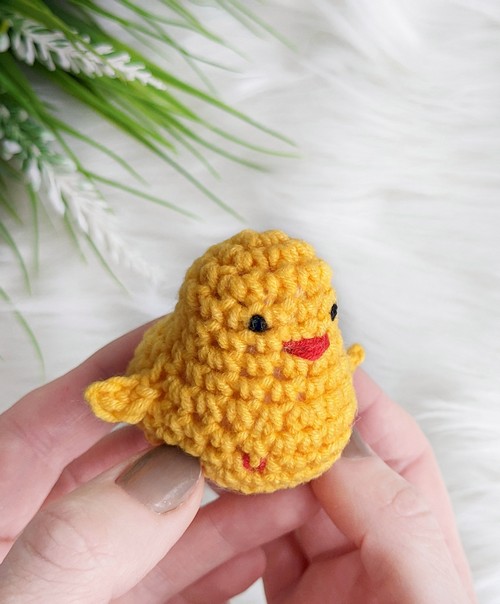
Uses: Spruce up your Easter basket with this cute, lovable creation! The tiny, glowing creature is fantastic and a surefire hit, especially among the little ones. Its petite size - merely 1.97 inches, amps up the cuteness quotient, making it an excellent decor piece.
Materials:
- Sport yarn
- 3mm crochet hook
Easter Chicken Gnome
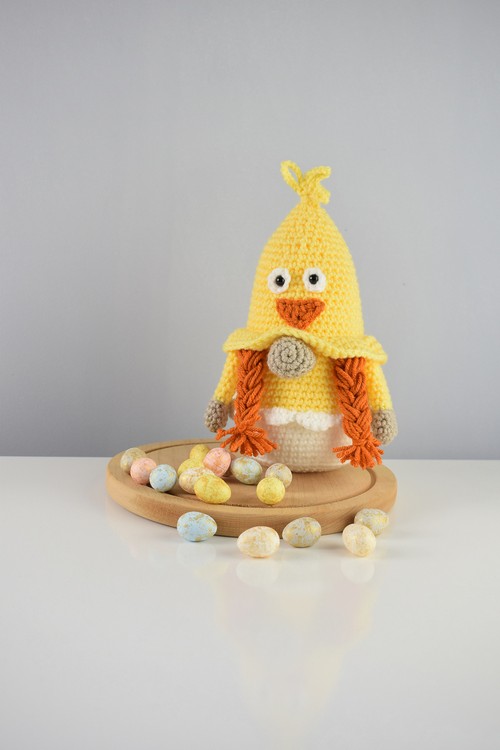
Uses: Adorn your Easter celebration with the charming Easter Chicken Gnome, a cheerful addition that brings a touch of spring warmth to table displays and shelves around your home.
Materials:
- Aran yarn
- 4mm crochet hook
Making: You start by creating the gnome's body, which is mostly composed of white yarn. This involves a set of carefully measured stitches that individually shape the gnome. As the layers pile on each other, you alternate between stitched and basic rows, maintaining an overarching round shape. The shell is styled to be textured and visually appealing, made by leveraging double crochet stitches into a grouped pattern. On the other hand, the hat is a contrasted piece on top and demands an increase in stitch count for a proper fit. Finally, creating the gnome's hair involves braiding a collection of yarn strands, adding playful charm. Post this, every element is attached together, ensuring a proper fit and finishing off our little gnome friend.
Pocket Pal Chicken
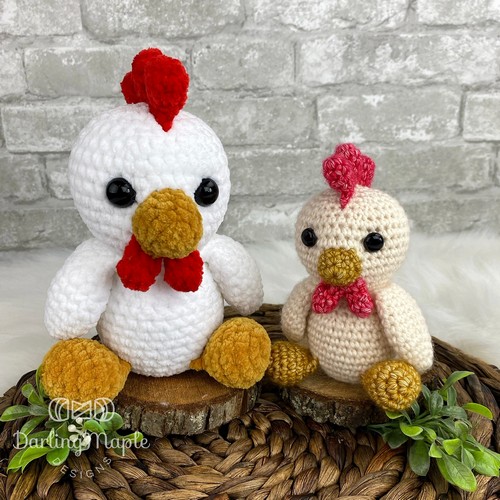
Uses: The "Pocket Pal Chicken" is a snug little buddy that can sit perfectly in your pocket, keeping you company with its cozy charm. Precious, cuddly, and oh-so-adorable- that's a Baby chicken for you. It brings delight just by its mere presence, a perfect addition to your collection of knitted treasures.
Materials:
- Bulky yarn
- 4mm and 5.5mm crochet hook
Making: The wings started from the tip, working towards the body in continuous rounds and using white yarn. They are not stuffed, resulting in a flat wing against the chicken's body. The chicken's feet crocheted in rounds, beginning from the toes and moving towards the body. The pattern dictates using a mustard-colored yarn, and light stuffing is recommended before completing the feet to give them a bit of volume. The body and head of the chicken are made as a singular piece, starting from the bottom and working up in continuous rounds. The instructions provide two alternatives - one can either sew the feet and wing to the body or crochet them directly as part of the body/headpiece, reducing the amount of sewing required. Lastly, the pattern might include additional steps for finishing touches, like attaching the facial features and any additional accessories or textures that give the Pocket Pal Chicken its character.
Bawk Bawk Chicken Squish
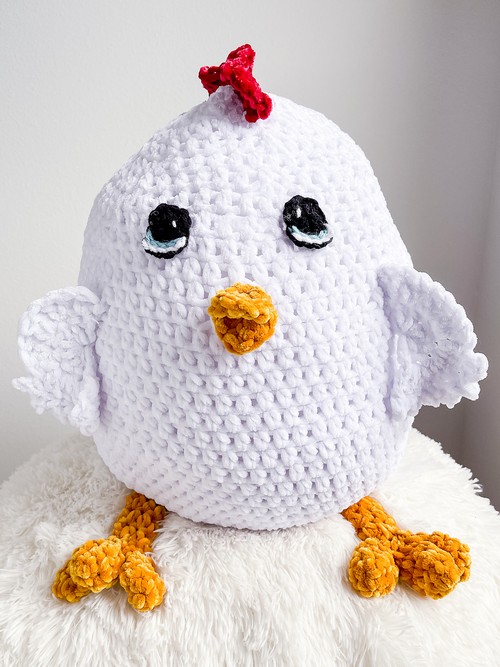
Uses: A soft, snug friend that lights up every room with its cuteness! With a plush body, this cuddly chicken isn't just for showing off; it's perfect for comforting hugs and creating joyful moments. Imagine having a buddy always there to cheer you up, ready for playtimes and quiet times.
Materials:
- Bulky yarn
- 9mm and 6mm crochet hook
Making: The body starts from the bottom with half double crochet stitches! Increase rounds occur until the desired width is reached. Then, continue with rounds until it's time to decrease to the top of the chicken's head. The toes are made separately in the round! After making the third toe, instead of fastening it off, one continues to crochet in the top of one of the previously made toes across the top and then does the same for the third toe. Once all parts are completed, they are joined to form the final model. Legs are sewn to the toes, and the figure is stuffed before closing up the form. After completing the legs, tie a simple knot for the knobby knees.
Amigurumi Chicken
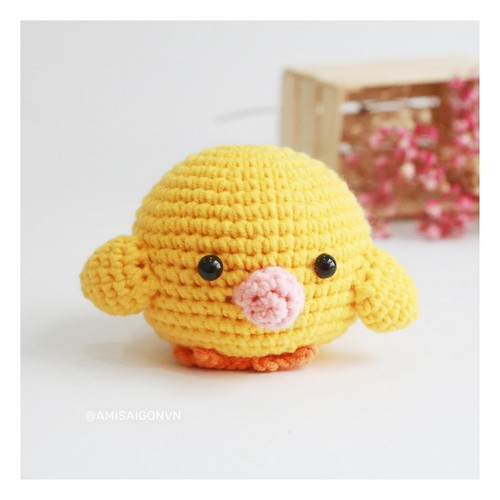
Uses: This chubby friend is ready to be part of story times, parties, or simply to sit and look adorable on a shelf. Imagine having a soft, squishy chicken that always greets you with its cute amigurumi style.
Materials:
- DK yarn
- 3mm crochet hook
Making: Begin with a magic ring! Work in continuous rounds, starting with single crochet (sc) stitches. Gradually increase the number of stitches per round to widen the shape. This could involve stitch sequences like "2 sc in the next stitch, 1 sc in the next two stitches" and repeating around. After reaching the desired width, work several rounds without increasing to form the body's length. Decrease the rounds to close the top part of the body, typically with stitch patterns like "sc two together (sc2tog)" to taper off the form. Smaller details like the beak and comb can be made with a few rounds of stitches, utilizing increases to create a triangular or pointed shape for the beak and a curved shape for the comb. Sew the head onto the body! Attach the legs, wings, beak, and comb to the body and head.

Leave a Reply