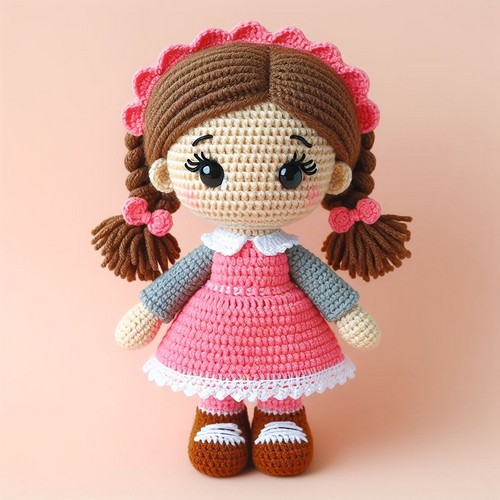
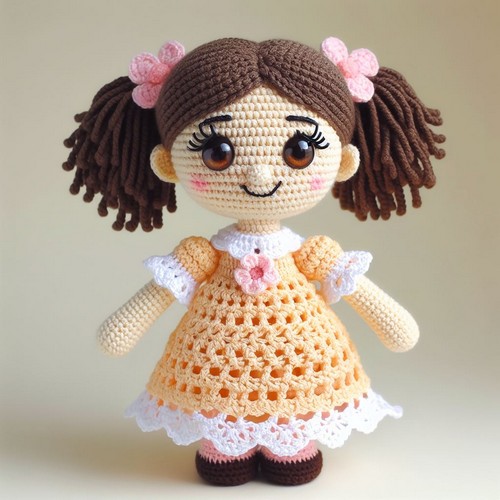
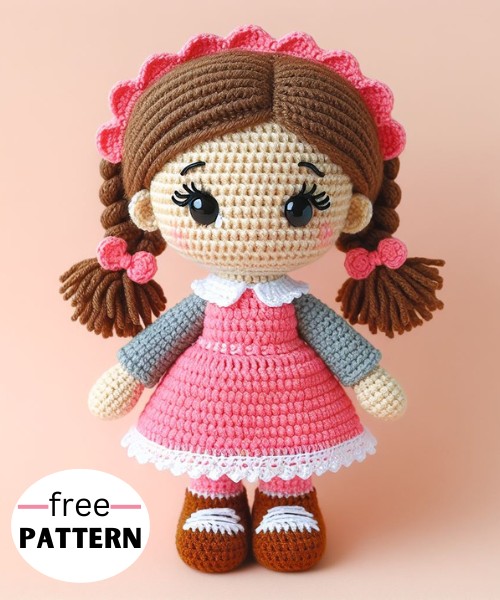
Create a charming handmade gift with this Crochet Nancy Doll Amigurumi Pattern. Perfect for beginners, the pattern includes step-by-step instructions to make a cute doll.

The Crochet Nancy Doll Amigurumi pattern is delightful and perfect for experienced hobbyists. Involving intricate crocheting techniques, you'll create a unique 3D doll with an endearing round shape. This amigurumi doll uses soft-colored threads and features an adorable face and a detailed outfit. Its petite dimensions make it a cute collectible or a charming gift.
Step-by-step Guide
Materials
- Crochet hook suitable for the yarn size
- Yarn – various colors based on design
- Stuffing material
- Yarn needle
- Safety eyes
- Stitch marker
- Scissors

Abbreviations
- CH – chain
- SL ST – slip stitch
- SC – single crochet
- INC – increase
- DEC – decrease
- FO – finish off
Steps on How to Crochet a Nancy Doll Amigurumi
Body and Head
- Starting with the doll's shoes, create a Magic Ring with 6 SC.
- For the second round, do 2 SC in each stitch around (Total 12 SC).
- For rounds 3 and 4, do SC in each stitch around (Total 12 SC).
- Change the color of your yarn for the doll's socks or legs and repeat the process for 4 more rows.
- After the socks/legs, change the color of the body dress and continue to crochet in the round. Gradually increase the stitches as the shape of the body increases.
- Once the body is done, change the color to skin color for the doll's head. Continue SC in each round until the desired size of the head is achieved.
- Fix the safety eyes on the doll's face.
- Decrease your round stitches gradually to form the top of the head. Fasten off at this point.
Arms (Make 2)
- Start with a Magic Ring with 5 SC.
- SC in each stitch for a few rounds to make the length of the doll’s arms.
- Change the yarn color to match the body dress for the doll's sleeves.
- SC in each stitch around for a few rows.
- FO leaving a long tail to sew the arms to the body.
Hair
- Using the yarn color chosen for the hair, make long chains to attach it to the doll's head. The length and style are up to you.
Assembly
- Sew the arms onto the body at the desired height.
- Attach the hair onto the doll's head.
- Using embroidery thread, stitch a smile on the doll’s face.
- Lastly, you can use additional yarn to create other accessories or details like bows, belts, etc.
This is a basic pattern, and you can always adapt it to suit your preferences in size, color, and style.


Leave a Reply