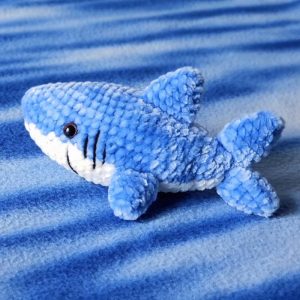
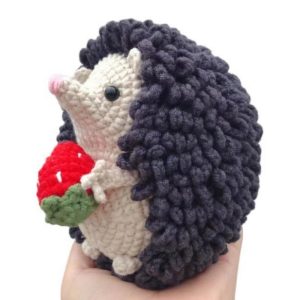
If you love cute little stuffed animals, you're in for a treat. We've got an amazing No-Sew Crochet animal pattern just for you. This simple pattern is super versatile and can help you craft all sorts of adorable creatures, from cats and hamsters to dogs and many more. All it takes is a little tweak in the details, and you can create a whole zoo of your very own plush buddies. Whether you're a beginner or a seasoned crocheter, you'll find this crochet amigurumi pattern easy to follow and fun to work on. So, grab your crochet hook and let's get started!
No Sew Crochet Animals Pattern
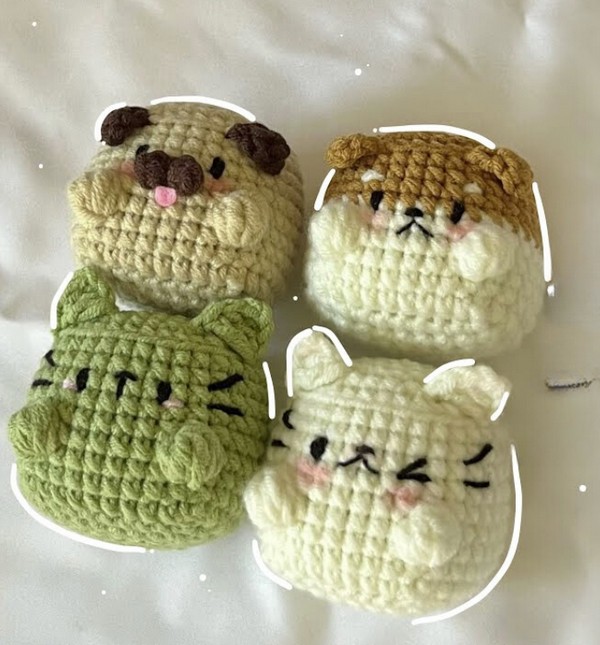
Making adorable mini cats and dogs has never been easier with this no-sew pattern. Perfect for beginners, you'll delight in crafting these cute little creatures without a single stitch of sewing. All you need is some yarn and a crochet hook to weave magic into each animal. Follow the simple steps to chain, stitch, and cluster your way to a handmade, huggable friend. Discover the joy of creating your own cat or cuddly pup and infuse each creation with personality and charm. Happy crocheting and enjoy bringing your new pet to life!
Making The Crochet Animals Pattern
Materials Needed
- Crochet Abbreviations Sheet
- Yarn in Colors of Choice (two colours for Shiba Inu)
- Crochet Hook
- Stitch Marker
- Needle
- Filling Material
Step-by-step pattern
Body Pattern
- Start with a Slip Knot: Make 11 chains.
- Row 1: Into the second chain from the hook, make one single crochet. Continue with one single crochet in each chain for a total of 10 single crochets.
- Row 2: Chain one, turn your work, and make one single crochet into each stitch across for a total of 10 single crochets.
- Row 3-7: Repeat the steps of Row 2, ensuring each row has 10 single crochets.
- Row 8: Crochet around the four sides of the rectangle, starting with one single crochet into each row end, then across the bottom chain, up the next side, and finally across the top stitches. Join with a slip stitch to finish the row. Total stitches: 34.
- Round 9-12: Work in rounds. For Round 9, chain one and make one single crochet into each stitch. Repeat for each round, connecting each round with a slip stitch. Change color in Round 12 if needed for Shiba Inu design.
Adding Details
- Round 11 (Detail Row): Start with one single crochet. For creating the ear detail, work a 5 DC cluster stitch followed by single crochets and another cluster as instructed, ending the round with a slip stitch.
- Round 13-16: Continue with single crochets in each stitch, maintaining 34 stitches per round. Join each round with a slip stitch.
Shaping the Body
- Round 17: Work only in the back loops. Start with six single crochets, followed by a decrease, and continue the pattern as specified.
- Round 18: Work three single crochets followed by a decrease. Repeat this pattern around. Begin stuffing the body.
- Round 19 & 20: Continue decreasing as described, stuffing the body firmly.
Closing
- Final Round: Execute six decreases, then finish off by pulling the yarn tight, sewing through the front loops only to close the opening.
Facial Features and Ears
- Eyes & Nose: Use separate strands of yarn to embroider the eyes and nose. For ears, reference the specified rounds and stitches, using chains and single crochets to form the shape. Stitch or glue parts as preferred.
Final Touches
- Assembly: Attach all parts securely. You might introduce variations in facial expressions or ear positioning for different characters.
- Decoration: Feel free to add additional decorations or features as desired.

Leave a Reply