
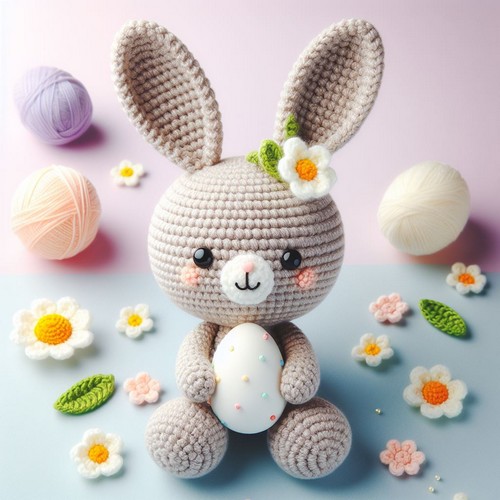
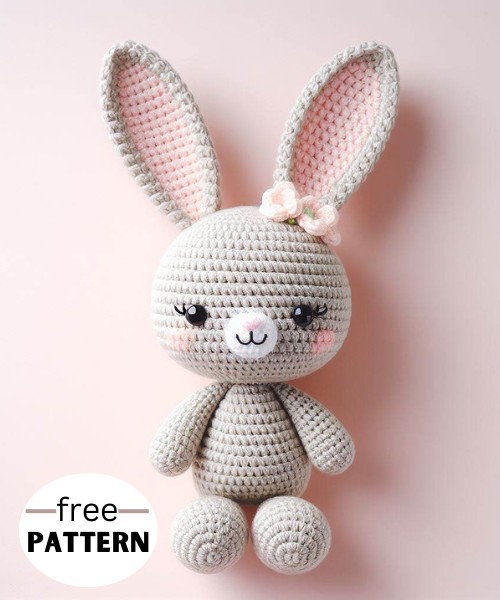
Create your own adorable Spring Bunny with this easy-to-follow Crochet Amigurumi Pattern. Suitable for intermediate skill levels, the charming design brings in the essence of Spring joy!
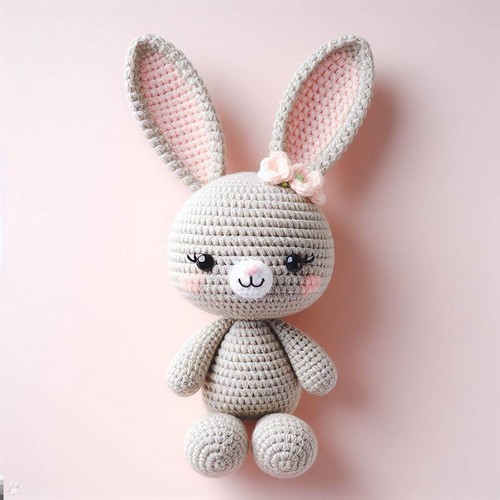
The Crochet Spring Amigurumi Bunny Pattern is an adorable, huggable Easter crochet design. This handmade bunny mirrors a rabbit's structured, oval shape paired with long ears. Crafted with basic crochet techniques, its pattern involves forming the body, head, ears, arms, and legs separately and then joining them to complete the endearing figure. Cross-stitched features bring this bunny to life, promising a delightful springtime crochet experience.
Step-by-step Guide
Materials:
- Yarn in desired colors (pink, white, green, and black in the example);
- 3.25mm crochet hook;
- 9mm safety eyes;
- Embroidery needle and black embroidery floss;
- Tapestry needle;
- Stuffing;
- Stitch markers (optional).
Pattern:
-
Body:
- Using pink yarn, make a magic ring.
- Crochet 6 sc into the ring.
- Increase by crocheting two sc in each stitch around. You should now have 12 sc.
- Continue crocheting in rounds of sc, increasing six sc evenly spaced each round until you have 36 sc.
- Stuff the body firmly with fiberfill as you crochet.
- Crochet 7 rounds without increasing.
- Crochet two rounds of sc, decreasing evenly to have 30 sc.
- Mark the last round with a stitch marker or contrasting yarn.
-
Head:
- Using pink yarn, make a magic ring.
- Crochet 6 sc into the ring.
- Increase by crocheting two sc in each stitch around. You should now have 12 sc.
- Continue crocheting in rounds of sc, increasing six sc evenly spaced each round until you have 24 sc.
- Stuff the head firmly with fiberfill as you crochet.
- Crochet 6 rounds without increasing.
- Crochet two rounds of sc, decreasing evenly to have 18 sc.
- Mark the last round with a stitch marker or contrasting yarn.
-
Legs (make 2):
- With pink yarn, make a magic ring.
- Crochet 6 sc into the ring.
- Increase by crocheting two sc in each stitch around. You should now have 12 sc.
- Crochet 2 rounds without increasing.
- Stuff the legs lightly with fiberfill as you crochet.
- Crochet two rounds of sc, decreasing evenly to have six sc.
- Tie off and weave in the ends.
-
Ears (make 2):
- With pink yarn, make a chain of 8 sc.
- Turn and crochet down the chain, making a sc in each stitch.
- Decrease by crocheting two sc together in each stitch around.
- Repeat step 5 until there are only two stitches left.
- Pull the remaining yarn tight and tie it off. Weave in the ends.
-
Tail:
- With white yarn, make a chain of 8 sc.
- Turn and crochet down the chain, making a sc in each stitch.
- Repeat step 7 until the tail is the desired length.
- Stuff the tail lightly with fiberfill.
- Tie off and weave in the ends.
-
Assembly:
- Sew the legs to the body, placing them evenly around the bottom.
- Sew the ears to the top of the head, on either side of the crown.
- Sew the tail to the back of the body, at the base of the spine.
- Glue on the safety eyes, placing them on the face between the stitch markers you placed earlier.
- Embroider a nose and mouth with black embroidery floss.
-
Carrot (optional):
- With orange yarn, make a magic ring.
- Crochet 6 sc into the ring.
- Increase by crocheting two sc in each stitch around. You should now have 12 sc.
- Continue crocheting in rounds of sc, increasing six sc evenly spaced each round until you have 30 sc.
- Stuff the carrot firmly with fiberfill as you crochet.
- Crochet 2 rounds without increasing.
- Decrease by crocheting two sc together in each stitch around until you have six sc.
- Crochet a chain of green yarn and sew it to the top of the carrot for the leaves.
-
Finishing touches:
- You can add a flower crown or other embellishments to your bunny.


Leave a Reply