
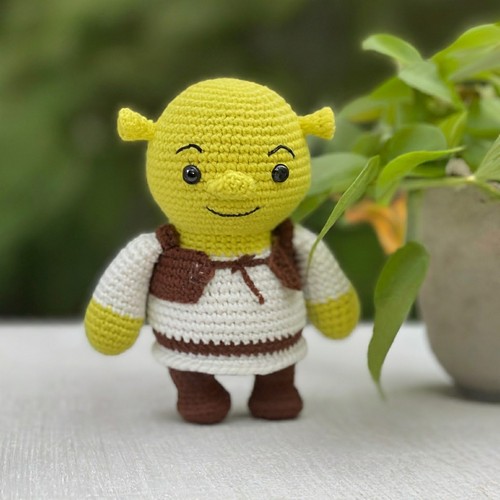
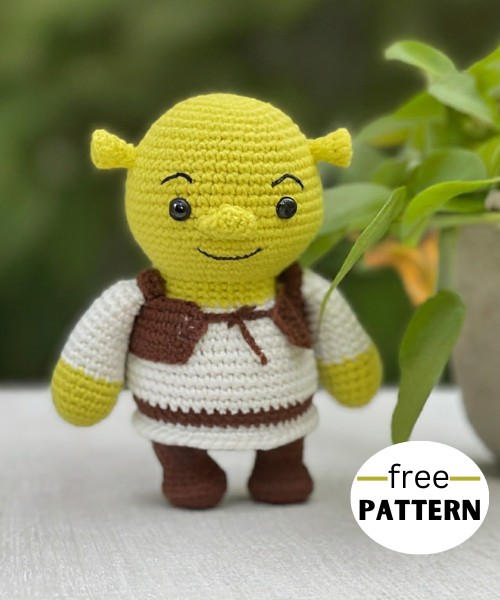
This crochet Shrek Amigurumi Pattern lets you create a detailed, handmade doll. Creating a mini ogre through crochet is a unique and enjoyable project suitable for fans of all ages.
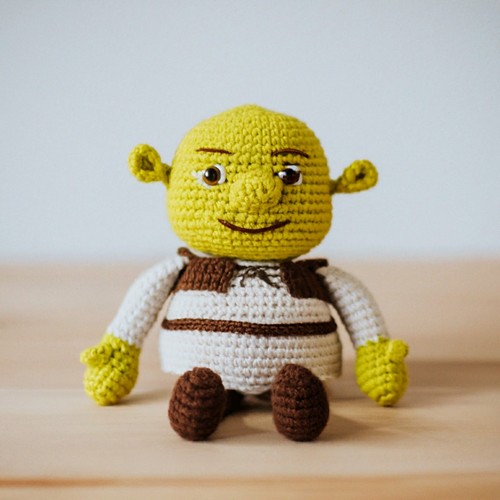
This crochet Shrek amigurumi pattern comes to life from a world of fairytale adventures. Using intricate stitches and vibrant green, brown, and cream yarn, you'll shape a round, friendly face, flappy ogre ears, and broad shoulders. With details like twill trousers and a white tunic, this Shrek adds a magical charm to any crochet collection.
Step-by-step Guide
Materials:
-
- Green yarn in various shades
- Black yarn
- White yarn
- Orange yarn
- Brown yarn
- Beige yarn
- 6mm crochet hook
- Tapestry needle
- Fiberfill
- Safety eyes
- Brown embroidery floss
Body:
-
- Start with light green yarn and make a magic ring.
- Work 6 single crochets into the ring.
- Increase in each stitch to make 12 single crochets.
- Continue increasing every other stitch until you have 36 single crochets.
- Change to medium green yarn.
- Work 7 rounds of single crochets without increasing.
- Change to dark green yarn.
- Work 5 rounds of single crochets without increasing.
- Stuff the body firmly with fiberfill as you go.
- Work 5 more rounds of single crochets, decreasing one stitch evenly each round.
- Finish off and leave a long tail for sewing.
Head:
-
- With light green yarn, make a magic ring.
- Work 6 single crochets into the ring.
- Increase in each stitch to make 12 single crochets.
- Continue increasing every other stitch until you have 24 single crochets.
- Change to medium green yarn.
- Work 5 rounds of single crochets without increasing.
- Change to dark green yarn.
- Work 3 rounds of single crochets without increasing.
- Stuff the head firmly with fiberfill.
- Work 3 more rounds of single crochets, decreasing one stitch evenly each round.
- Finish off and leave a long tail for sewing.
Arms:
-
- With light green yarn, make a magic ring.
- Work 6 single crochets into the ring.
- Increase each stitch to make 12 single crochets.
- Work 8 rounds of single crochets without increasing.
- Stuff the arm lightly with fiberfill.
- Work 5 more rounds of single crochets, decreasing one stitch evenly each round.
- Finish off and leave a long tail for sewing.
- Repeat for the other arm.
Legs:
-
- With light green yarn, make a magic ring.
- Work 6 single crochets into the ring.
- Increase in each stitch to make 12 single crochets.
- Work 12 rounds of single crochets without increasing.
- Stuff the leg firmly with fiberfill.
- Work 5 more rounds of single crochets, decreasing one stitch evenly each round.
- Finish off and leave a long tail for sewing.
- Repeat for the other leg.
Assembly:
-
- Sew the head to the body, using the long tails you left at the end of each.
- Sew the arms to the body, positioning them at the sides.
- Sew the legs to the body, positioning them in the middle of the body.
Details:
Eyes:
- Sew on two safety eyes.
- Use black embroidery floss to stitch eyebrows above the eyes.
Nose:
- Use light pink yarn to make a small oval.
- Sew the nose to the face, just below the eyes.
Mouth:
- Use brown embroidery floss to stitch a wide smile on the face.
Teeth:
- Use white yarn to make small ovals.
- Sew the teeth onto the upper lip.
Ears:
- With light green yarn, make two small ovals.
- Roll up the edges of the ovals to create a cone shape.
- Sew the ears to the top of the head.
Optional:
- You can add hair to Shrek using brown yarn.
- You can also give him a belt using brown yarn or embroidery floss.
Your Shrek amigurumi is now complete!


Leave a Reply