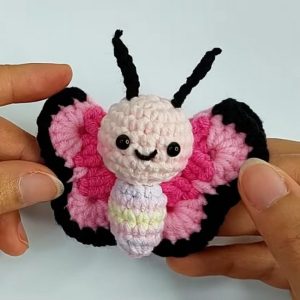
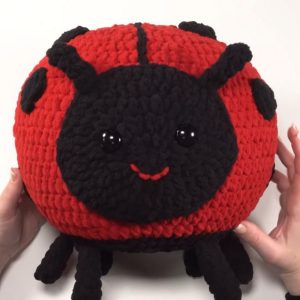
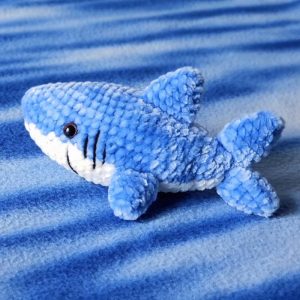
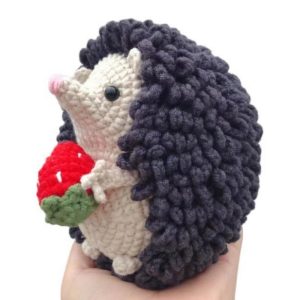
Ever wished you could cuddle a fluffy puppy or a cuddly bear? Now you can make your own with this super fun crochet pattern! This amigurumi guide shows you how to create both a playful pup and bear, perfect for playtime or bedtime snuggles. Each one is small enough to fit in little hands and has sweet features like button noses and flop our room! So grab your yarn, get ready to crochet, and let the cuddly adventures begin!

Features and Uses: Imagine tiny, cuddly friends you can carry in your pocket! Our crochet puppy and bear are just that, with soft fur and big smiles. What makes them extra special are the charming ribbon bows around their necks. These little crochet buddies are perfect for play, to keep you company, or to make your room look cute. Let's start crocheting these adorable pals today!
Making Your Crochet Puppy And Bear Pattern
Materials and Tools:
- Yarn: According to Preference
- Hook size: Size needed for the yarn weight
- Stuffing: Amount and type (e.g., fiberfill)
- Safety eyes: Size and color (if used)
- Needle: For sewing and embroidery (optional)
- Scissors: For cutting yarn and thread
Terms You Must Know:
- sc: Single crochet (basic stitch that builds fabric)
- inc: Add a stitch (increases size of your piece)
- dec: Remove a stitch (decreases size or shapes piece)
- MR: Magic ring (starts crocheting in the round without a hole)
- st: Stitch (general term for any crochet stitch)
- F.o.: Fasten off (secure yarn and finish piece)
Others:
- BLO: Back loops only (works into the back half of a stitch)
- row: Horizontal line of stitches in your crochet work
Step by step Pattern
Head:
- 1. 6 sc in MR 2. inc*6 (12 st) 3. (1 sc, inc)*6 (18 st) 4. (2 sc, inc)*6 (24 st) 5. (3 sc, inc)*6 (30 st)
- 6. (4 sc, inc)*6 (36 st) 7. 36 sc
- 8. 36 sc
- 9. (11 sc, inc)*3 (39 st)
- 10. 39 sc
- 11. (12 sc, inc)*3 (42 st)
- 12. 42 sc
Change colour to white (for bear- don't change)
- 13. 42 sc
- 14. 42 sc
- 15. 42 sc
- 16. (5 sc, dec)*6 (36 st)
- 17. (4 sc, dec)*6 (30 st)
- 18. (3 sc, dec)*6 (24 st)
- 19. (2 sc, dec) *6 (18 st)
- 20. (4 sc, dec)*3 (15 st)
- Fasten off and cut the yarn.
- Place the safety eyes between rows 11 and 12 with 8
- sc between them.
- I used 10 mm safety eyes.
Body:
- 1. 6 sc in MR 2. inc*6 (12 st) 3. (1 sc, inc)*6 (18 st)
- 4. (2 sc, inc)*6 (24 st)
- 5. (3 sc, inc)*6 (30 st)
- 6. 30 sc
- 7. 30 sc
- 8. 30 sc
- 9. 30 sc
- 10. 9 sc, dec*6, 9 sc, (24 st)
Change the colour to white (for the bear - don't change the colour)
- 11. (6 sc, dec)*3 (21 st)
- 12. (5 sc, dec)*3 (18 st)
- 13. (4 sc, dec)*3 (15 st)
- 14. 15 sc
- 15. 15 sc
- Fasten off and cut the yarn. Leave a long tail for sewing.
Ears: (dog).
- 1. 6 sc in MR
- 2. (1 sc, inc)*3 (9 st)
- 3. 9 sc
- 4. 9 sc
- 5. 9 sc
- Fold edges together and crochet two sides together with 4 sc. Fasten off and cut the yarn. Leave a long tail for sewing.
Ears: (bear)
- 1. 6 sc in MR
- 2. (1 sc, inc)*3 (9 st)
- 3. (2 sc, inc)*3 (12 st)
- Fold edges together and crochet two sides together with 5 sc. Fasten off and cut the yarn. Leave a long tail for sewing.
Muzzle:
- 1. 6 sc in MR
- 2. inc*4, 2 sc (10 st)
- Fasten off and cut the yarn. Leave a long tail for sewing.
Arms:
- 1. 7 sc in MR
- 2. 4.7 sc (4 rows)
- Fold the edges together and crochet two sides together with 3 sc. Fasten off. Leave a long tail for sewing.
Legs:
- 1. 6 sc in MR
- 2. inc*6 (12 st)
- 3. Back loops only - 12 sc
- 4. 12 sc
- Fasten off. Leave a long tail for sewing.
Tail:
- 1. 5 sc in MR
- 2. inc*5 (10 st)
- 3. (3 sc, dec)*2 (8 st)
- Fasten off. Leave a long tail for sewing.
Assembly:
- Embroider the nose and the eyebrows with a thin black thread.
- Sew the muzzle to the head.
- See the ears to the head.
- Sew the head to the body.
- Sew arms to the body between rows 13 and 14.
- Sew the legs to the body. See the tail to the body.
Designer: Bumbee_crochet On Instagram


Leave a Reply