
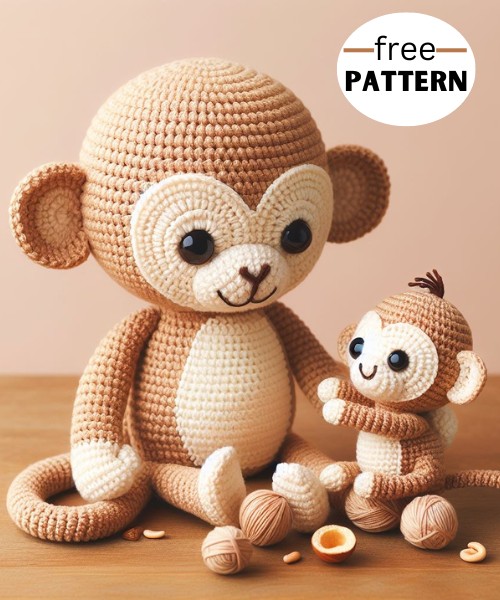
Create an adorable Crochet Monkey with a Baby Amigurumi Pattern! Delightful and charming, these handmade critters make perfect gifts or keepsakes.
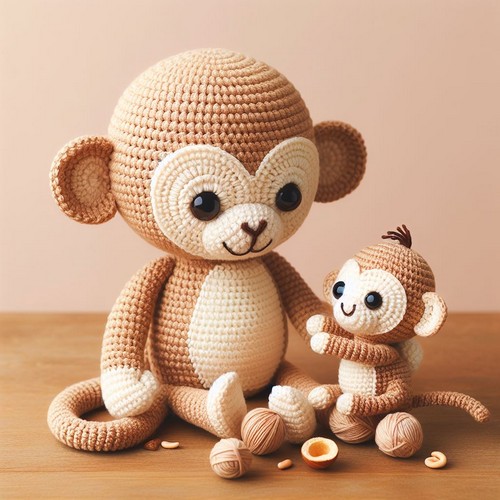
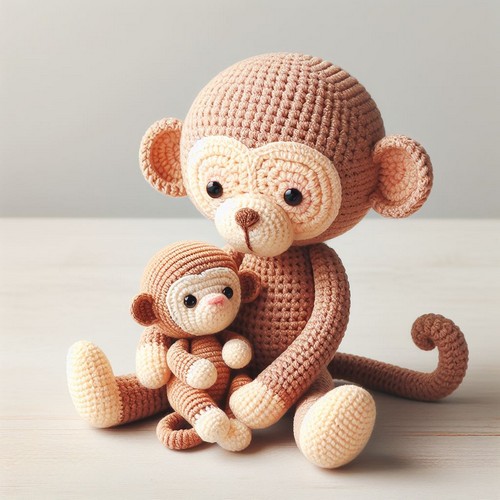
The Crochet Monkey With Baby amigurumi pattern creates a charming mother and baby monkey duo. It requires intermediate crochet skills to meticulously craft each piece (head, body, limbs) separately before assembling. The final result is a beautifully sculpted adult monkey cradling a more petite, equally adorable baby monkey, both given character through intricate facial details. This whimsical pair would make a delightful gift or decoration.
Step-by-step Guide
Materials:
- Yarn (A color for the body, another for the face, and one for the baby)
- Crochet hook (appropriate for the yarn weight)
- Safety eyes and nose (optional)
- Polyester fiberfill (for stuffing)
- Scissors
- Stitch markers
- Yarn needle
Stitches Used:
- Chain (ch)
- Slip stitch (sl st)
- Single crochet (sc)
- Half double crochet (hdc)
- Double crochet (dc)
- Increase (inc)
- Decrease (dec)
Body & Head
- Begin with the main body color. Create a magic circle or adjustable loop.
- Round 1: Work 6 sc in the magic circle. (6 sts)
- Round 2: Inc in each stitch around. (12 sts)
- Round 3: Sc in the next stitch, inc repeat around. (18 sts)
- Round 4: Sc in the next 2 stitches, inc repeat around. (24 sts)
- Round 5: Sc in the next 3 stitches, inc repeat around. (30 sts)
- Round 6-13: Sc in each stitch around. (30 sts)
- Round 14: Sc in the next 3 stitches, dec repeat around. (24 sts)
- Round 15: Sc in the next 2 stitches, dec repeat around. (18 sts)
- Stuff the body firmly with polyester fiberfill.
- Round 16: Sc in the next stitch, dec repeat around. (12 sts)
Change to face color.
- Round 17: Inc in each stitch around. (24 sts)
- Round 18: Sc in the next stitch, inc repeat around. (36 sts)
- Round 19-23: Sc in each stitch around. (36 sts)
- Attach safety eyes and nose.
- Round 24: Sc in the next stitch, dec repeat around. (24 sts)
- Add more stuffing to the head.
- Round 25: Dec repeat around. (12 sts)
- Round 26: Dec repeat around. (6 sts)
- Cut the yarn, leaving a tail. Thread the tail through a yarn needle and weave it through the remaining 6 stitches. Pull tight to close and weave in the end.
Legs (Make 2)
- Begin with the main body color. Create a magic circle or adjustable loop.
- Round 1: Work 6 sc in the magic circle. (6 sts)
- Round 2: Inc in each stitch around. (12 sts)
- Round 3-8: Sc in each stitch around. (12 sts)
- Stuff the leg with polyester fiberfill.
- Fold the top of the leg flat and sl st through both layers to close the leg.
- Cut the yarn, leaving a long tail for sewing.
Arms (Make 2)
- Begin with the main body color. Create a magic circle or adjustable loop.
- Round 1: Work 6 sc in the magic circle. (6 sts)
- Round 2: Inc in each stitch around. (12 sts)
- Round 3-7: Sc in each stitch around. (12 sts)
- Stuff the arm with a small amount of fiberfill.
- Fold the top of the arm flat and sl st through both layers to close the arm.
- Cut the yarn, leaving a long tail for sewing.
Tail
- Begin with the main body color. Create a magic circle or adjustable loop.
- Round 1: Work 6 sc in the magic circle. (6 sts)
- Round 2-16: Sc in each stitch around. (6 sts)
- Cut the yarn, leaving a long tail for sewing. Stuff the tail lightly with fiberfill.
Ears (Make 2)
- Begin with the main body color. Chain 7.
- Row 1: Sc in the second chain from the hook and each remaining chain (6 sts).
- Row 2: Ch 1, turn, sc in each stitch across. (6 sts)
- Row 3: Ch 1, turn, dec, sc in the next 2 stitches, dec. (4 sts)
- Row 4: Ch 1, turn, dec twice. (2 sts)
- Fasten off and weave in ends.
Baby Monkey
Follow the same pattern as the adult monkey, but use a smaller hook size and thinner yarn. Adjust the pattern by reducing the number of rounds for the body, head, arms, and legs.
Assembly
- Sew the legs on the bottom of the body, about two rounds apart from each other.
- Sew the arms onto the sides of the body, just below the neck.
- Sew the tail onto the back of the body.
- Sew the ears onto the sides of the head, at the level of the eyes or a little higher.
Your Crochet Monkey With Baby Amigurumi is now complete!


Leave a Reply