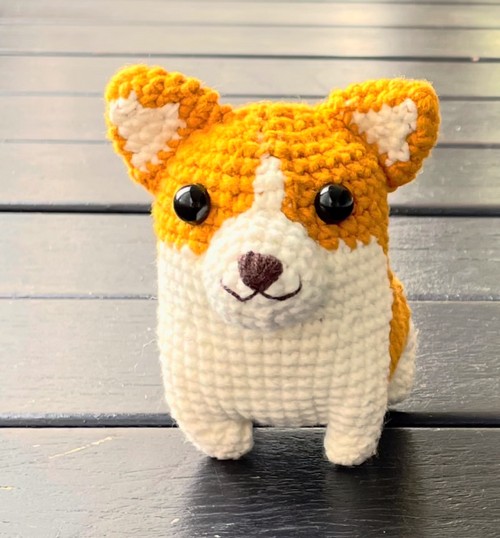
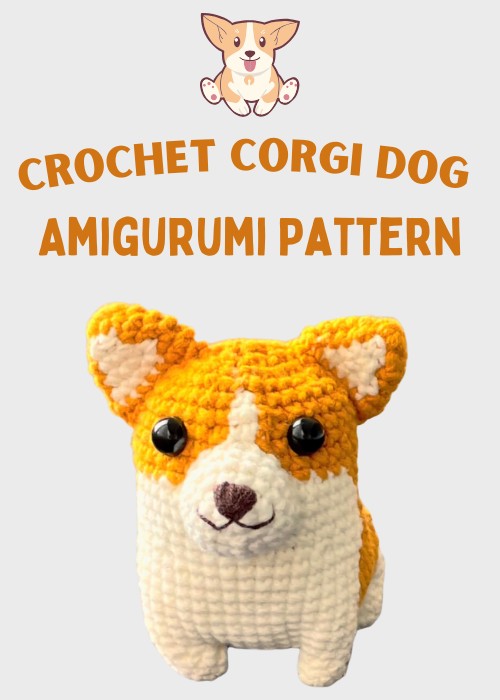
In this tutorial, learn how to crochet corgi dog amigurumi following the video guide we will share. It looks adorable and will be a huggable companion for little ones. Due to the visual format instructions, even beginners can learn and recreate it. So, know everything required for this, and let's get started!
Supplies Needed
To end up with a similar crochet corgi dog amigurumi, make sure to have the below crochet materials and specific tools in hand:
- I used 5 ply cotton yarn.
- 3mm crochet hook.
- Polyester fiberfill.
- Large safety eyes (avoid them as they can pose a choking hazard for children).
- Stitch Markers.
Finished Size:
Final size is 8cm(W) x 10cm(H) x 9cm(D)
Video Tutorial For Crochet Corgi
Are you ready to learn how to crochet corgi amigurumi? Below, you will find a collection of 3 video parts that you can follow now:
Abbreviations Used
- Ch - Chain Stitch
- sc - Single crochet
- inc - increase
- dec - decrease
- Fo - Fasten Off
Bottom and Legs
In this part, the tutor first crochets a capsule-shaped round of 4 rounds. Then, he crochets 4 half-cylinder legs that will be sewn using the crochet hook around this round in four corners. He continues to work around after each attachment of his legs, growing larger. He then changes the color and works a few more rounds. This way, you get chibi-style legs and the bottom part of the corgi.
Face and Upper Body
In this session, the tutor works around the bottom previously created and grows above using the invisible decreases. Working with the alternating orange and white colors, he creates a pattern that usually appears on the corgi. You can crochet the face by narrowing the body at one side of the top. You should follow the principle of stuff as you go so that it becomes easy to insert the stuffing. After stuffing, the round is closed completely. Everything is worked has been spiral rounds.
Ears, Facial Expressions and Other Details
This part (which is final) focuses on crocheting smaller body details like triangular ears and mouth (stuffed) and attaching the safety eyes. You will also use the embroidery needle to add the smiling expressions. And you will be done.


Leave a Reply