
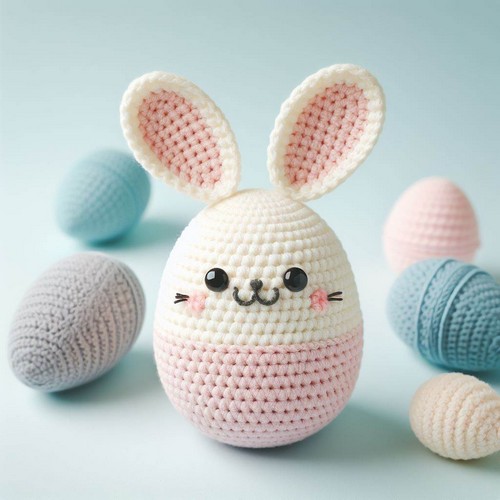
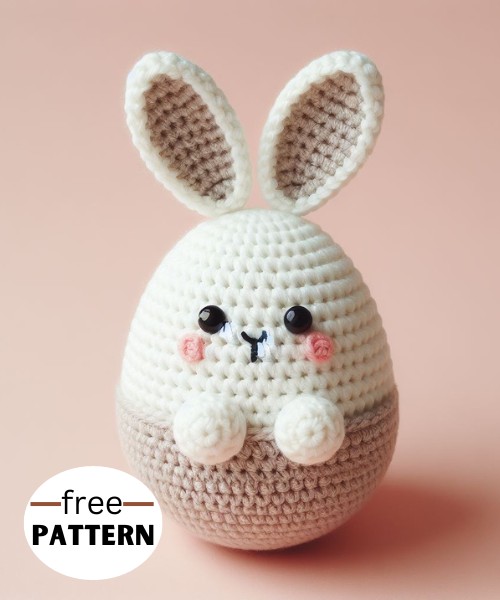
This crochet pattern features an adorable Bunny Egg Amigurumi. Perfect for Spring or Easter decorations, the design offers step-by-step instructions, suitable for intermediate crocheters.
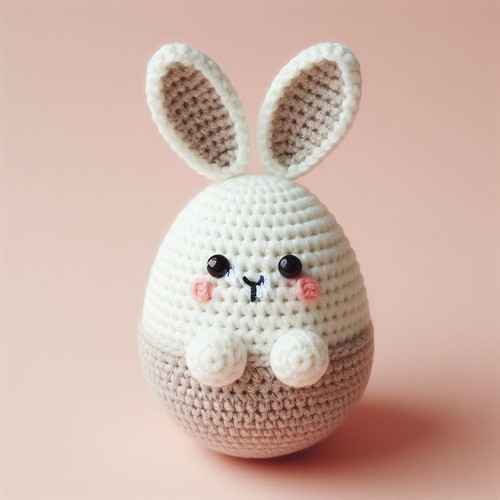
Make a charming Crochet Bunny Egg Amigurumi for the spring festivities! This pattern involves crocheting in the round to shape a delightful bunny, hugging an egg adorned with perky ears and a cute face. Perfect for Easter, it's designed to fit cozily in your palm and bring a touch of whimsy to your decor.
Step-by-step Guide
Materials
- Crochet hook (size 3.50mm)
- Sport weight yarn in two colors (one for the body/ears and one for the face/belly)
- Safety eyes (6mm)
- Embroidery needle
- Scissors
- Stuffing
Gauge
- 24 stitches x 26 rows in single crochet = 4 inches x 4 inches
Body
- Make a magic ring with your main color yarn and crochet 6 sc in the ring.
- Increase in each stitch around (12 sc).
- Sc in one stitch, increase in the next stitch around (18 sc).
- Sc in two stitches, increase in the next stitch around (24 sc).
- Sc in three stitches, increase in the next stitch around (30 sc).
- Sc in four stitches around without increasing.
- Sc in around for 4 more rounds without increasing.
- Sc in two stitches together around (24 sc).
- Sc in two stitches together around (18 sc).
- Sc in two stitches together around (12 sc).
- Stuff the body firmly.
- Fasten off and weave in the end.
Face
- With your contrasting color yarn, make a magic ring and crochet 6 sc in the ring.
- Increase in each stitch around (12 sc).
- Sc in one stitch, increase in the next stitch around (18 sc).
- Sc in four stitches around without increasing.
- Sc in around for 4 more rounds without increasing.
- Sew the face onto the body, aligning the curved edges.
Ears (make 2)
- With your main color yarn, chain 8 stitches.
- Sc in the second chain from the hook and in each chain to the end (7 sc).
- Chain 2, turn your work, and sc in each stitch to the end (7 sc).
- Sc in the first 3 stitches, inc in the next stitch, sc in the last 3 stitches (8 sc).
- Sc in the first 4 stitches, inc in the next stitch, sc in the last 4 stitches (9 sc).
- Sc in the first 5 stitches, inc in the next stitch, sc in the last 5 stitches (10 sc).
- Sc in around for 2 more rounds without increasing.
- Fasten off and weave in the end.
- Sew the ears to the top of the head.
Legs (make 2)
- With your main color yarn, chain 8 stitches.
- Sc in the second chain from the hook and each chain to the end (7 sc).
- Chain 2, turn your work, and sc in each stitch to the end (7 sc).
- Increase in each stitch around (14 sc).
- Sc in around for 6 more rounds without increasing.
- Stuff the legs firmly.
- Fasten off and weave in the end.
- Sew the legs to the bottom of the body.
Tail (optional)
- With your main color yarn, chain 8 stitches.
- Sc in the second chain from the hook and each chain to the end (7 sc).
- Chain 2, turn your work, and sc in each stitch to the end (7 sc).
- Sc in the first 3 stitches, dec in the next stitch, sc in the last 3 stitches (6 sc).
- Sc in the first 2 stitches, dec in the next stitch, sc in the last 2 stitches (5 sc).
- Continue decreasing in this way until you have 1 stitch left.
- Fasten off and weave in the end.
- Sew the tail to the back of the body.
Finishing touches
- Sew on the safety eyes.
- Embroider a nose and mouth with your contrasting color yarn.
I hope this helps you to create your amigurumi piece.


Leave a Reply