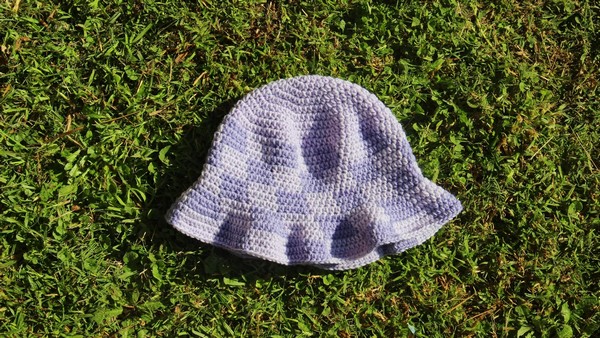
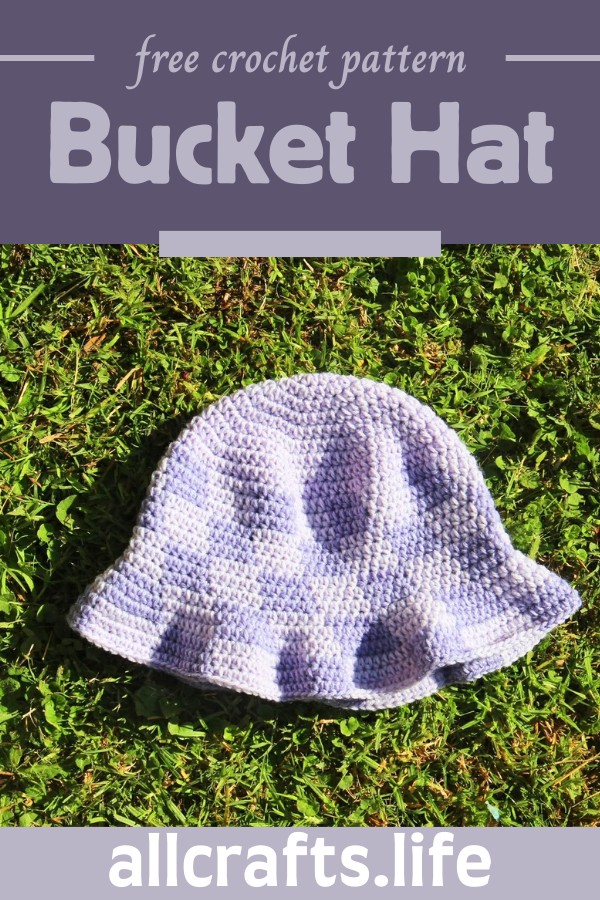
No more face burn during summer outings as we present you the stylish and functional Crochet Checkered Bucket Hat Pattern. Perfect for sunny beach days or casual walks in the park, this hat not only looks great but also provides excellent protection against the sun. With easy-to-follow instructions, you can craft your own customized hat that fits just right. Whether you're a crochet newbie or an experienced hook master, this pattern is designed for your comfort and style. So grab your yarn and hook, and let's start creating your new favourite summer accessory!
Crochet Checkered Bucket Hat

This crochet summer hat pattern stands out with its stylish checkered design, combining two colours for a fun, playful look. Ideal for beginners, the guide walks you through each step, making it simple to follow. You'll learn how to start with a magic loop, continue with increasing rounds, and how to seamlessly switch colours to create the checkered pattern. Perfect for personal use or as a thoughtful handmade gift, this bucket hat adds a touch of handmade elegance to any outfit.
Materials
- Two colours of yarn (suitable for a 4.5 mm crochet hook)
- 4.5 mm crochet hook
- Stitch marker (optional, recommended for beginners)
Step by step Pattern
Magic Loop Start:
- Create a magic loop.
- Chain 1.
- Make 8 half-double crochets (HDC) into the loop.
- Pull the short end to close the loop.
- Join with a slip stitch to the first HDC.
Round 1:
- You start with 8 HDC.
Round 2 (Increase in every stitch):
- Chain 1 (do this at the beginning of every round).
- In the first stitch, make 1 HDC, and in the same stitch, make another HDC (increase).
- Continue to make 2 HDCs in each stitch around.
- You will have 16 stitches in total for this round.
- Join with a slip stitch.
Round 3 (Increase in every other stitch):
- Chain 1.
- 1 HDC in the first stitch, 2 HDCs in the next stitch; repeat around.
- Join with a slip stitch.
Round 4 (Pattern "1, 1, 2"):
- 1 HDC in the first stitch, 1 HDC in the second stitch, and 2 HDCs in the third stitch.
- Repeat pattern around.

Round 5 (Pattern "1, 1, 1, 2"):
- Follow the established pattern adding one more single HDC before the increase.
Round 6 to 10:
- Continue the pattern by adding one more single HDC before the next increase in each subsequent round. By round 10, you'll have a circle approximately 8 inches in diameter.
Middle Section (Checkered Pattern):
- Start with your first color, working the first 5 stitches.
- On the 5th stitch, change to your second color by pulling the new color through the last loop of your HDC.
- Always carry the non-working yarn with you by laying it over the stitches you're working into, so it gets enclosed by your stitches. This makes it easier to switch colors.
- Work 5 stitches in the second color, then switch back to the first color on the 5th stitch.
- Continue this color change pattern around; you'll have 80 stitches.
Shifting the Pattern:
- To create the offset checkered pattern, shift the entire color pattern one stitch to the left every round. This involves starting the color change one stitch earlier than in the previous round.
Top Squares:
- After establishing the checkered pattern for a few rounds, switch colors so that squares of the opposite color form on top of the existing squares.
Final Rounds (Increases):
- Further rounds involve alternating color changes and adding increases to shape the hat accordingly. Keep alternating colors every few stitches, and introduce increases (two HDCs in one stitch) at specified intervals to ensure the hat continues to widen as it transitions from the crown to the brim.
Finishing:
- Continue with rounded increases and alternating colours until the bucket hat reaches the desired size.
- Finish off with several rounds where you increase the number of HDCs before each colour switch, gradually stopping increases to complete the brim width.
- The very last rounds are worked without increases to give the brim a defined edge.
- Cut the yarn, pull through, and weave in all ends.


Leave a Reply