
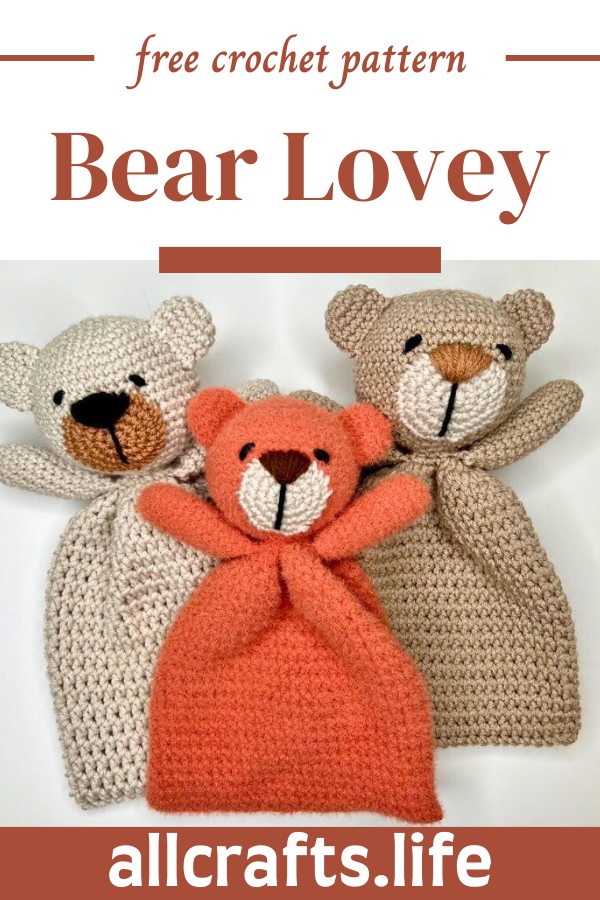
With its snugly charm, this Crochet Bear Lovey Pattern brings a splash of warmth and comfort to any child's world. This adorable creation combines the soothing touch of a lovey with the playful allure of a teddy bear, making it an ideal companion for little ones. Crafted with love, it features a simple yet beautiful design that appeals to both beginners and experienced crocheters alike. Perfect for snuggles, this bear lovey promises to be a faithful friend for bedtime, naptime, and comfort during times of need, becoming a cherished keepsake in your child's heart.
Crochet Bear Lovey Pattern
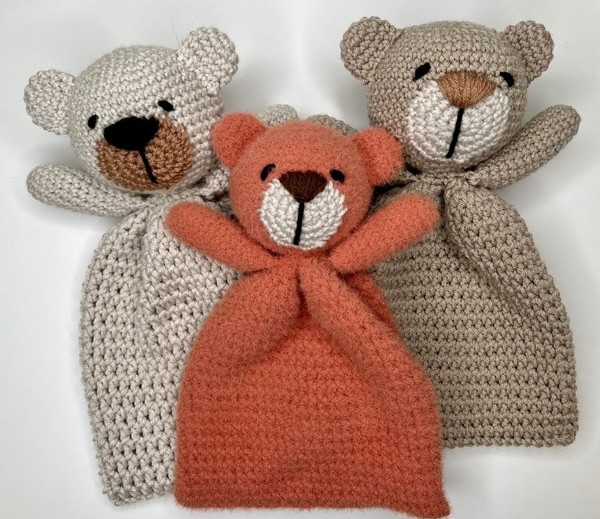
Crochet Bear Lovey Pattern
Materials:
- Yarn in the color of your choice suitable for the bear's body and additional yarn for the bear's face details (usually a contrasting color like black and optionally pink for the mouth or cheeks).
- 4.0 mm crochet hook (Hook size may vary depending on your tension and the yarn you select).
- Fiberfill or stuffing to fill the bear.
- Tapestry needle for sewing parts together and embroidering face details.
- Scissors.
- Stitch markers or safety pins to mark the ends of your rounds.
Abbreviations:
- sc - Single Crochet
- sc2tog - Single Crochet Two Together (decrease)
- st(s) - Stitch(es)
- inc - Increase (2 sc in one stitch)
- dec - Decrease (usually sc2tog to decrease by one stitch)
- sl st - Slip Stitch
- ch - Chain
- MR - Magic Ring or Magic Circle
Step by step Pattern
Bear Head
- Start with a Magic Circle:
- Use a 4.0 mm crochet hook and your chosen yarn color for the bear's body.
- Make a magic circle and single crochet (sc) 6 times into the center.
- Round 1:
- Increase by single crocheting twice in each stitch (2 sc in each st) around, giving you 12 stitches.
- Round 2:
- Sc in the first stitch, then 2 sc in the next stitch (sc, increase) around, leading to 18 stitches.
- Round 3:
- (Sc in the next 2 stitches, 2 sc in the next stitch) repeat around for a total of 24 stitches.
- Round 4:
- Sc in the next 3 stitches, 2 sc in the next stitch, repeat around to total 30 stitches.
- Round 5:
- Sc in the next 4 stitches, 2 sc in the next stitch, repeat around to total 36 stitches.
- Rounds 6 to 15:
- Sc in each stitch around for 10 rounds with no increases, maintaining at 36 stitches, to create the head's shape.
- Begin Decreasing for the head shape:
- Gradually decrease by single crocheting two stitches together (sc2tog) and doing fewer single crochets between each decrease over the next several rounds until the head closes up.
- Stuff the Head:
- Fill with fiberfill before fully closing.
- Close the opening:
- Continue decreasing until you can close the head. Fasten off and weave in the ends.
Bear Arms (Make 2)
- Start with a Magic Circle:
- 6 sc into the circle.
- Round 1:
- 2 sc in each stitch around for a total of 12 stitches.
- Rounds 2-15:
- Sc in each stitch around for 14 rounds, maintaining 12 stitches across.
- Stuff and Close:
- Lightly stuff the arms before sewing them onto the body.
Bear Body
- Start with a Magic Circle:
- And 6 sc into the center.
- Increase Rounds:
- Gradually increase in the same manner as the head until the body is the desired width.
- Body Rounds:
- Once the desired width is reached, continue with rounds of sc in each stitch without increasing to create the length of the body.
- Attach Arms and Finish Body:
- Sew the arms to the sides of the body.
- Finish:
- Stuff the body before fully closing. Sew the head onto the body.
Final Assembly and Details
- Face Details:
- Using black yarn, embroider a nose and eyes onto the bear's face. You can also add other details like a mouth or cheeks with pink yarn.
- Attach Head to Body:
- Using a tapestry needle, sew the head onto the fully stuffed body securely.
- Ear Assembly:
- Make ears by forming small circles or ovals and sewing them onto the head at appropriate positions.

Leave a Reply