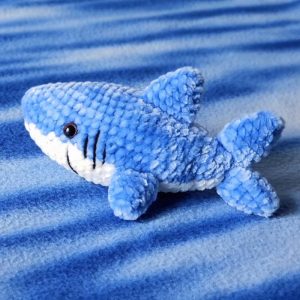
Did you know that with just a few minutes and a bit of yarn, you can bring a personal and coastal charm to your keys or other accessories? Imagine creating a Crochet Great White Shark Amigurumi yourself! This delightful pattern is perfect for anyone looking to make a unique gift for an ocean lover or keep a little keepsake to remember the sea by. Whether you are a seasoned crocheter or just starting out, you'll find joy in crafting this adorable shark. Adopt the opportunity to create something truly special and get into the world of amigurumi crochet.
Crochet Great White Shark Amigurumi
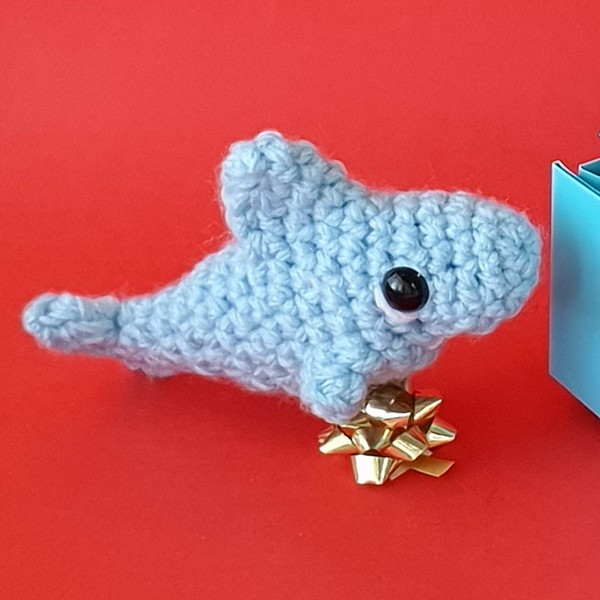
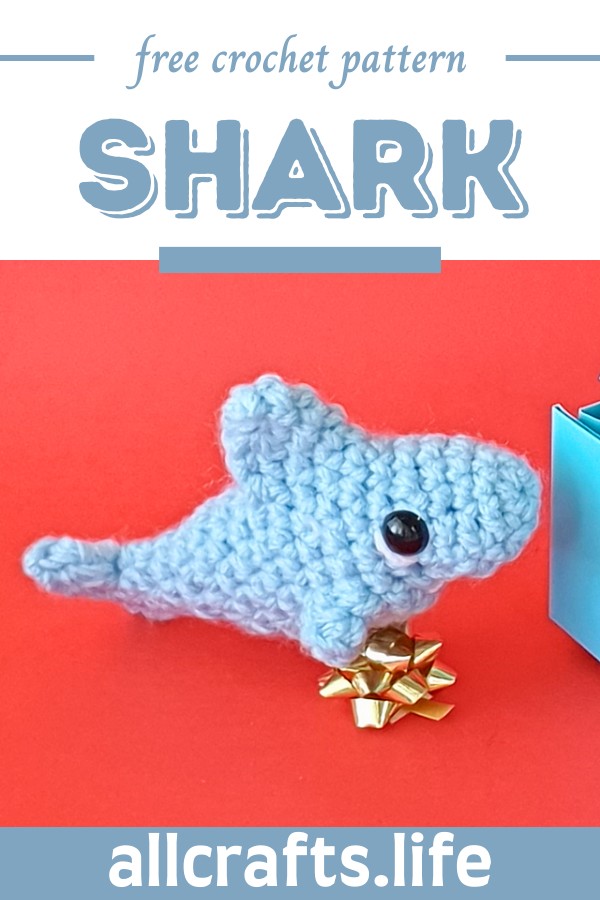
Making The Great White Shark Amigurumi
Materials Needed:
- 8-ply 100% acrylic yarn in a main colour and a small amount of white
- 9 mm safety eyes
- 3.5 mm crochet hook
- Scissors
- Stuffing
Abbreviations:
- ch - Chain
- sc - Single Crochet
- dc - Double Crochet
- hdc - Half Double Crochet
- sl st - Slip Stitch
- st(s) - Stitch(es)
- inc - Increase (typically involves making two stitches in one stitch)
- dec - Decrease (typically involves crocheting two stitches together)
- sc2tog - Single Crochet Two Together (a common decrease)
- [ ] - Repeat instructions within brackets as directed
- ( ) - Additional instructions or stitch count
- FO - Fasten Off
- MR - Magic Ring
Step by step Pattern
Magic Ring:
- Create a magic ring with 6 stitches.
Row 1-4:
2. Work the next three rows to increase the stitch count up to 15 stitches in a triangular shape.
Row 5:
3. Start with 7 single crochets (sc).
- Work a single crochet three together (sc3tog) using the invisible decrease technique across the front loops only of the next 3 stitches.
- Repeat the sc3tog once more.
- Finish with 2 sc.
Row 6:
7. Start with 7 sc.
- In each of the decreases from the previous row, work 3 sc.
- Finish with 2 sc.
Row 7:
10. 2 sc, increase, 2 sc Repeat this sequence 3 times around the row.
Inserting Eyes:
11. Count back to row 5 and place safety eyes at the corners of the mouth area.
Row 8:
12. 3 sc, 3 sc in the same stitch (for dorsal fin), 4 sc, 3 sc in the next stitch (for a side fin), 7 sc under the chin, 3 sc in the next stitch (for the second side fin), 1 sc to finish the round.
Row 9:
13. Similar to row 8 but with increases after each section of single crochets instead of just three single crochets in one stitch.
Row 10:
14. Begin to define the fins more clearly by skipping stitches and creating the form of the shark's body and fins.
Row 11-16:
15. Further define the dorsal fin and other fins, continue shaping the body, and start decreasing towards the tail end. Make sure to stuff the shark before closing too tightly.
Tail:
16. Work the tail by creating a double crochet, chain two, and another double crochet all in the same stitch for the lower fin.
- Work up the side toward the top stitch of the tail and create a similar pattern for the upper portion of the tail, incorporating single crochet, half double crochet, and double crochet stitches in the same top stitch to form the tail fin.
Finishing Touches:
18. Add whites of the eyes and teeth using white yarn.
- Sew the sides of the fins and the tail closed to give them a more refined look.
- Tuck in all the ends neatly inside the shark.
Please remember, this detailed pattern is created from your description, ensuring faithful replication of the video tutorial's instructions. Good luck with your crochet project, it sounds like a cute and fun creation!

Leave a Reply