Chinese dragons are fascinating creatures in Chinese culture, symbolizing power, strength, and good luck. They're different from Western dragons because they don't have wings and are often seen as wise and benevolent. If you're enchanted by these magical creatures, why not create your own little symbol of good fortune? With this Crochet Chinese Dragon Amigurumi Pattern, you can craft your own adorable dragon that captures all the charm and splendour of the mythical beast. Whether you're a seasoned crocheter or just starting, this crochet amigurumi decoration pattern provides a fun and rewarding way to bring a little piece of Chinese folklore into your home.
Crochet Chinese Dragon Amigurumi Pattern
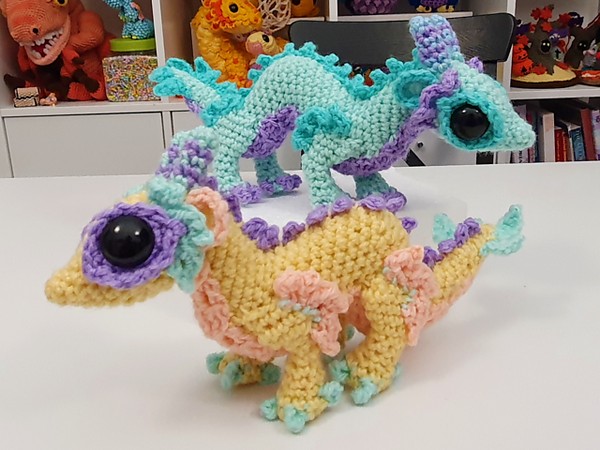
Beginner-friendly Crochet Dragon
Materials Needed:
- 8-ply, 100% acrylic yarn in multiple colors for body and details.
- 3.5 mm crochet hook.
- 20 mm safety eyes (smaller eyes can work but avoid larger sizes).
- Scissors.
- Pins and needles for assembly.
- Stuffing material.
Body (Starting with the head, moving into the body):
- Start with a magic ring of 6 stitches.
- Work 6 single crochet (sc) around.
- Row 3: single crochet, then increase in the next stitch (repeat this around). Work the first stitch of the increase through just the front loop for an invisible increase and the second through both loops.
- From Row 4 on, continue increasing the rounds according to the pattern's shaping, working through a sequence of single crochet and increases to gradually build up the round count to 18 stitches by the end of Row 8.
- Rows 9-11: Work three rounds of 18 sc around (54 stitches in total) to form the back of the head.
- Begin defining the head and body shape by alternating increases and decreases opposite each other to create a curving down shape. The pattern describes this technique in detail for shaping the dragon's body.
- For the belly, it's all one piece curved down with increases on one side and decreases on the other.
Shaping the Body:
- Row 12 - 16: Continue with specific increases and decreases to define the head and start the body, following specific counts provided in the pattern.
- As you work through the body, incorporate fillings and adjust the shaping using the technique of increasing and decreasing opposite each other to create the desired body curvature.
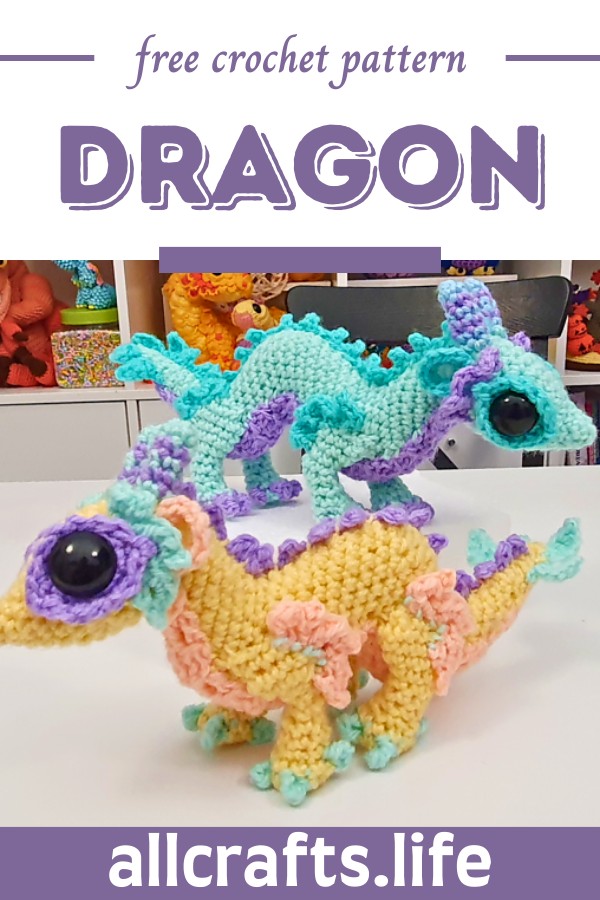
Legs (Front and Back Legs differ slightly in shaping and size):
- Start with the same method for both legs using the main color yarn.
- Foot Creation: Begin with a magic ring and work increases into the round to create the foot base, adding details for toes using different stitches and colors if desired.
- Leg: Continue the leg from the foot, working in rounds and adjusting the stitch count from narrow to wider and back to narrow to create the leg's contour.
Finishing Touches:
- Belly Panel: Work in rows to create a flat panel that fits around the underside of the body. Use double crochet stitches and adjust for length as needed.
- Spikes and Horns: Chain stitch to the desired length and work in rows or rounds, attaching to the body and head as directed in the pattern.
- Assembly: Sew all pieces together, adding safety eyes, and filling each part before full assembly.
- Detailing with Yarn for Facial Features/Patterns as desired.
Remember to weave in all ends securely and to stitch all parts together firmly to ensure durability for play and display.

Leave a Reply